How To Install InfluxDB on Ubuntu 22.04
Welcome to our comprehensive guide on installing InfluxDB on Ubuntu 22.04, 20.04, or 18.04 Linux systems. InfluxDB is an open-source time series database platform designed for storing time series data, including metrics and events collected from various devices. It is a product of InfluxData and a key component of the TICK Stack, which includes:
- Telegraf (T): An agent written in Go for collecting performance metrics from the host system and its running services. The collected metrics are output to InfluxDB or other supported data stores.
- InfluxDB (I): The time series database itself.
- Chronograf (C): A web application written in Go and React.js that provides tools to visualize monitoring data and easily create alerting and automation rules.
- Kapacitor (K): A data processing engine capable of handling both stream and batch data from InfluxDB.
In my series of monitoring guides, I focus on the use of:
- Telegraf for collecting system metrics
- InfluxDB as the datastore
- Grafana for metrics visualization
Follow along to set up InfluxDB and enhance your monitoring capabilities.
Install InfluxDB on Ubuntu 22.04
Installation of InfluxDB on Ubuntu22.04|20.04|18.04 is done from the Influxdata repository. Once the repo is added, the package can then be installed using an apt package manager. Add the InfluxData repository to the file /etc/apt/sources.list.d/influxdb.list :
Before you begin update your system APT repository index.
apt updateImport repository GPG key.
curl -fsSL https://repos.influxdata.com/influxdata-archive_compat.key|gpg --dearmor -o /etc/apt/trusted.gpg.d/influxdata.gpgThen add the InfluxDB APT repository.
echo 'deb [signed-by=/etc/apt/trusted.gpg.d/influxdata.gpg] https://repos.influxdata.com/debian stable main' | tee /etc/apt/sources.list.d/influxdata.listUpdate apt index and install InfluxDB on Ubuntu 22.04|20.04|18.04:
apt update && apt install influxdb2Start and enable the service to start on boot up:
systemctl enable --now influxdbCheck service status:
$ systemctl status influxdb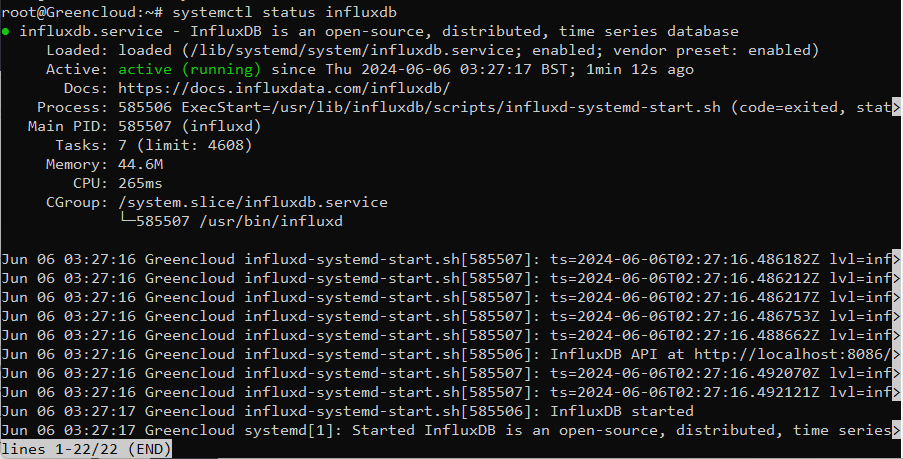
Open influxdb service ports on the firewall
By default, InfluxDB uses the following network ports:
- TCP port 8086 is used for client-server communication over InfluxDB’s HTTP API
- TCP port 8088 is used for the RPC service for backup and restore
If you have UFW service running you’ll need to open port 8086 since telegraf will push metrics using this port.
ufw allow 8086/tcpInfluxDB default configuration file is located under /etc/influxdb/influxdb.conf. Most sections are commented out, you can modify it to your liking and restart the influxdb service after.
Configuring InfluxDB
Run the configuration script.
$ influx setup
> Welcome to InfluxDB 2.0!
? Please type your primary username admin
? Please type your password **********
? Please type your password again **********
? Please type your primary organization name Greencloud
? Please type your primary bucket name mybucket
? Please type your retention period in hours, or 0 for infinite 0
? Setup with these parameters?
Username: admin
Organization: Greencloud
Bucket: mybucket
Retention Period: infinite
Yes
User Organization Bucket
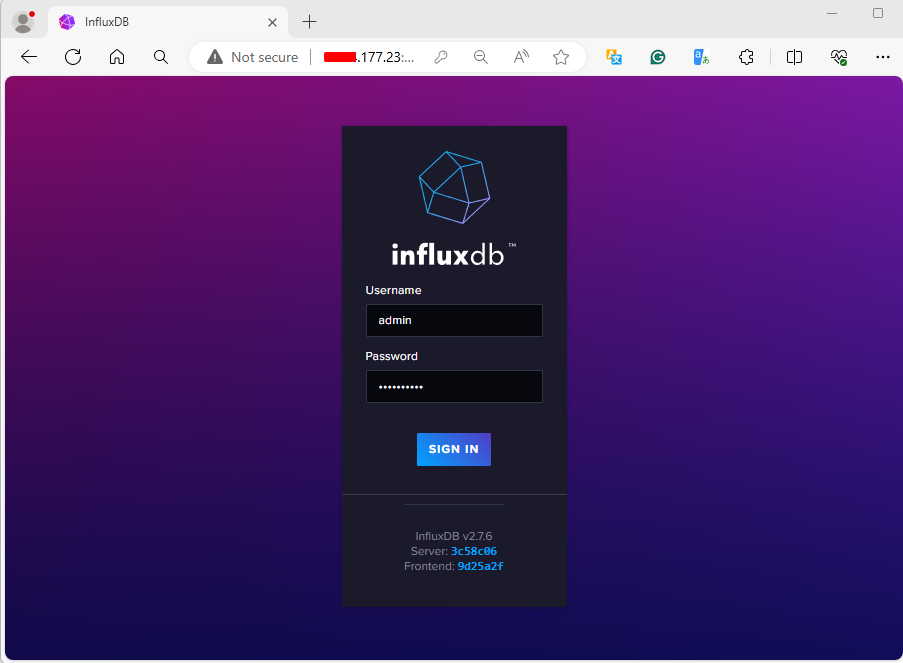
admin Greencloud mybucketOpen your Web browser and go to http://server_or_hostname:8086
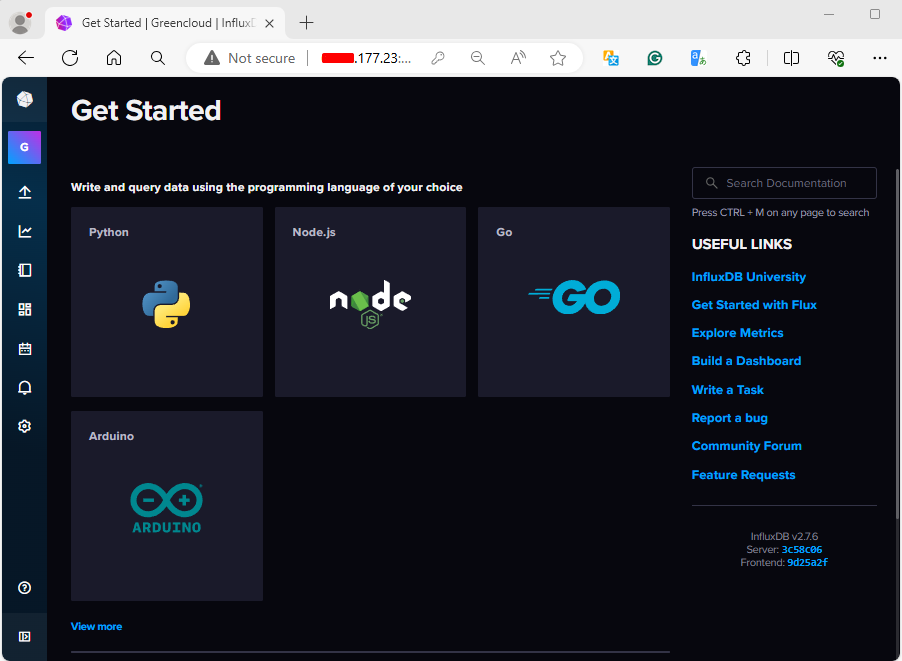
You can browse through the options available in the UI.
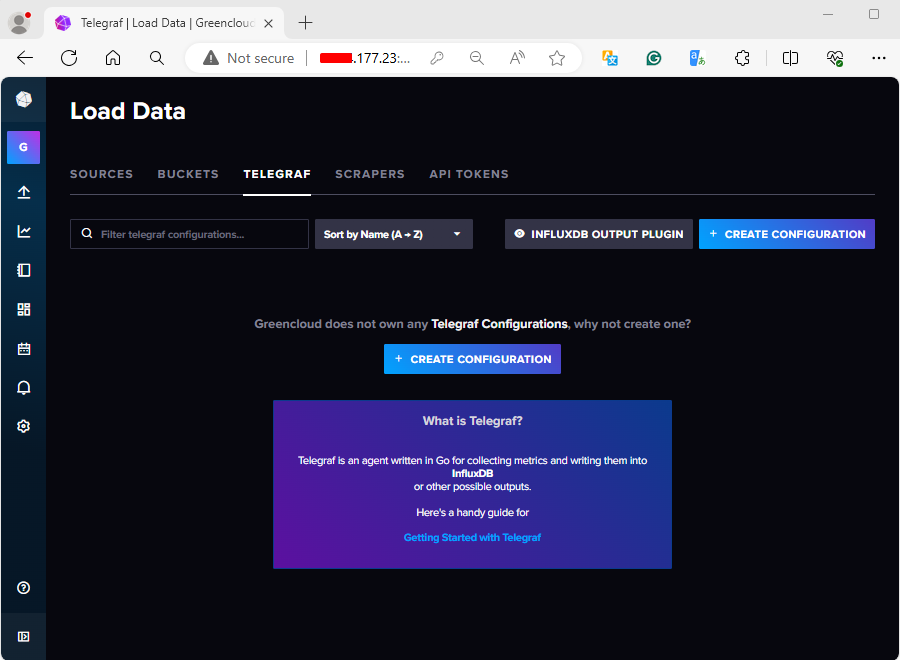
Under the “Load Data” section you can get links on how to configure your applications to send data to Telegraf.