How To Install GitLab CE on Ubuntu 22.04
GitLab is a fully-featured platform for accelerated software development. It provides up-to-scratch features like integrated CI/CD, Kubernetes integration, Auto DevOps, GitLab Container Registry, etc.
GitLab is available in four major editions:
- GitLab Community Edition – Free, open-source, and self-hosted.
- GitLab Enterprise Edition – Self-hosted and paid with additional features.
- GitLab.com – Free, and SaaS.
- GitLab.io – Private GitLab instance managed by GitLab Inc.
In this post, we will explain how to install GitLab CE on Ubuntu 22.04
Step 1: Update system & install dependencies
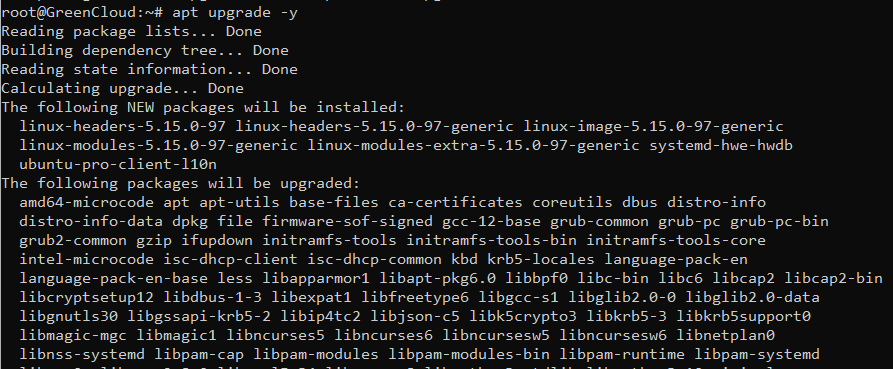
Kickoff the installation by ensuring your system is updated:
apt update
apt upgrade -y
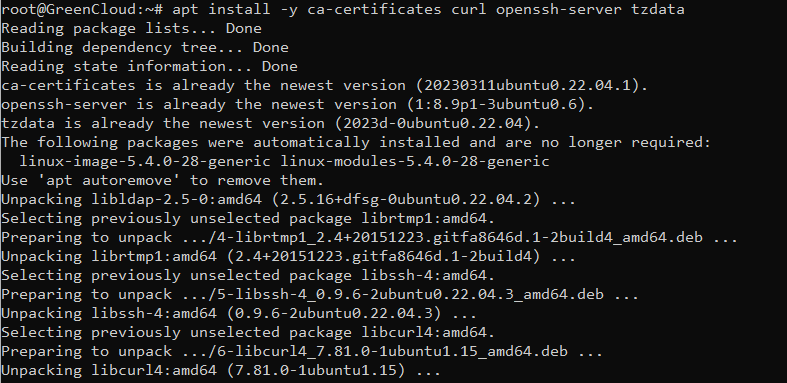
Install GitLab dependencies below:
apt install -y ca-certificates curl openssh-server tzdata
Step 2: Add the GitLab CE Repository
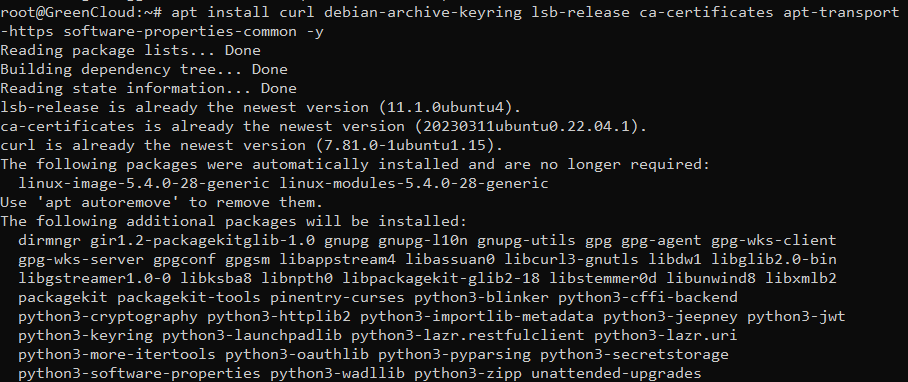
Install dependency packages required:
apt install curl debian-archive-keyring lsb-release ca-certificates apt-transport-https software-properties-common -y
The GitLab package is not included in the Ubuntu default repository. So you will need to add the GitLab official repository to your system. You can download and add the following script to add the GitLab repository.
curl -sS https://packages.gitlab.com/install/repositories/gitlab/gitlab-ce/script.deb.sh | bash

The repository contents are added to:
cat /etc/apt/sources.list.d/gitlab_gitlab-ce.list

Step 3: Install GitLab CE from the repo
Once the repository has been added, install GitLab CE using the apt package manager command:
apt update
apt install gitlab-ce
Installation output:
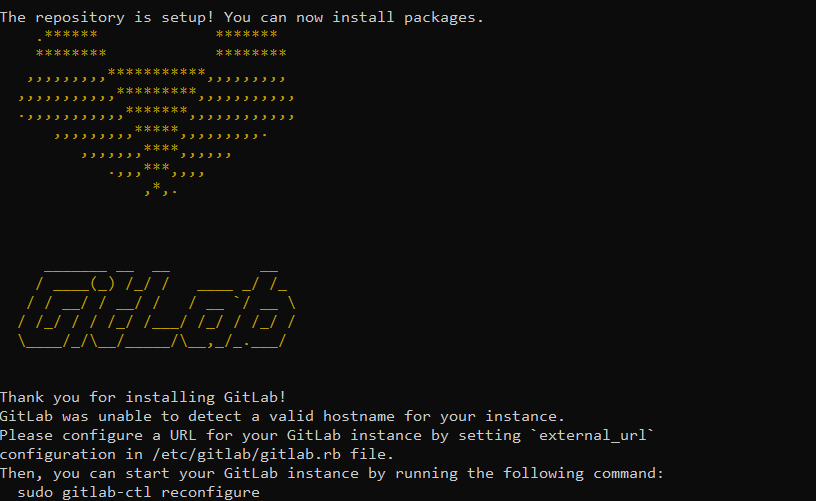
Edit the GitLab configuration file to set the hostname and other parameters:
nano /etc/gitlab/gitlab.rb
Replace gitlab.example.com with a valid domain or IP address for the GitLab server.

When done, start your GitLab instance by running the following command:
gitlab-ctl reconfigure
All GitLab services should be started after configuration.
Step 4: Access GitLab CE Web Interface
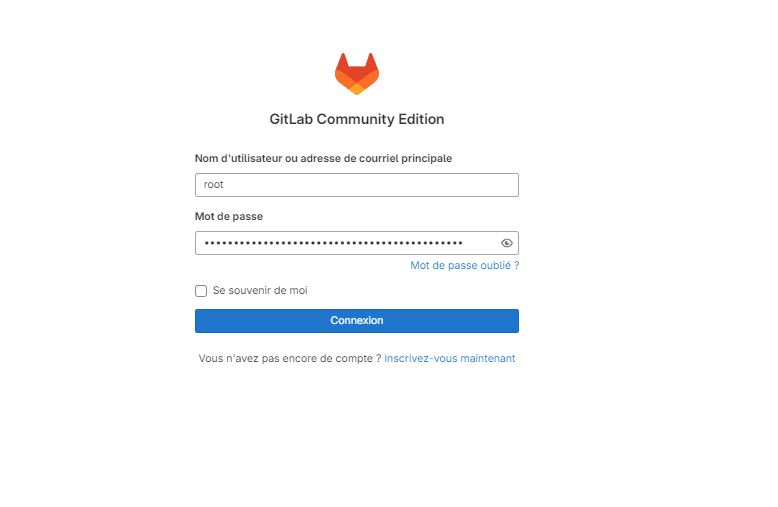
Once the installation of GitLab CE on Ubuntu is done, open the URL http://gitlab.example.com/IP address on your browser to finish the installation of GitLab.
A password for the root user is randomly generated and stored for 24 hours. You can check the password with the commands below:
cat /etc/gitlab/initial_root_password
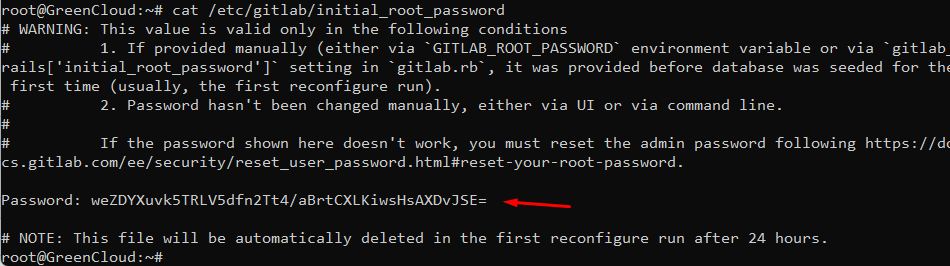
Use this password with username root to log in.
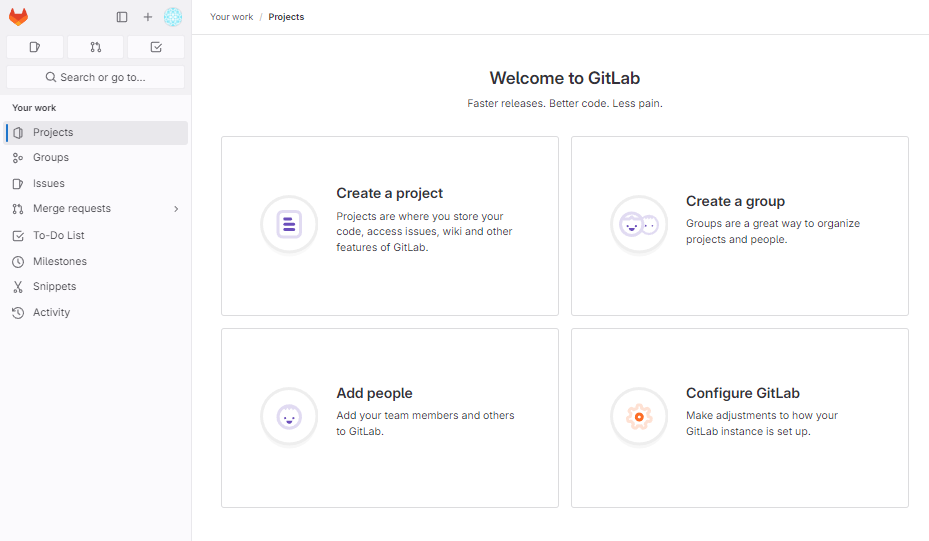
The GitLab Dashboard should look like the below.
Reset GitLab Root Password
Go to root user profile > Preferences
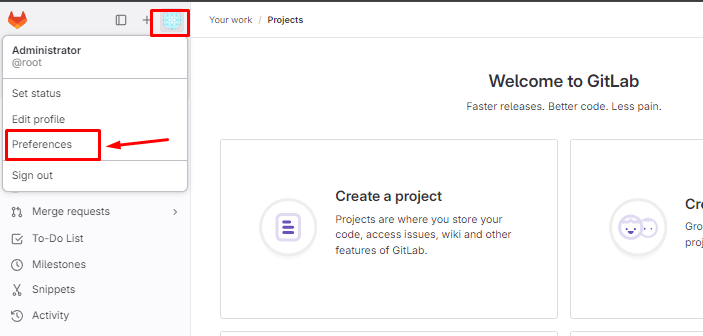
Then, in the Password section, you can change your password here:

GitLab Administrations
To check the status of all GitLab services, use:
gitlab-ctl status
To stop all GitLab services, use:
gitlab-ctl stop
To restart all GitLab services, use:
gitlab-ctl restart
You can restart a specific service by providing service name at the end
gitlab-ctl restart nginx

Conclusion
Congratulations! You have successfully installed GitLab CE on Ubuntu 22.04. You can now start using GitLab in your development environment.

