How To Install Froxlor on Debian 12
Managing a server(s) is one of the fundamental tasks for IT admins. At times this becomes so hard when the environment gets large and complex. Server management software comes in handy to help monitor, control and maintain servers and their associated resources within the environment. It provides a centralized location to manage hardware, operating systems, applications, and server-related tasks. This streamlines server administration, enhancing efficiency and ensuring the health and performance of systems.
Froxlor is an open-source tool developed by experienced server admins to make it easier to manage a hosting platform. It comes with a modern and improved UI with dark and light modes. You can also tweak the design using Twig to create a desired look.
In this guide, we will show you how to install Froxlor on Debian 12
Prepare Your Server
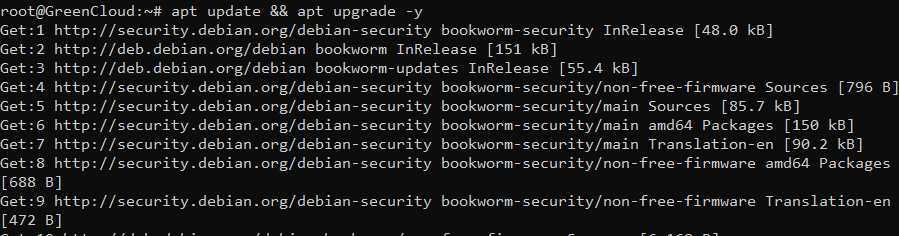
Begin by updating your server:
apt update && apt upgrade -y
Then set a hostname on your system:
hostnamectl set-hostname floxlor.green.com
Add entry to /etc/hosts file:
$ nano /etc/hosts
127.0.0.1 floxlor.green.com
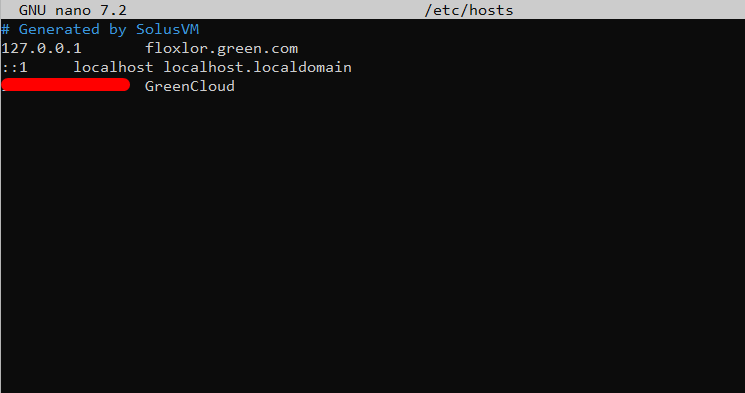
Verify the changes:
hostname -f

Download and install Froxlor
There are 2 options you can use when installing Froxlor server management software on Debian 12 (Bookworm). These options include:
- Use APT (recommended)
- Manually using tarball archive
Option 1: Install Froxlor using APT(recommended)
This is the recommended method for installing Froxlor server management software. You need to add the repository that provides the software package to do this. You can do this with the following commands:
apt -y install apt-transport-https lsb-release ca-certificates curl gnupg
curl -sSLo /usr/share/keyrings/deb.froxlor.org-froxlor.gpg https://deb.froxlor.org/froxlor.gpg
sh -c 'echo "deb [signed-by=/usr/share/keyrings/deb.froxlor.org-froxlor.gpg] https://deb.froxlor.org/debian $(lsb_release -sc) main" > /etc/apt/sources.list.d/froxlor.list'

Update the apt package index:
apt update
Once the repository has been added, install Froxlor with the command:
apt install froxlor
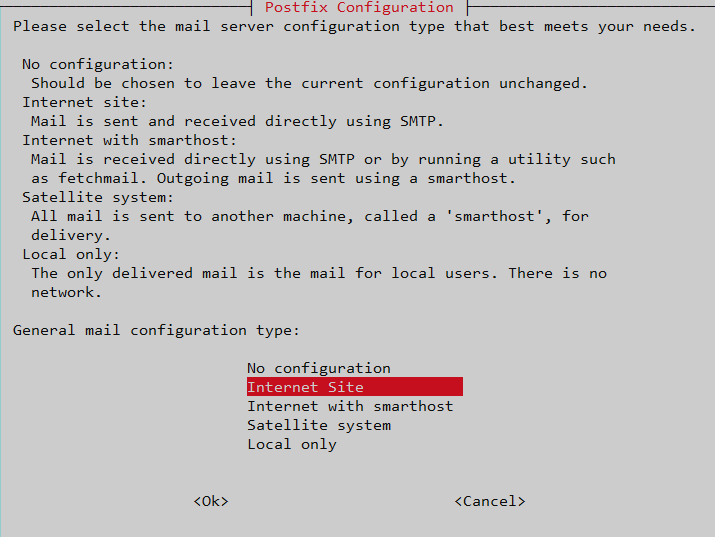
Configure Postfix as follows:
Set the system hostname:
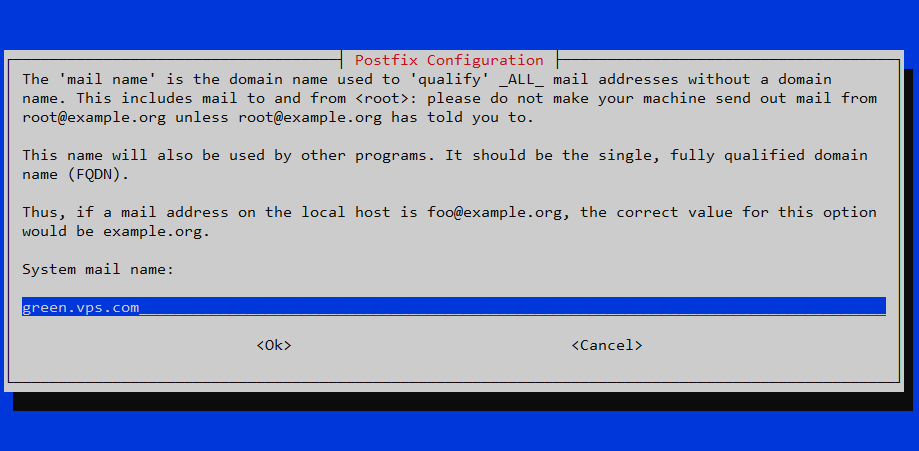
Once complete, you can proceed with the next step of creating a privileged database user
Option 2: Install Froxlor Manually using Tarball
This can serve as an alternative method to install Froxlor server management software on Debian 12 (Bookworm). For this method, you need LAMP/LEMP stack installed.
Ensure all the PHP extensions have been installed:
apt install php libapache2-mod-php php-cli php-fpm php-json php-pdo php-mysql php-zip php-gd php-mbstring php-curl php-xml php-pear php-bcmath php-gmp

Now download Froxlor in your web root directory:
cd /var/www/html/
wget https://files.froxlor.org/releases/froxlor-latest.tar.gz
tar xvfz froxlor-latest.tar.gz
rm froxlor-latest.tar.gz
Now you have the tarball downloaded and extracted in the web root directory. Set the required permissions:
chown -R www-data:www-data /var/www/html/froxlor/
Create a Database & Privileged Database User
Once the installation has been done using any of the methods, you need to create a database and privileged database user for Froxlor.
First, access the database shell:
mysql -u root
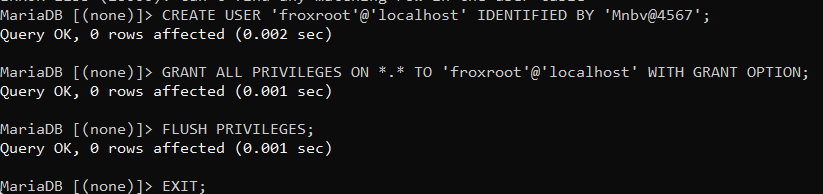
Now create a database and user:
CREATE USER 'froxroot'@'localhost' IDENTIFIED BY 'StrongPassw0rd';
GRANT ALL PRIVILEGES ON *.* TO 'froxroot'@'localhost' WITH GRANT OPTION;
FLUSH PRIVILEGES;
EXIT;
Complete Froxlor Installation Via the Web UI
Now you need to access the Froxlor web installer to complete the installation process. First, make sure that port 80 is allowed through your firewall:
ufw allow 80/tcp
Now access Froxlor using the URL: http://IP address/froxlor
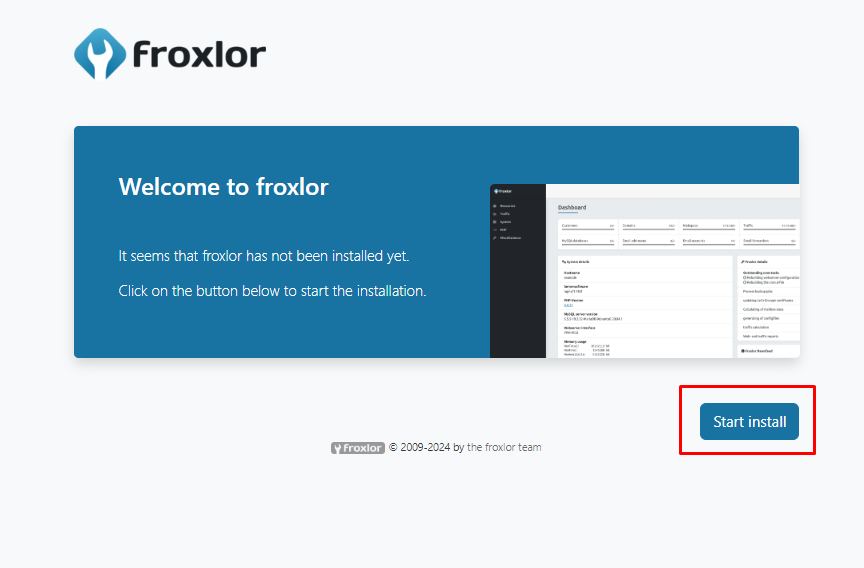
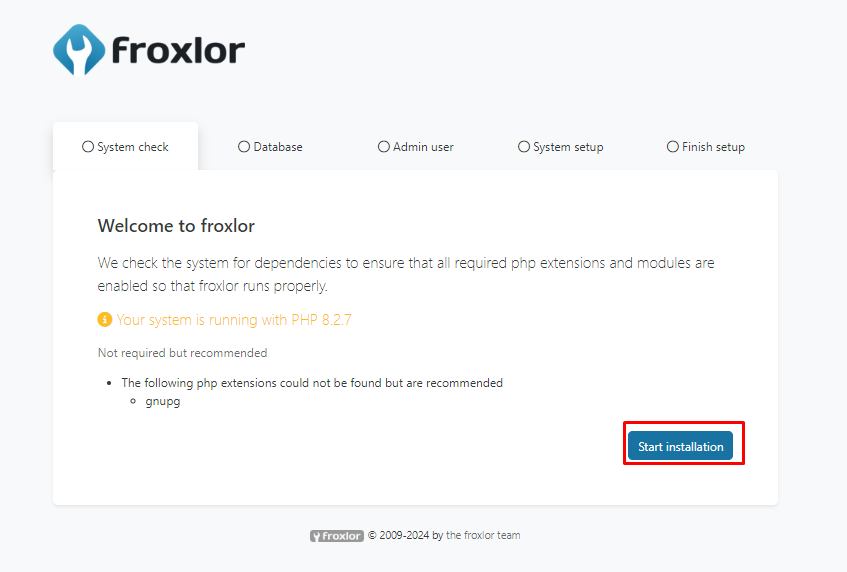
Now start the installation, if all is okay, you will see this:
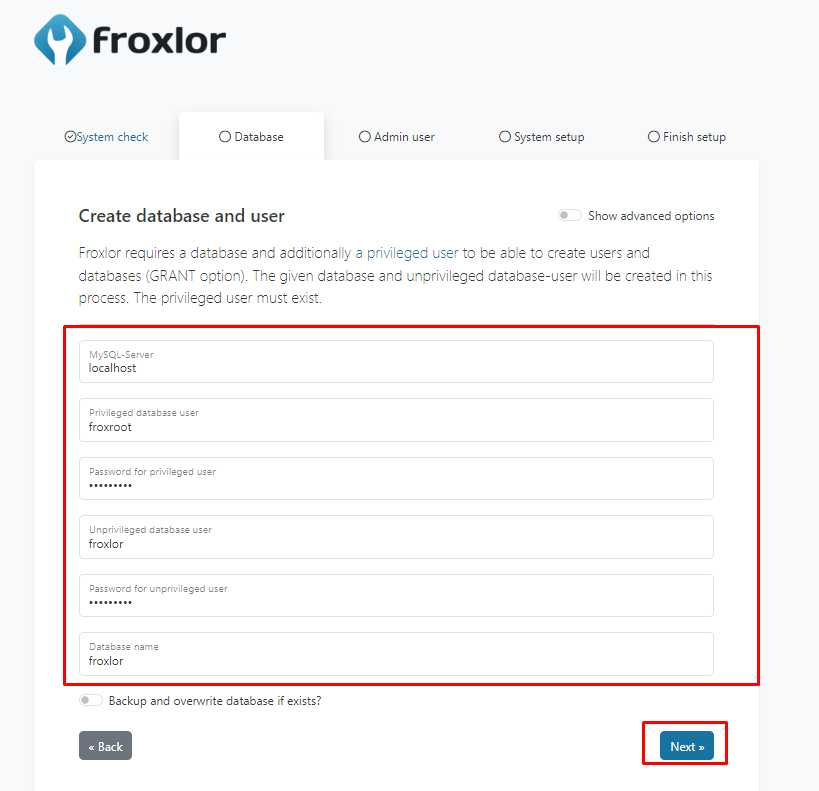
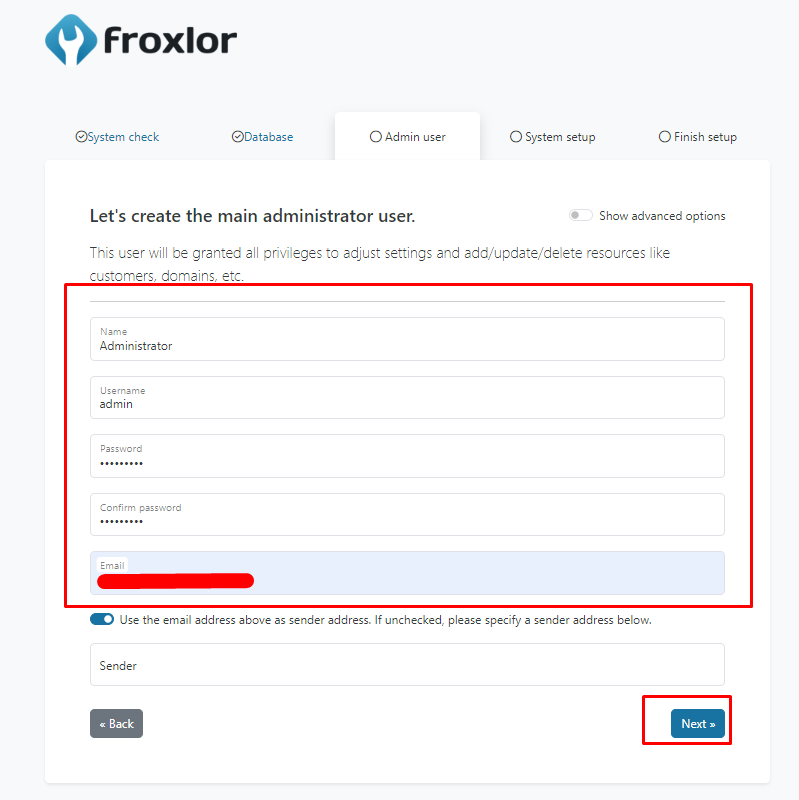
Provide credentials for privileged users and databases. You also need to provide details for the unprivileged database users that will be created during this process.
Create an admin user.
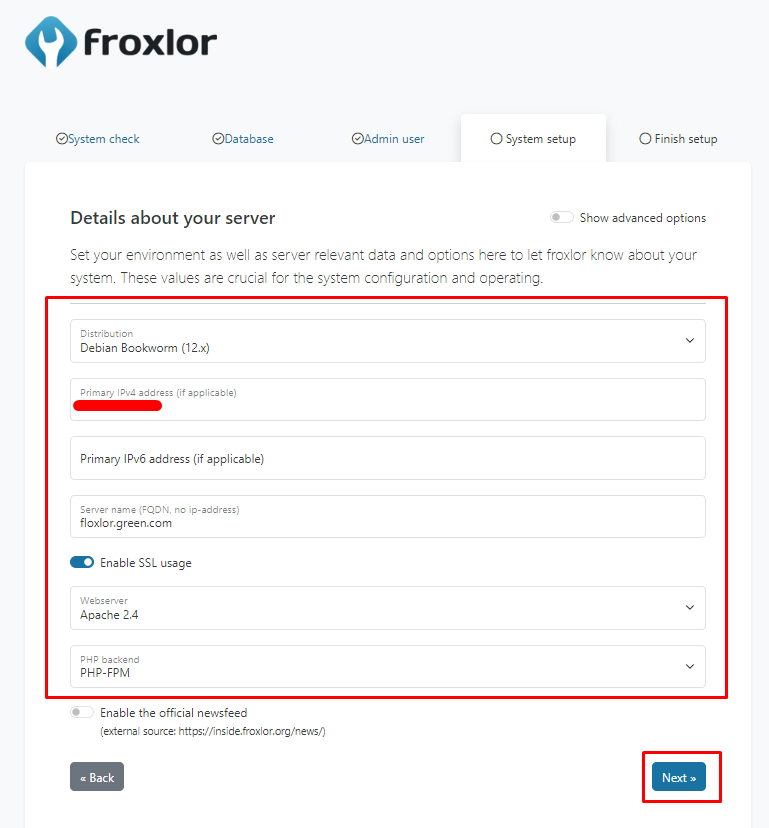
Set up the system.
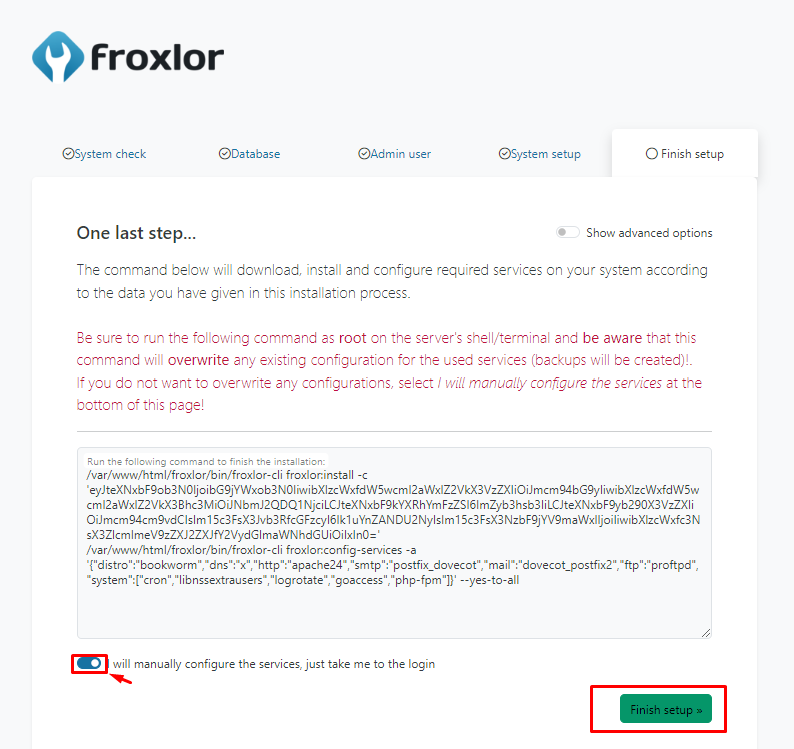
Remember to check the option to manually configure services
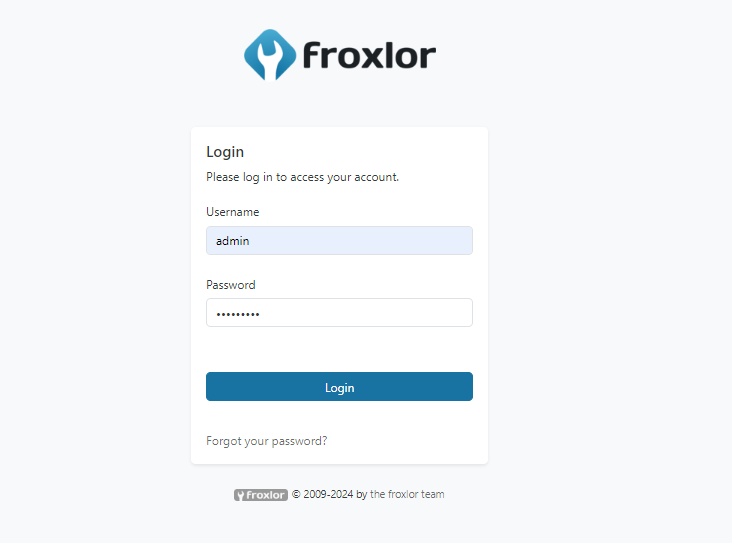
Once the installation is complete. You will be redirected to a login page. Now login using the created admin user:
You will gain access to the below dashboard.
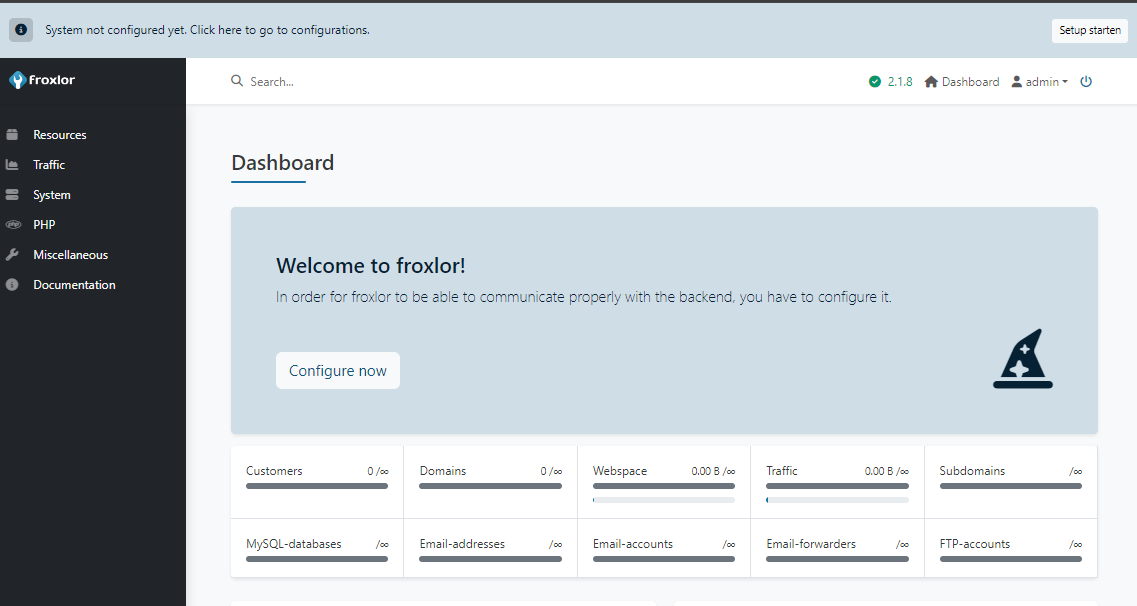
Now we need to configure the services.
Click on the notification on the top bar to perform service configs. You can also navigate to system->configuration

Select the services you want to configure
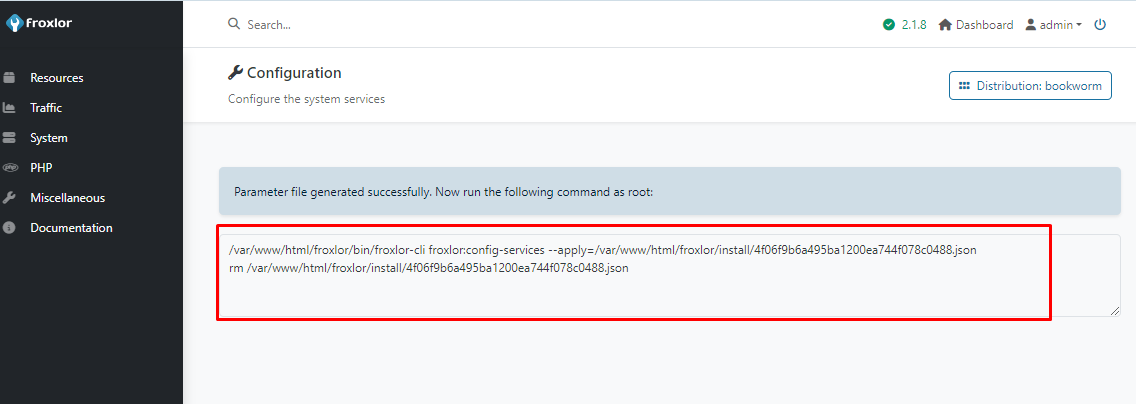
Once selected, a command will be generated to run on the command line. These commands need to be run as root.
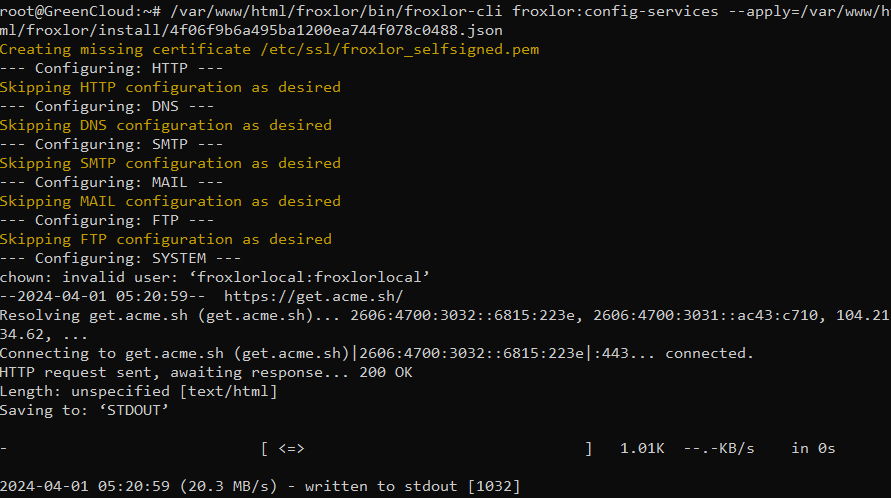
Once run, the notification will disappear when the page is refreshed.
Getting Started with Froxlor server management
You can now use Froxlor to manage resources on your Debian 12 system as desired. Under the “resources” tab, you can manage clients, admins, domains, SSL certificates, IP addresses, ports, MYSQL servers, and more.
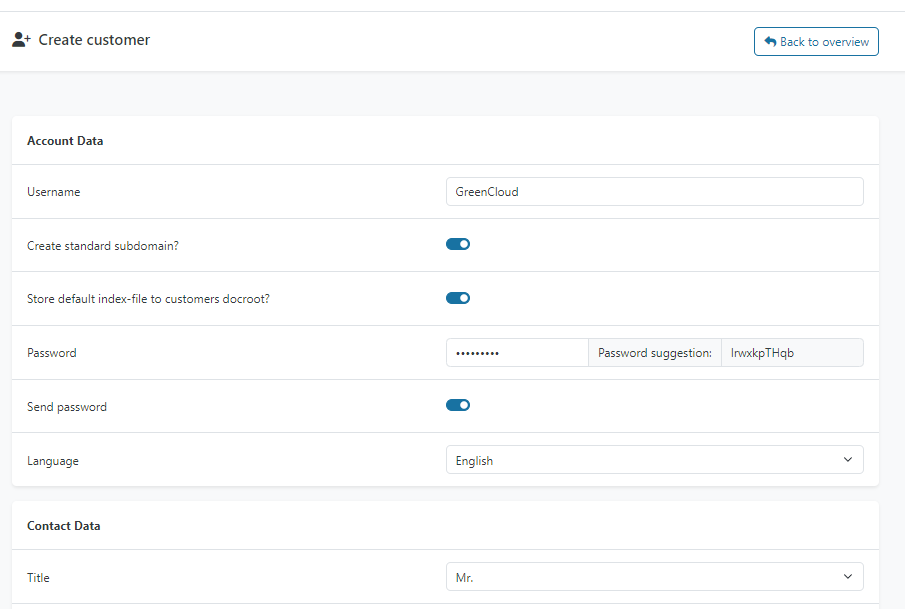
Create your first customer under Resources->Customers

Provide necessary information:
With a customer created, you can create a domain, by navigating to Resources->Domains

Provide necessary information:
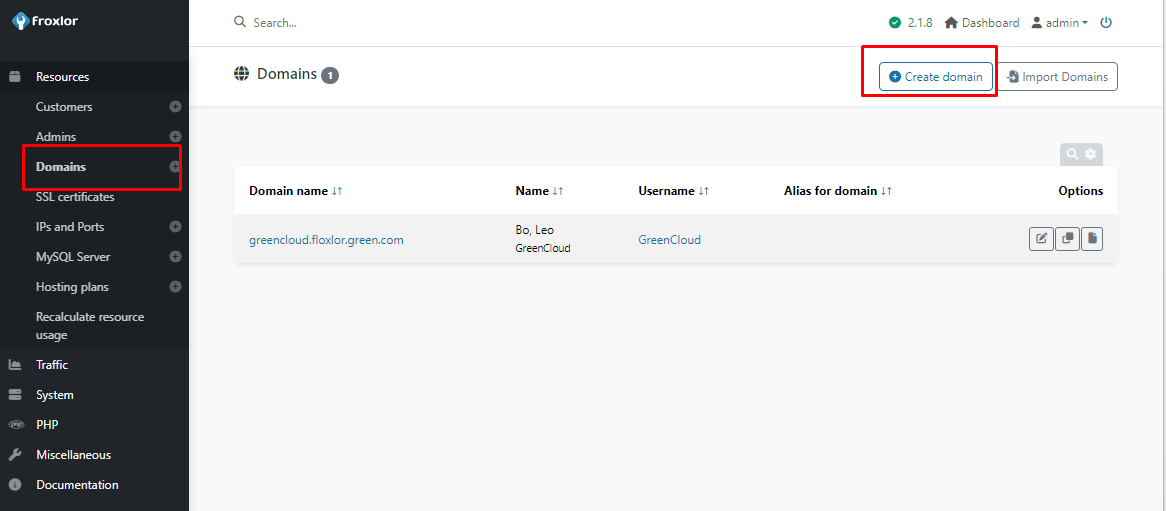
Once added, the domains will appear as shown.

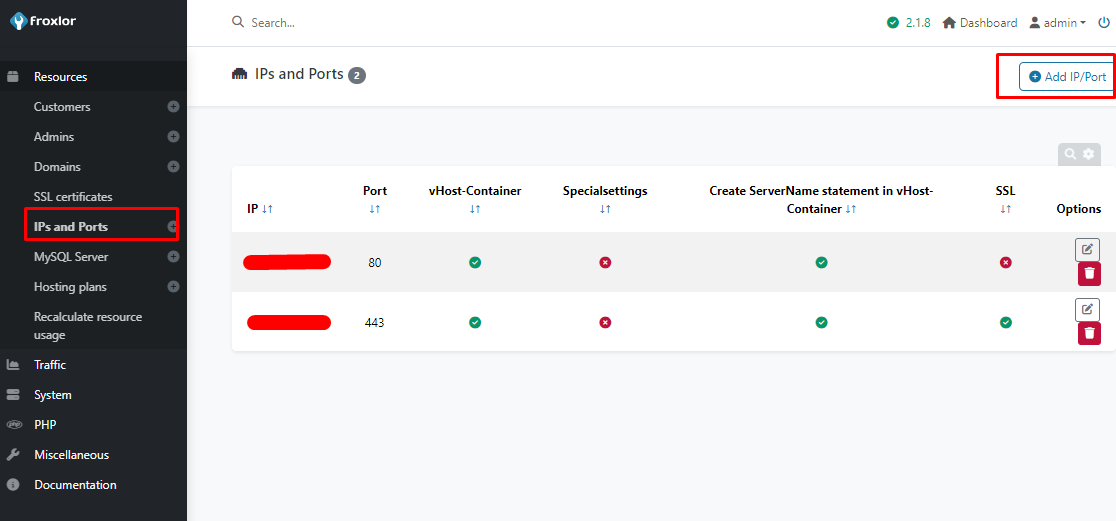
You can also add the desired IP and ports.
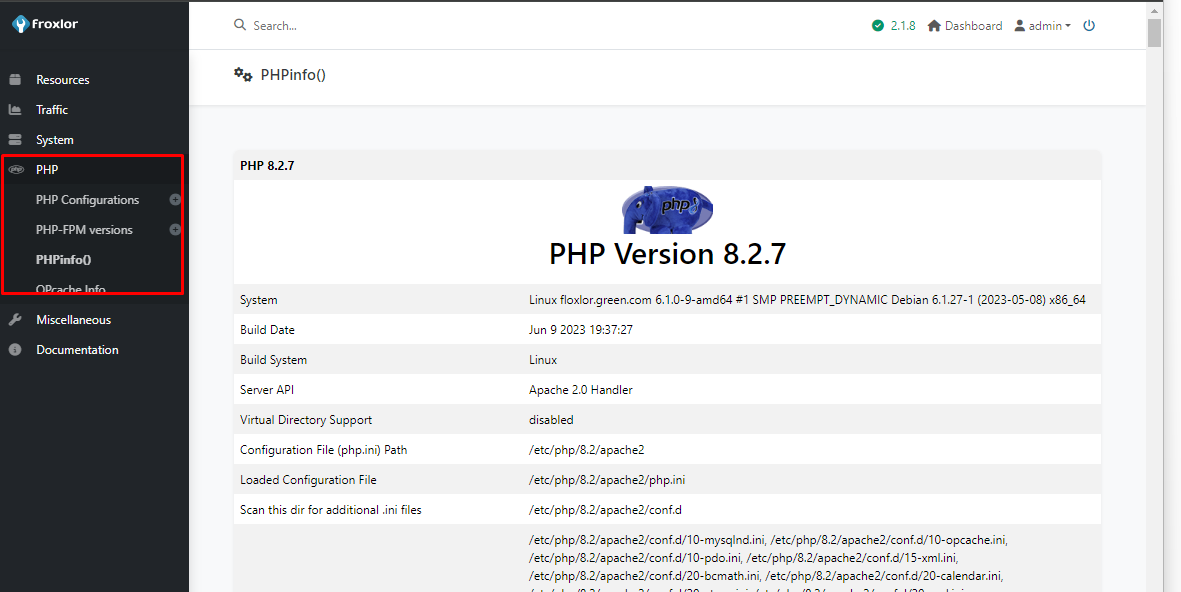
Configure PHGP as desired in the PHP tab.
Conclusion
Congratulations! Now you have successfully installed Froxlor on Debian 12. Using this management interface, you can easily manage and customize the resources on your server.
Hopefully, this article will be helpful for you. Good luck!

