How to Install Apache Spark on Ubuntu 22.04
Apache Spark is a framework used in cluster computing environments for analyzing big data. This platform became widely popular due to its ease of use and the improved data processing speeds over Hadoop.
Apache Spark can distribute a workload across a group of computers in a cluster to more effectively process large sets of data. This open-source engine supports a wide array of programming languages. This includes Java, Scala, Python, and R.
This post will show you how to install the Apache Spark data processing engine on Ubuntu 22.04.
Installing Apache Spark on Ubuntu 22.04
Step 1: Update the System
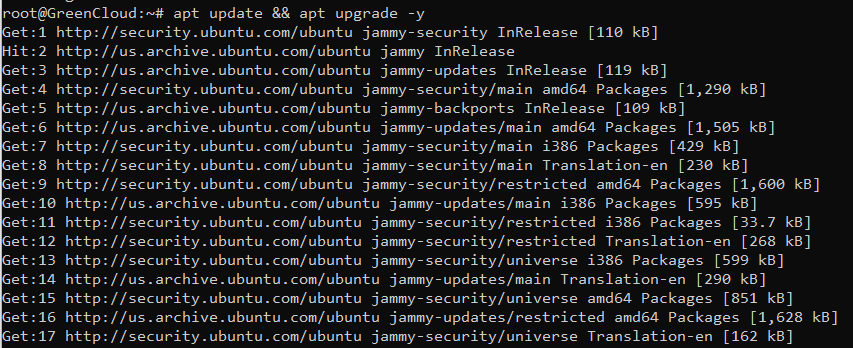
Before installing Spark on Ubuntu, update your system:
apt update && apt upgrade -y
Step 2: Install Java
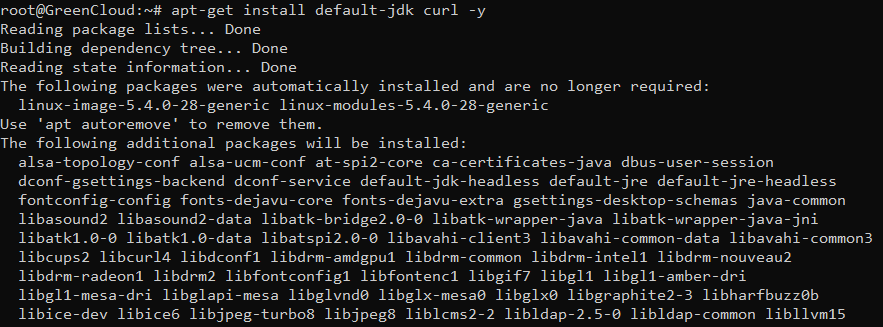
Apache Spark is based on Java. So Java must be installed on your server. If not installed, you can install it by running the following command:
apt-get install default-jdk curl -y
Once Java is installed, verify the Java installation using the following command:
java -version

Step 3: Download Apache Spark
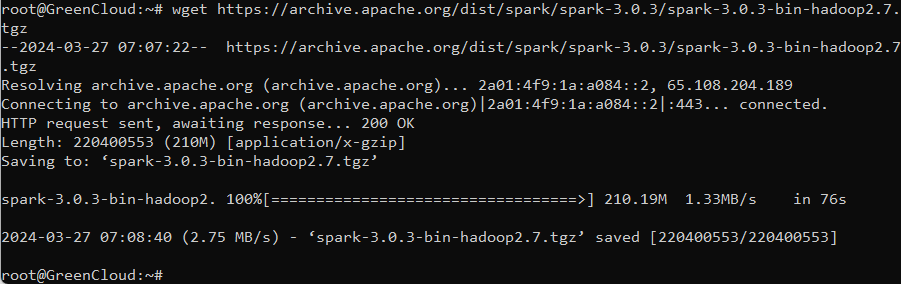
You can download it using the wget command:
wget https://archive.apache.org/dist/spark/spark-3.0.3/spark-3.0.3-bin-hadoop2.7.tgz
Step 4: Extract Apache Spark File
Once downloaded, extract the Apache Spark file by utilizing this command:
tar xvf spark-3.0.3-bin-hadoop2.7.tgz
Step 5: Move the folder
After the file is extracted, move the folder to the directory “/opt/”:
mv spark-3.0.3-bin-hadoop2.7/ /opt/spark
Configure Apache Spark on Ubuntu 22.04
Step 1: Set Environment Variables
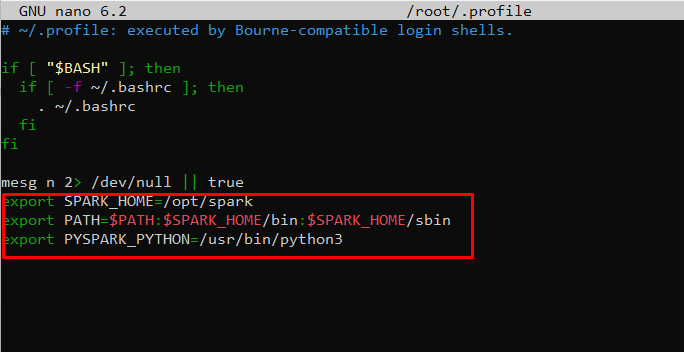
Before starting a master server, you need to configure environment variables. There are a few Spark home paths you need to add to the user profile.
nano ~/.profile
Use the echo command to add these three lines to .profile:
export SPARK_HOME=/opt/spark
export PATH=$PATH:$SPARK_HOME/bin:$SPARK_HOME/sbin
export PYSPARK_PYTHON=/usr/bin/python3
Step 2: Load the file
When you finish adding the paths, load the .profile file in the command line by typing:
source ~/.profile
Step3: Create a dedicated user to run Apache Spark:
useradd spark
Next, change the ownership of the /opt/spark to spark user and group:
chown -R spark:spark /opt/spark
Create a Systemd Service File for Apache Spark
Next, you will need to create a service file to manage the Apache Spark service.
Step1: Create a service file for Spark master using the following command:
nano /etc/systemd/system/spark-master.service
Add the following lines:
[Unit]
Description=Apache Spark Master
After=network.target
[Service]
Type=forking
User=spark
Group=spark
ExecStart=/opt/spark/sbin/start-master.sh
ExecStop=/opt/spark/sbin/stop-master.sh
[Install]
WantedBy=multi-user.target
Save and close the file then create a service file for Spark slave
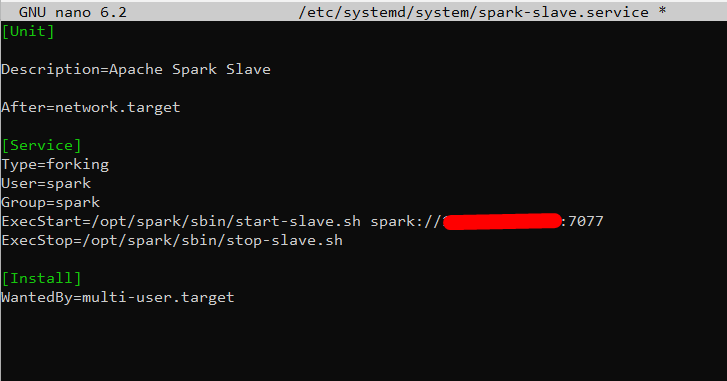
nano /etc/systemd/system/spark-slave.service
Add the following lines:
[Unit]
Description=Apache Spark Slave
After=network.target
[Service]
Type=forking
User=spark
Group=spark
ExecStart=/opt/spark/sbin/start-slave.sh spark://your-server-ip:7077
ExecStop=/opt/spark/sbin/stop-slave.sh
[Install]
WantedBy=multi-user.target
Change your-server-ip with your IP address
Save and close the file then reload the systemd daemon to apply the changes:
systemctl daemon-reload
Step2: Start and enable the Spark master service using the following command:
systemctl start spark-master
systemctl enable spark-master
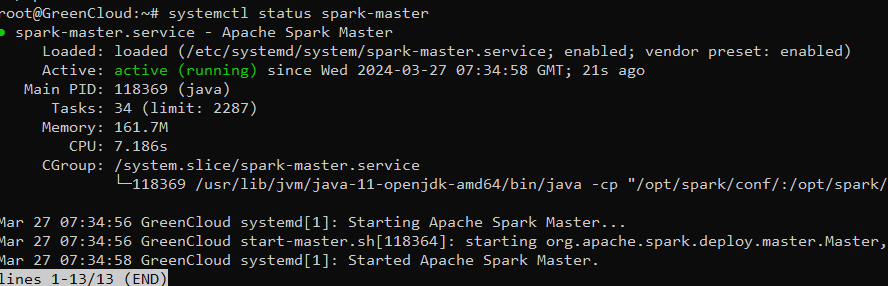
You can check the status of the Spark master using the following command:
systemctl status spark-master
Access Apache Spark
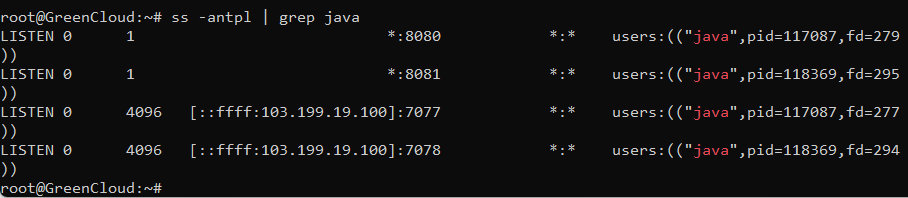
At this point, Apache Spark is started and listening on port 8080. You can check it with the following command:
ss -antpl | grep java
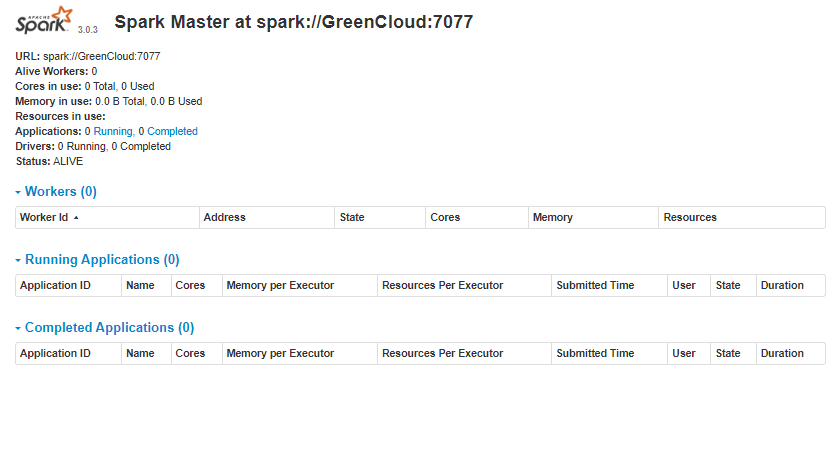
Now, open your web browser and access the Spark web interface using the URL http://your-server-ip:8080. You should see the Apache Spark dashboard on the following page:
Start Spark Slave Server (Start a Worker Process)
In this single-server, standalone setup, we will start one slave server along with the master server.
To do so, run the following command in this format:
start-slave.sh spark://master:port
The master in the command can be an IP or hostname.
In our case it is IP address:
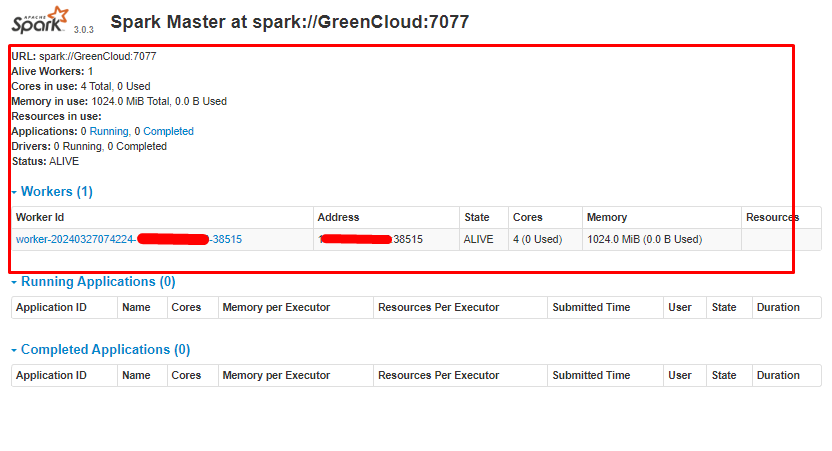
start-slave.sh spark://IP address:7077

Now that a worker is up and running, if you reload Spark Master’s Web UI, you should see it on the list:
Conclusion
Congratulations! you have successfully installed Apache Spark on Ubuntu 22.04. You can now start using Apache Spark in the Hadoop environment.
Hopefully, this article will be helpful for you. Good luck!

