How to Fix “VCRUNTIME140_1.dll was not found” Error on Windows 2019, 2022
Users often encounter the error VCRUNTIME140_1.dll was not found when trying to run a specific program on Windows Server 2019, 2022, as well as other versions of the operating system.
In particular, users encounter an error when a file is missing from the system – thus, it prevents the launch and operation of programs that rely on this file. Such errors can create a very unpleasant user experience when using a Windows device.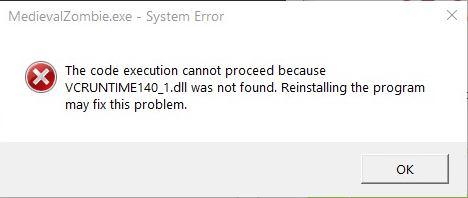
The VCRUNTIME140_1.dll element indicates that the missing DLL file comes from the Microsoft Visual C++ Redistributable package and must be installed on the system initially. However, for a number of reasons, these files can be replaced, deleted, or corrupted. Therefore, users cannot launch programs on Windows.
In the article below, you will find methods that will help solve the VCRUNTIME140_1.dll not found, which is a missing error in Windows quickly.
Method 1. Install/Reinstall Microsoft Visual C++ Redistributable
If You did not install Visual C++ Redistributable on your PC or the VCRUNTIME140_1.dll has been corrupted or deleted, you should fix the issue by installing or reinstalling Visual C++ Redistributable libraries.
1. Open your web browser. Go to the Visual C++ Redistributable download page.
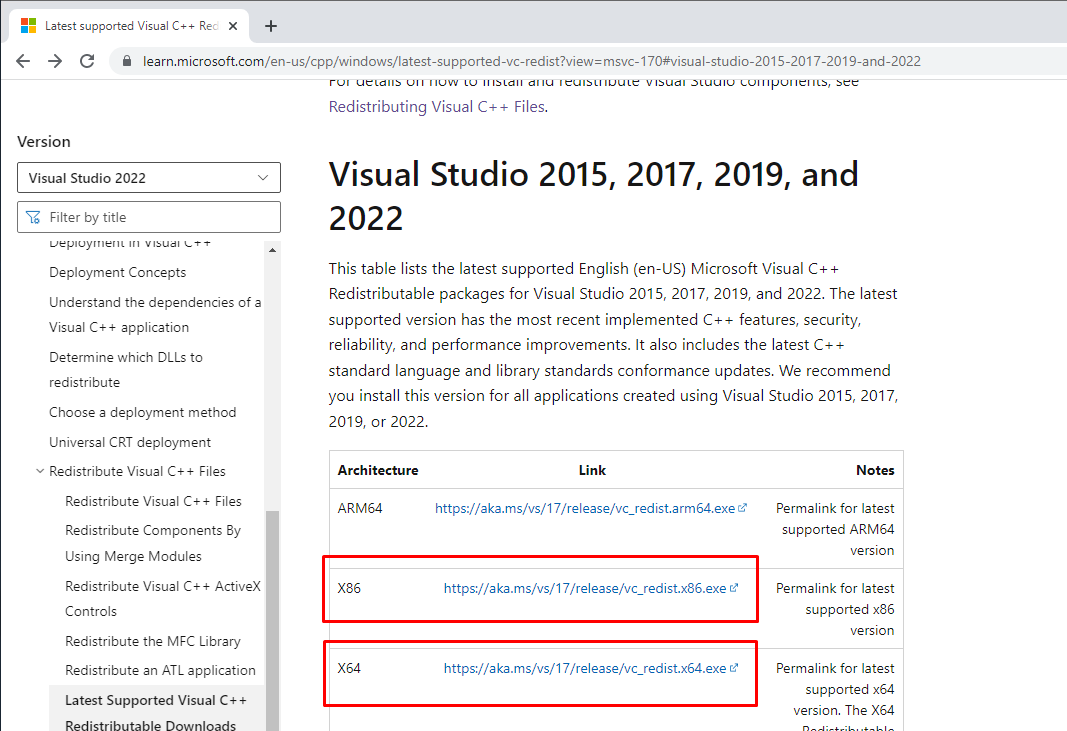
2. Click the download links for vc_redist.x86.exe and vc_redist.x64.exe.
3. Then, go to your Downloads folder.
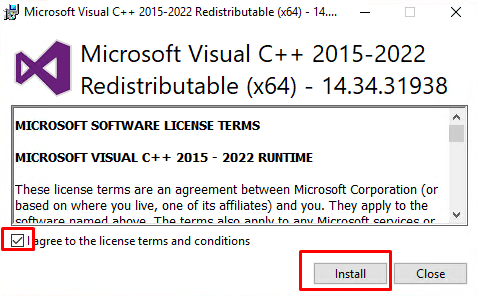
4. Run vc_redist.x64.exe.
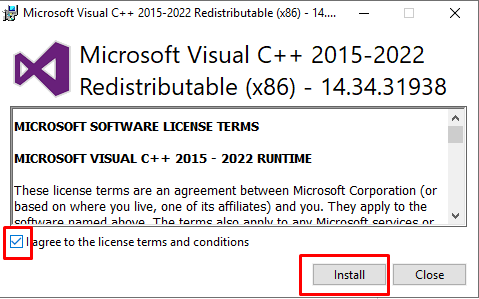
5. Mark the I agree to the license terms and conditions checkbox and click Install.
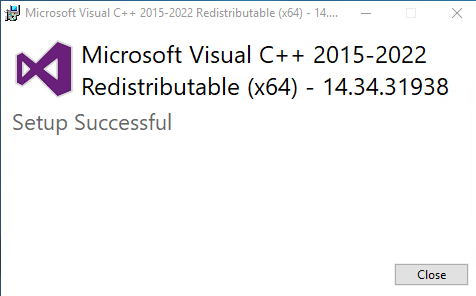
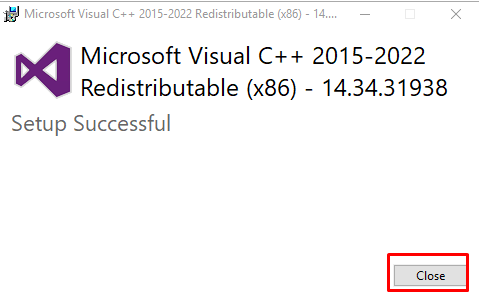
6. Click Close.
7. Run vc_redist.x86.exe.
8. Mark the I agree to the license terms and conditions checkbox and click Install.
9. Click Close
10. Restart your Windows server, then try again.
Method 2. Run the Deployment Image & Servicing Management (DISM) and System File Checker (SFC) Scans
Deployment Image Servicing and Management (DISM) is a command-line tool that can repair your Windows image if it has been corrupted. The System File Checker (SFC) is a utility that can repair corrupted Windows system files by downloading new files from Microsoft’s servers.
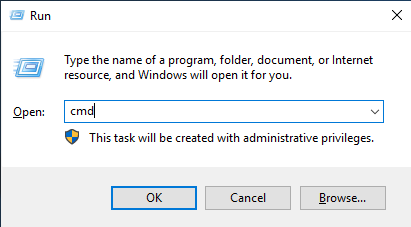
1. Hold down Windows+R keys to open Run.
2. In the Run dialog box, type in CMD and hold down Ctrl+Shift+Enter keys to open the elevated Command Prompt.
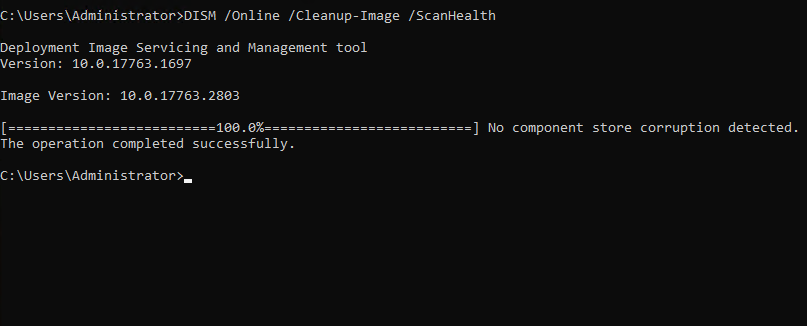
3. In the Command Prompt window, type in DISM /Online /Cleanup-Image /ScanHealth and press Enter.
DISM /Online /Cleanup-Image /ScanHealth
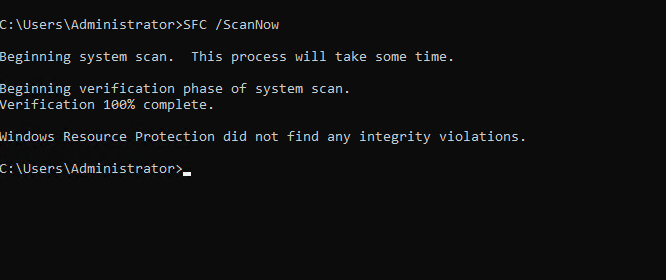
4. Then, type in SFC /ScanNow and press Enter.
SFC /ScanNow
5. Close the Command Prompt and restart your Windows server, then try again.
Method 3. Re-register All DLL Files on Your System
1. Hold down Windows+R keys to open Run.
2. In the Run dialog box, type in CMD and hold down Ctrl+Shift+Enter keys to open the elevated Command Prompt.

3. In the Command Prompt window, type in for %1 in (*.dll) do regsvr32 /s %1 and press Enter.
for %1 in (*.dll) do regsvr32 /s %1

4. Close the Command Prompt and restart your Windows server, then try again.
Conclusion
In our case after performing the above steps, we did not see the error again.
Hopefully, this article will be helpful for you. Good luck!

