How To Fix Error AnyDesk Sound Not Working on Windows
The AnyDesk Audio functionality enables the transmission of sound from the remote device to the local one. Nevertheless, on occasion, users might confront the challenge of the sound functionality not operating correctly in AnyDesk.
Here are potential fixes for this sound problem.
Solution 1. Setup Audio Transmission
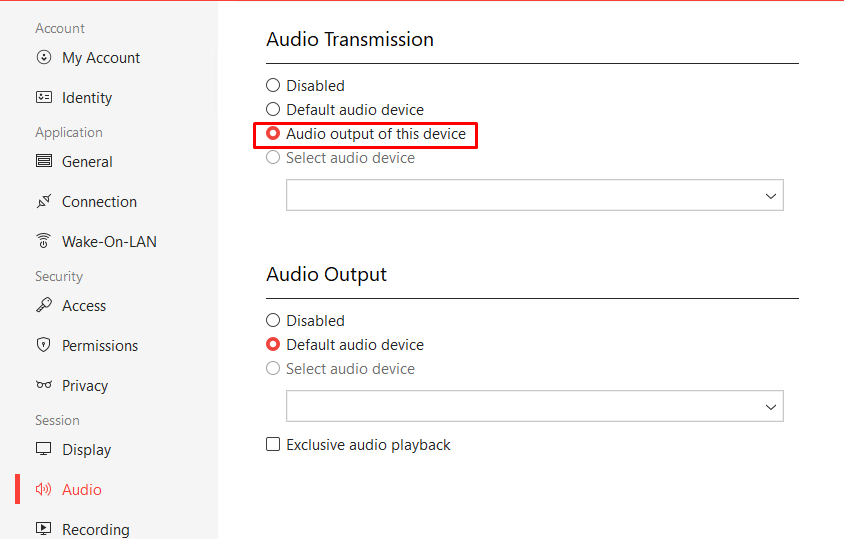
The “Transmission” feature determines which audio device the client sends when it receives an incoming connection. If you’re experiencing difficulty hearing remote sounds, it could be due to incorrect Audio Transmission settings. To enable the transmission of audio output from all devices on your computer, follow these steps:
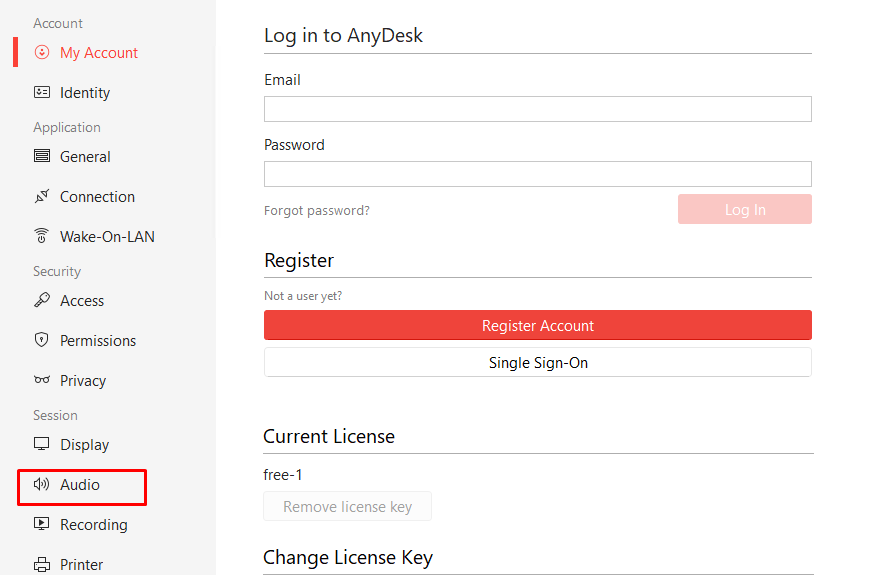
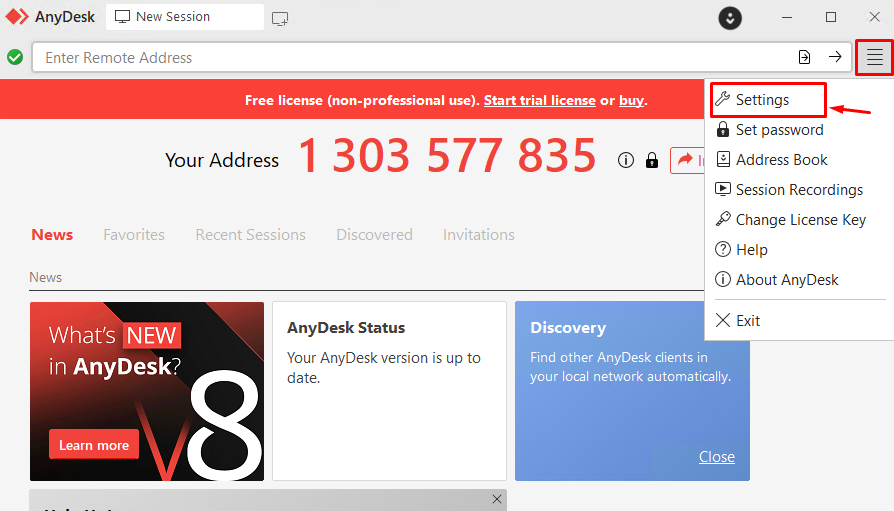
Step 1. Access your Settings.

Step 2. Navigate to the Audio section.
Step 3. Under the Transmission category, choose Transmit audio output of this desk.
Solution 2. Setup the Audio Output
The “Output” feature determines the device on which audio is played when the client initiates an outgoing session. To ensure your sound output is correctly configured, follow these steps:
Step 1. Access your Settings.
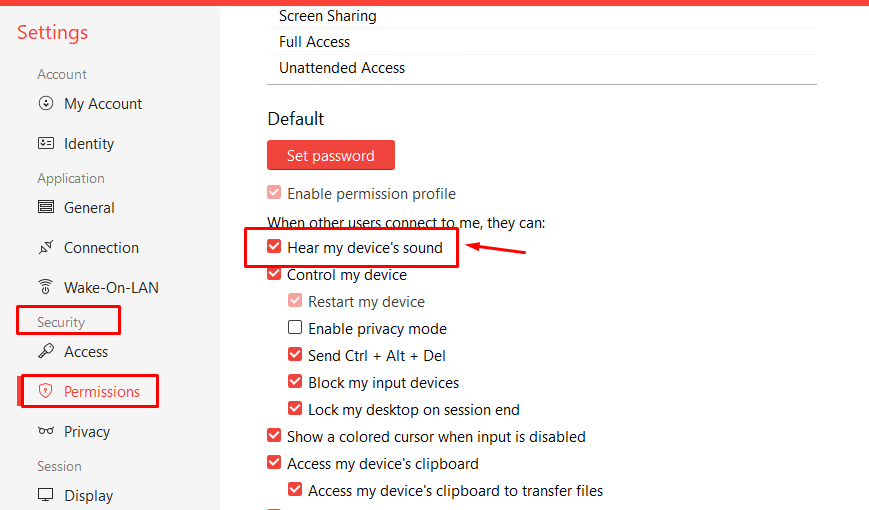
Step 2. Navigate to the Security section.
Step 3. Within the Permission Profile, confirm that Hear my device’s sound is selected.
Solution 3. Update AnyDesk
Outdated software can lead to compatibility issues. Visit the official AnyDesk website and download the latest version of the software. Install it and check if the sound problem persists. Software updates often contain bug fixes that can resolve AnyDesk remote audio not working.
You can download it here: https://anydesk.com/en/downloads/windows
Solution 4. Enabling Audio on Windows
Make sure you have enabled Audio on Windows, if not, you can see the following steps
Step 1: First, we need to open Services by going to Start -> Services

Step 2. In Services, scroll down to find Windows Audio -> right-click on it, and then select the Properties option.

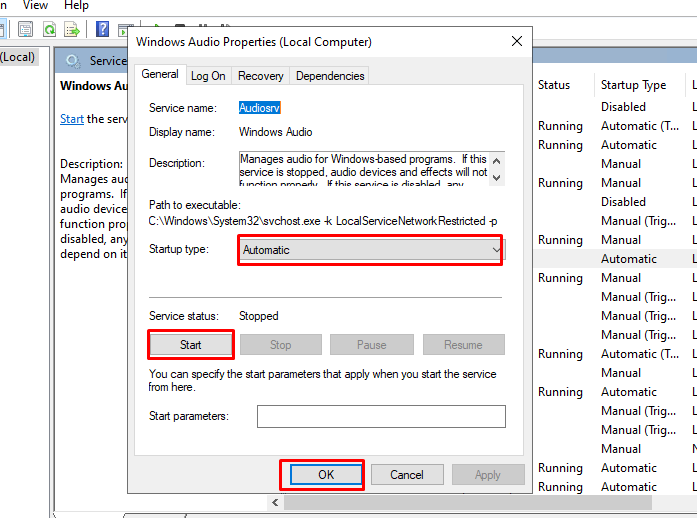
Step 3. At Windows Audio Service Properties, set the Startup type to Automatic and then click on Start under the Service Status. Once done, click OK.
Restart Windows then try again.
Conclusion
In our case after performing the above steps, we did not see the error again
Hopefully, this article will be useful for you. Good luck!

