How to disable Windows Defender (Windows Security) on Windows Server 2019, 2022
Windows Defender is a free antivirus program that comes pre-installed by Microsoft on Windows 2019,2022 to protect your computer from attacks by viruses, rootkits, spyware (spyware), and other types of malicious code. .
Windows Defender is rated as one of the reliable antivirus software. Windows Defender runs in the background on the computer, but it will automatically disable it if it detects that any other security software is installed on the computer.
For some reason, you need to disable Windows Defender completely on Windows 2019, 2022? There are several ways to disable Windows Defender on Windows 2019, 2022. On Windows 2019, 2022 version, Windows Defender has been renamed to Windows Security, in this article we will, guide you to disable Windows Defender (Windows Security)
1. Disable Windows Defender ( Windows Security ) use Local Group Policy
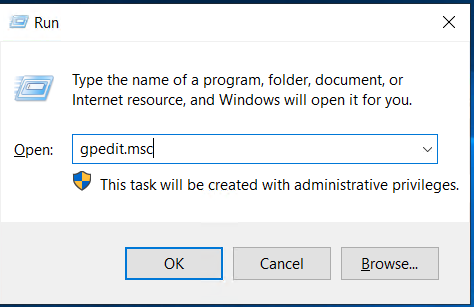
Step 1: Use the keyboard shortcut Windows + R to open the Run dialog box, then type “gpedit.msc” into the box and press Enter.
Step 2: The Group Policy dialog box appears, continue to access the link below.
Local Computer Policy => Computer Configuration => Administrative Templates => Windows Components => Windows Defender Antivirus

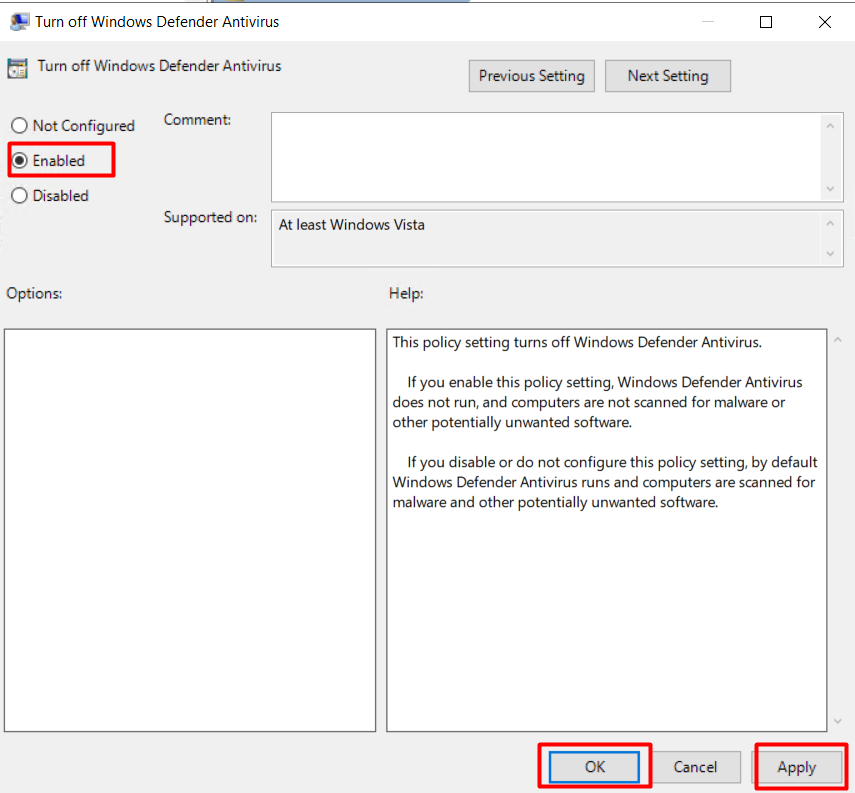
In the Turn off Windows Defender policy setting, click Enabled. This policy setting will disable Windows Defender. Click OK and close the Group Policy Management console.
2. Turn off Windows Defender ( Windows Security ) use Windows Registry
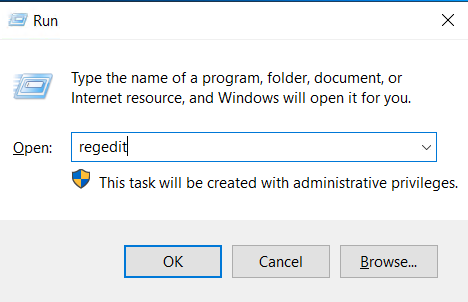
Step 1: Use the keyboard shortcut Windows + R to open the Run dialog box, then type “regedit” in the box and press Enter.
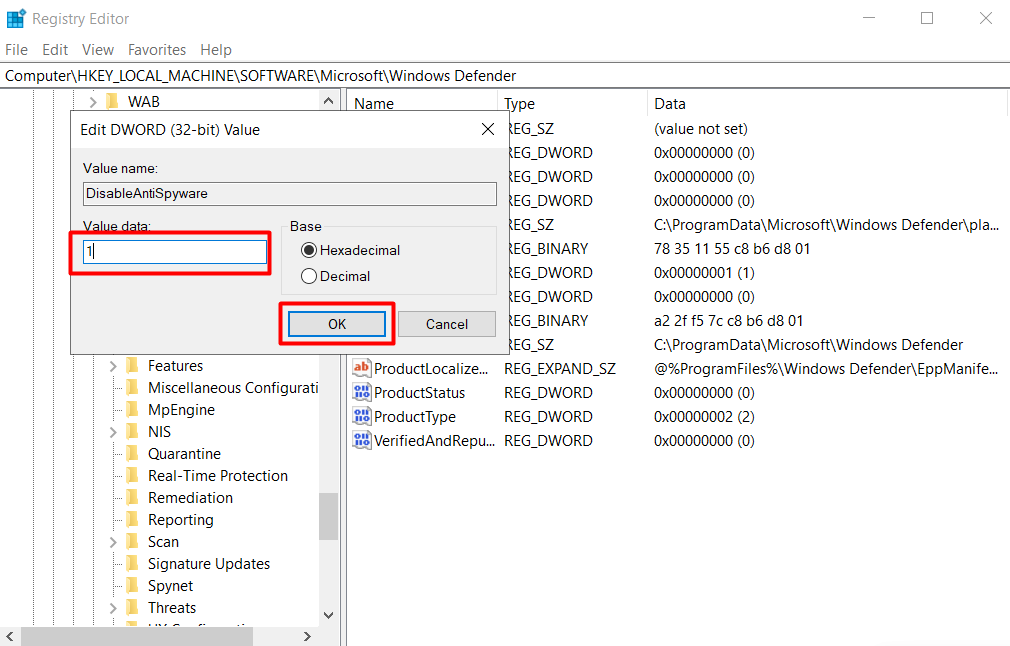
Step 2: The Registry Editor dialog box appears, continue to access the path below.
HKEY_LOCAL_MACHINE \ SOFTWARE \ Microsoft \ Windows Defender
Step 3: After accessing the path as the step above, you will see an item called “DisableAntiSpyware” in the right pane.
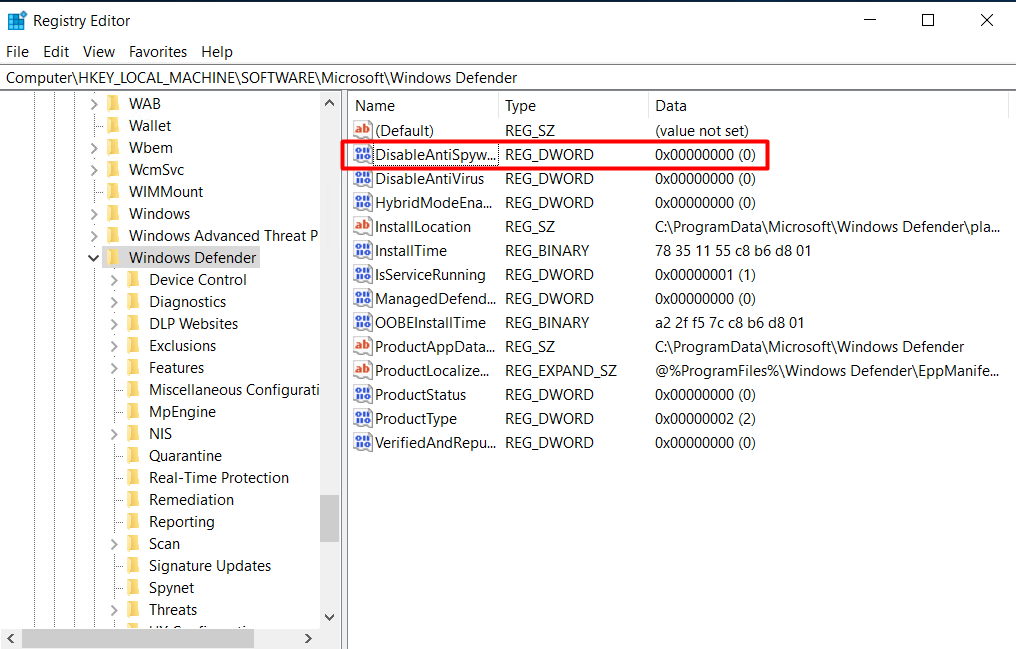
Step 4: Double-click the left mouse button on “DisableAntiSpyware” to open it and reset the value to “1”, then click Apply and click OK to confirm the setting.
Restart your computer to complete the process.
In case if you want to reactivate Windows Defender, follow the same steps, set the value in the Value Data frame from 1 to 0, restart your computer to apply the changes.
3. Temporarily Disable Windows Defender ( Windows Security ) Use the Settings
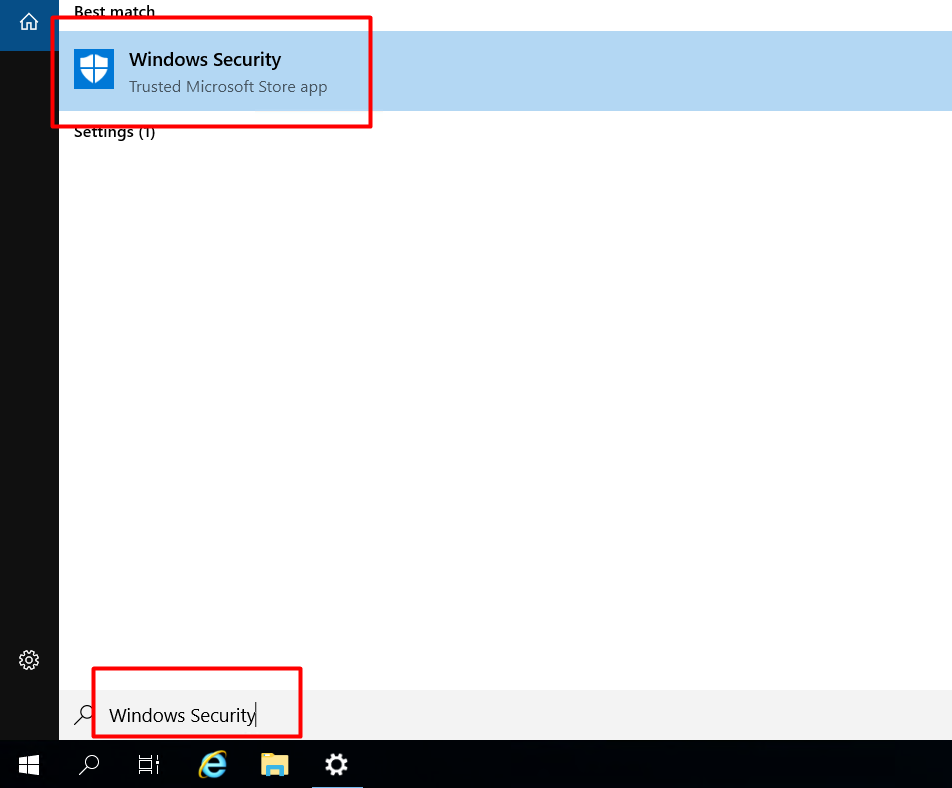
Type Windows Security in the search box (near the start button) to open Windows Security
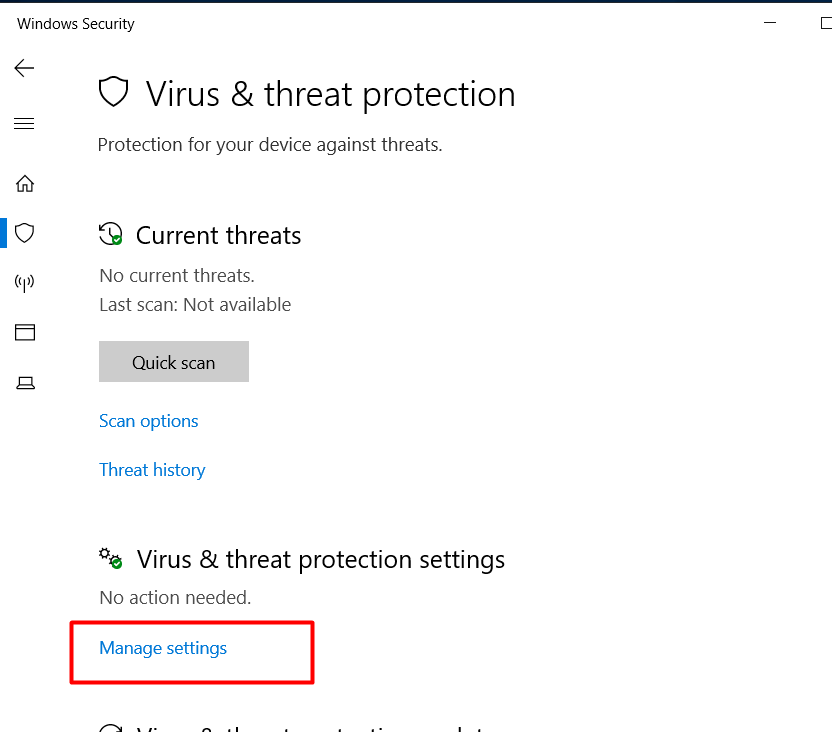
Then select the Virus & threat protection tab – scroll down to Virus & thereat protection settings – select Manager settings.
- Turn the Real-time protection option status to OFF.
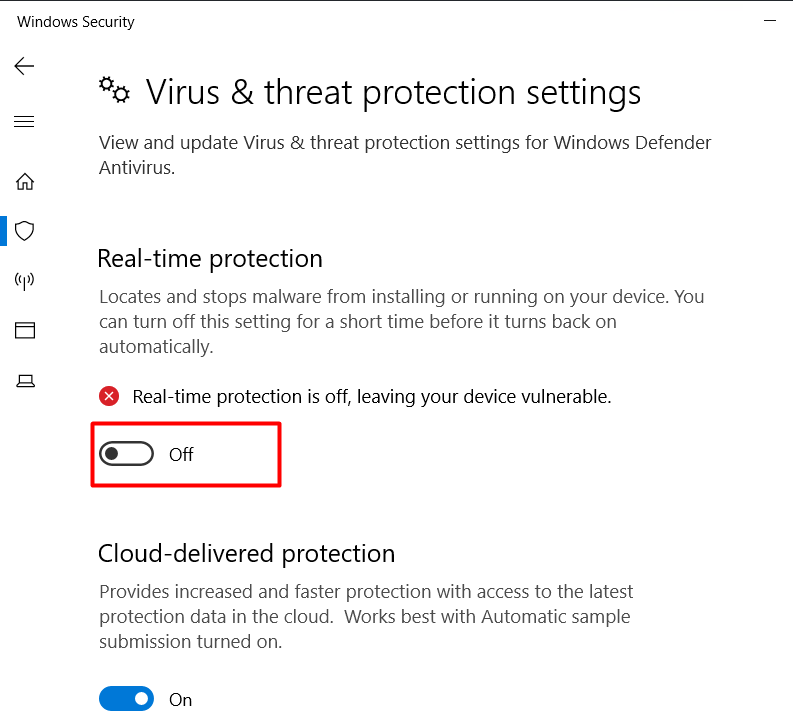
Note: When you proceed to restart (restart the VPS) Real-time protection system will automatically be re-enabled
Conclusion
Through this article, we have guided you how to disable Windows Defender (Security) on windows server 2019, 2022.
Hopefully this article will be useful for you. Good luck !

