How to Install Java on Windows Server 2022
Introduction
The Java Development Kit (JDK) is an essential tool for Java developers. It includes a compiler to convert Java source code into bytecode, class libraries, API documentation, and the Java Runtime Environment (JRE) to execute Java applications.
This guide walks you through installing JDK on Windows.
1. System Requirements
Before installing JDK 21, ensure your system meets the following requirements:
- Windows 10,11 windows server 2019, 2022 or later
- An active internet connection
- Administrator privileges to install software
2. Check If Java Is Already Installed
If multiple Java versions are installed on your system, they may cause conflicts. Before installing a new version, check whether Java is already installed:
1. Type cmd in the Windows search bar.
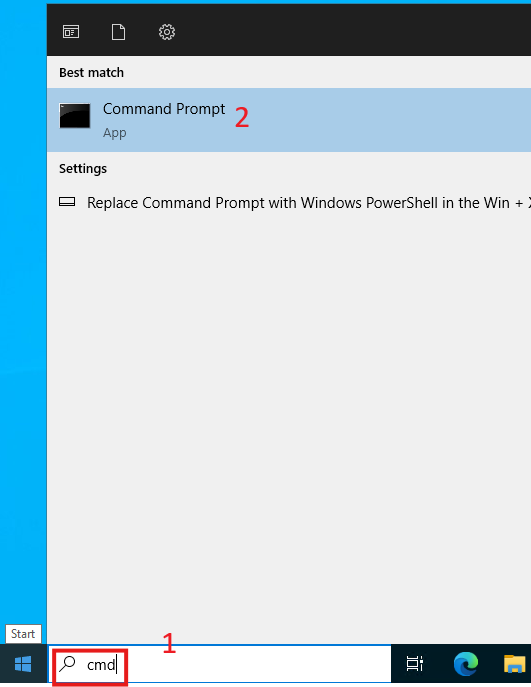
2. Run the following command:
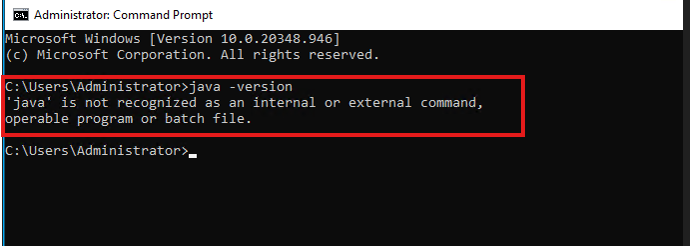
- If you see an error message like ‘java’ is not recognized as an internal or external command, Java is not installed. If an older version is installed, consider uninstalling it before proceeding.
3. Download JDK
Java is available in two main distributions: Oracle JDK (commercial) and OpenJDK (open source). Choose Oracle JDK if you need commercial support, or OpenJDK for a free, community-supported version.
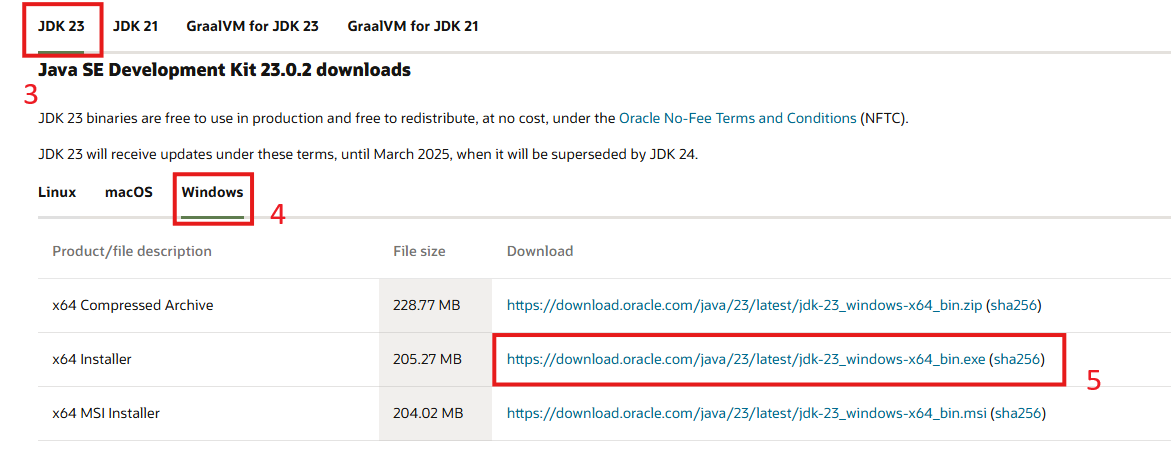
Download JDK 23:
- Open your web browser and go to Oracle’s Java download page.
- Select the latest JDK version (JDK 23).
- Navigate to the Windows tab and download the x64 Installer file.
4. Install JDK on Windows
Once the installer is downloaded, follow these steps:
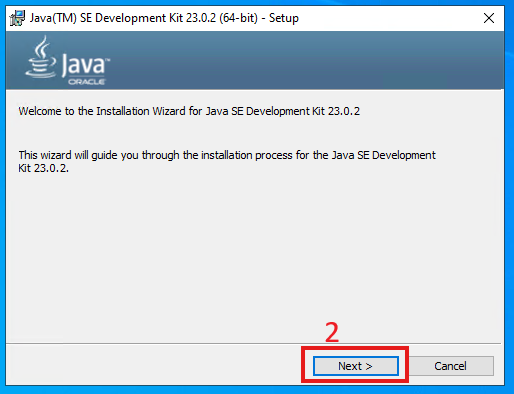
1. Double-click the installer file to start the installation.
2. Click Next on the welcome screen.
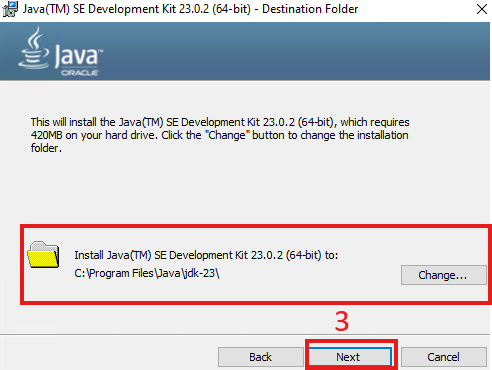
3. Choose the installation directory (or leave it as default) and click Next.
4. Wait for the installation to complete, then click Close to exit.
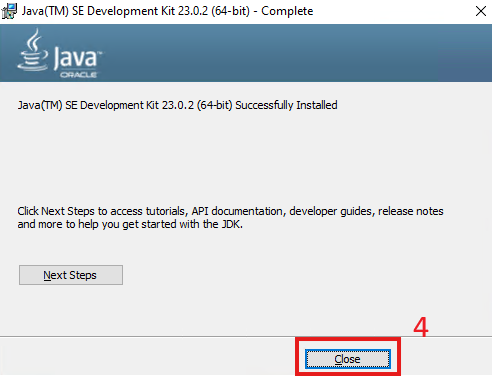
At this point, JDK 23 is installed on your system.
5. Configure Java Environment Variables
To use Java from any directory in Command Prompt, you need to configure environment variables.
Step 1: Add Java to System Variables
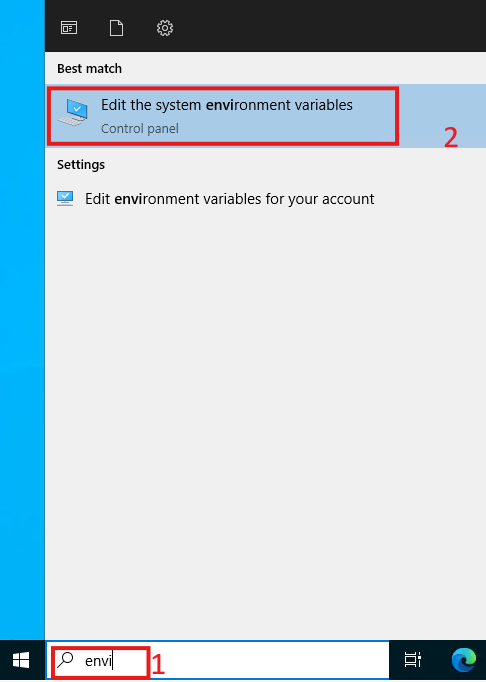
- Press
Windows + S, search for environment variables, and select Edit the system environment variables.
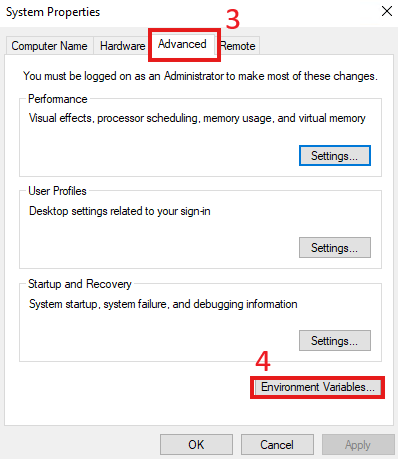
2. In the Advanced tab, click Environment Variables.
3. Under System variables, select Path, then click Edit.
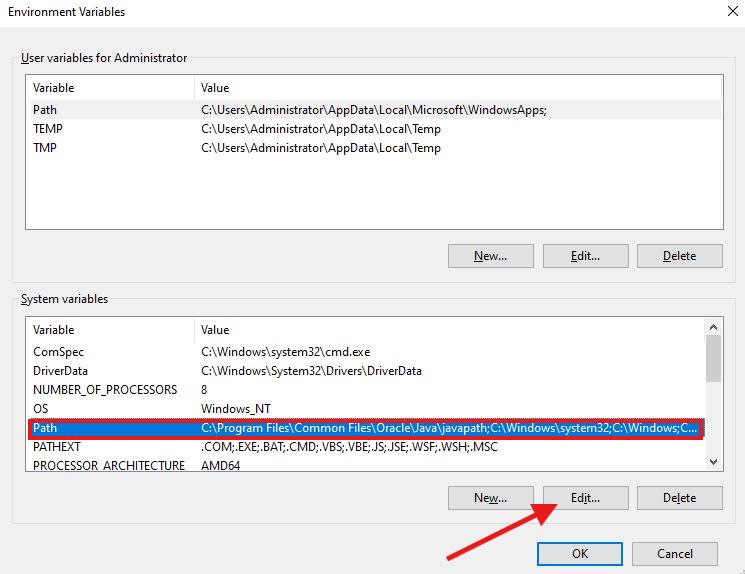
4. Click New and add the path to the bin folder of the JDK installation:
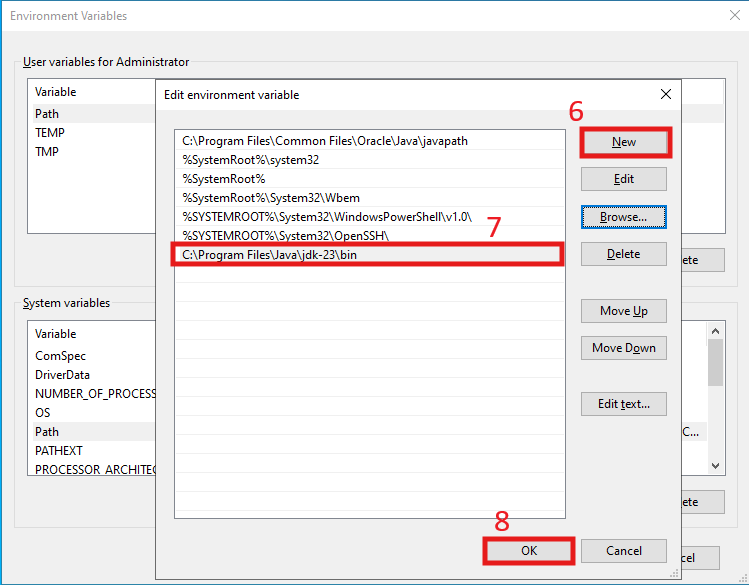
C:\Program Files\Java\jdk-23\binClick OK to save changes.
Step 2: Set Up JAVA_HOME
Some applications require the JAVA_HOME variable to locate Java. Follow these steps to set it up:
- In the Environment Variables window, click New under System variables.
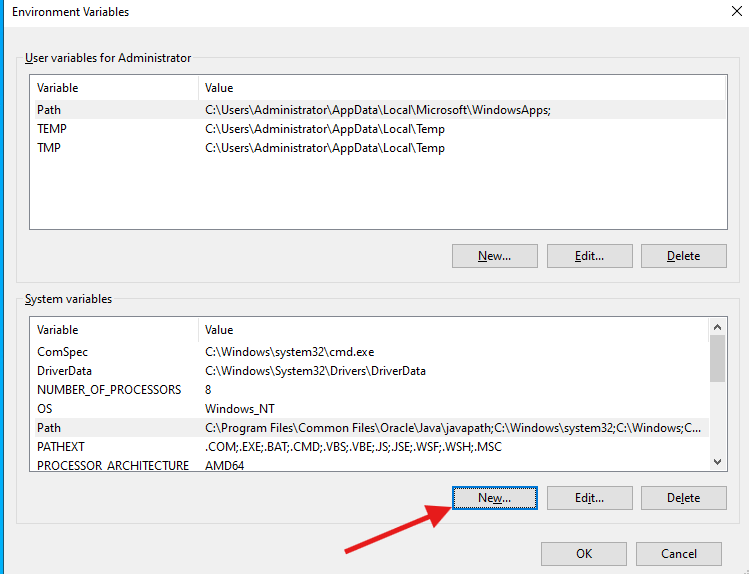
2. Enter JAVA_HOME as the Variable name.
3. Set the Variable value to the JDK installation directory (e.g., C:\Program Files\Java\jdk-23).
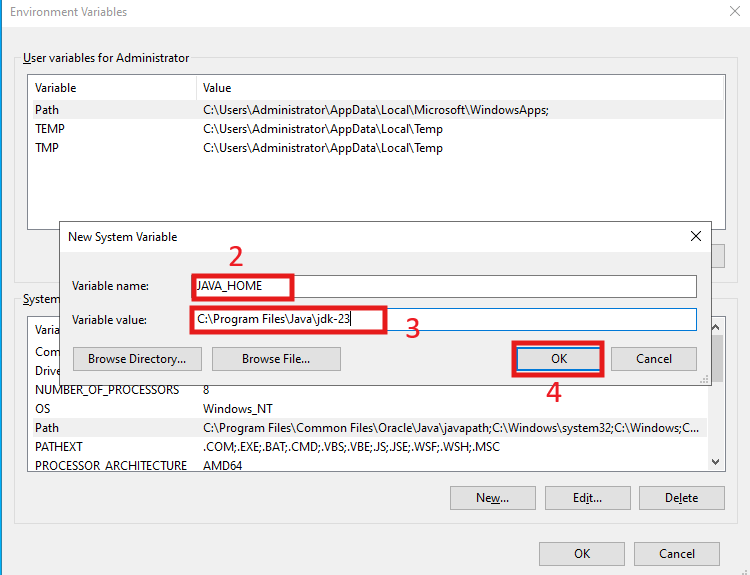
Click OK to save the changes.
6. Verify Java Installation
To confirm that Java is installed correctly, open Command Prompt and run:
java -version
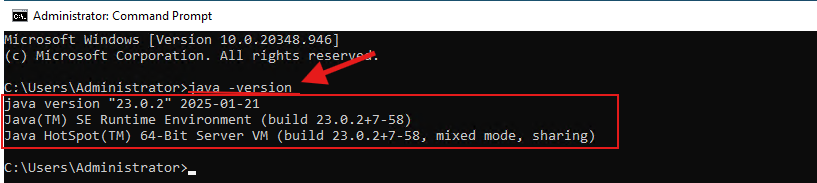
If the installed Java version is displayed, the installation was successful.
7. Write and Run Your First Java Program
To test the Java compiler and runtime, create a simple Java program.
Step 1: Write the Code
- Open Notepad or a code editor like Notepad
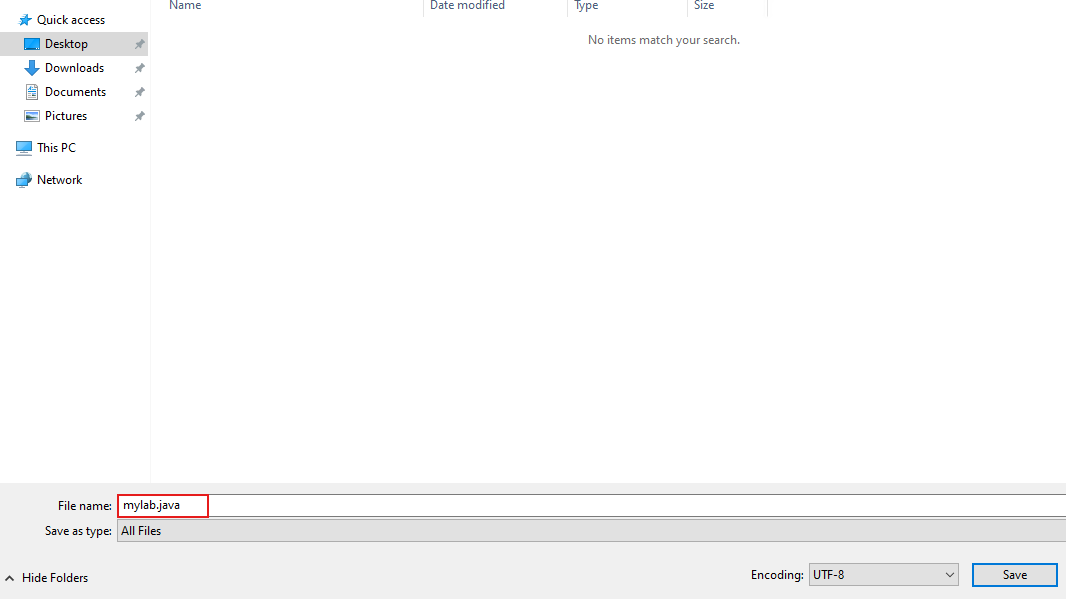
Enter the following code and save it as HelloWorld.java:
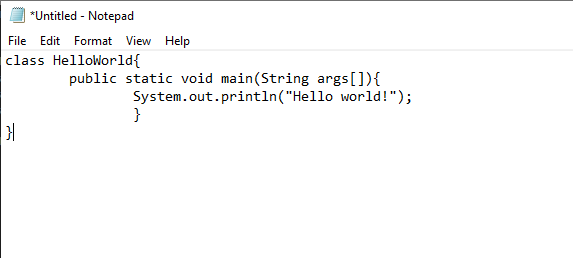
2. Ensure the file extension is .java.
Step 2: Compile and Run
- Open Command Prompt and navigate to the directory where you saved
HelloWorld.java.
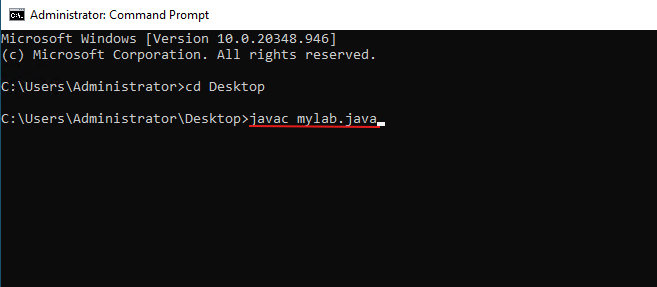
2. Compile the program using:
If successful, this generates a HelloWorld.class file.

3. Run the program:
![]()
If you see Hello, world!, Java is correctly installed.
Conclusion
In this tutorial, we covered the step-by-step process of installing the Java Development Kit (JDK) on a Windows system. We walked through downloading the appropriate JDK version, configuring system environment variables, and verifying the installation. Additionally, we provided an example Java script to ensure that the setup was successful. By following these steps, you should now have a fully functional Java development environment, allowing you to write, compile, and execute Java programs seamlessly.
