How to Install Piwigo on Ubuntu 22.04 LTS
Introduction
Piwigo is a robust open-source photo gallery platform that makes it easy to manage, organize, and share your photo collections online. With a user-friendly interface and a wide range of features, Piwigo is popular among individuals, photographers, and organizations.
This guide walks you through the complete process of installing Piwigo on Ubuntu Server 22.04, ensuring a clean and functional deployment.
Software Stack
-
Operating System: Ubuntu 22.04 LTS
-
Web Server: Apache
-
PHP Version: 8.1
-
Database: MariaDB 10.x
1. System Preparation
Update package lists and upgrade existing packages:
-
apt update: Retrieves the latest package list from configured repositories. -
apt upgrade -y: Installs the newest versions of all installed packages (with-yto auto-confirm prompts).
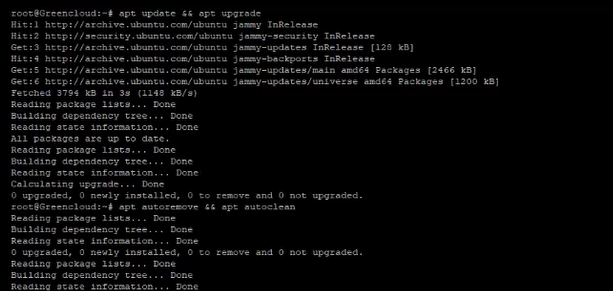
Clean up unnecessary packages:
-
apt autoremove: Removes packages that were automatically installed to satisfy dependencies but are no longer needed. -
apt autoclean: Deletes local copies of package files that can no longer be downloaded.
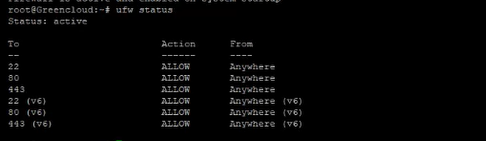
2. Configure the UFW Firewall
Set default policies:
-
Allow all outgoing connections.
-
Deny all incoming connections by default for security.
Allow essential ports:
-
22: SSH access. -
80: HTTP traffic. -
443: HTTPS traffic.
Enable and check UFW:
-
ufw enable: Turns on the firewall. -
ufw status: Displays current rules and status.
3. Install Required Packages
Apache, MariaDB, PHP, extensions, and utilities:
apt install apache2 mariadb-server libapache2-mod-php php php-gmp php-bcmath php-gd php-json php-mysql php-curl php-mbstring php-intl php-imagick php-xml php-zip php-fpm php-apcu php-opcache bzip2 zip unzip imagemagick vim libimage-exiftool-perl ffmpeg -y

Includes:
-
Web server:
apache2 -
Database server:
mariadb-server -
PHP Core + Extensions: for performance, uploads, media processing
-
Utilities:
imagemagick,ffmpeg,zip,unzip,vim,exiftool
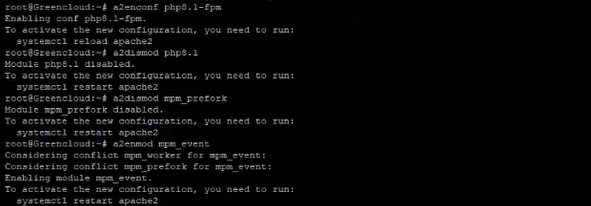
4. Enable PHP-FPM and Optimize Apache Configuration
Enable PHP-FPM:
-
Enables PHP 8.1 FPM config so Apache can handle PHP using FPM instead of mod_php.
Disable default PHP and MPM modules:
-
Disables traditional PHP processing (
mod_php) and switches Apache toeventMPM (better performance with FPM).
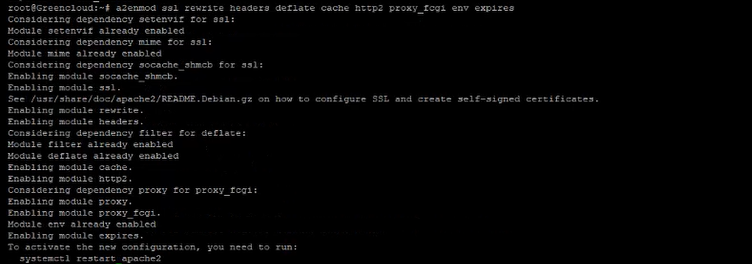
5. Enable Required Apache Modules
a2enmod ssl rewrite headers deflate cache http2 proxy_fcgi env expires
-
ssl: Enables HTTPS support -
rewrite: Enables URL rewriting (pretty URLs) -
headers: Allows modifying HTTP headers -
deflate: Compression for faster loading -
cache,http2: Performance enhancements -
proxy_fcgi: Required for PHP-FPM -
env,expires: Control caching and environment vars
Restart Apache:
6. Enable Services to Start on Boot
-
Ensures all necessary services will start automatically after reboot.


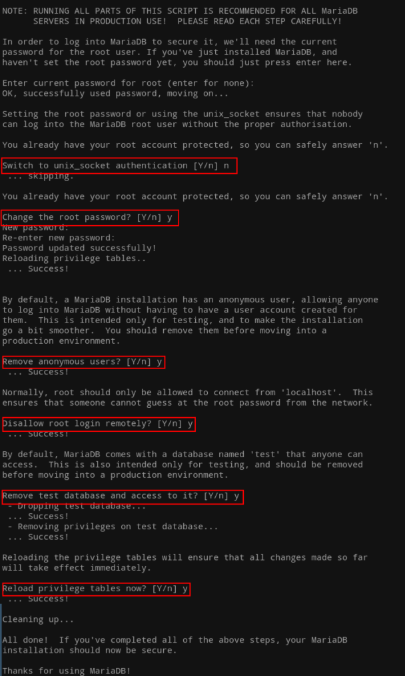
7. Secure and Configure MariaDB
Run security script:
-
Sets root password, removes anonymous users, disables remote root login, removes test DB.

Access MariaDB shell:
Inside MariaDB shell:
-
Creates a database for Piwigo
-
Creates a dedicated user with full access
-
Don’t forget to replace
'PASSWORD'with a secure password

8. Adjust PHP Configuration
Edit PHP FPM config:
Modify these values:
These settings ensure large file uploads and better script execution time.
Restart PHP-FPM:
9. Configure Apache Virtual Host
Create a new virtual host file:
Paste the following configuration :
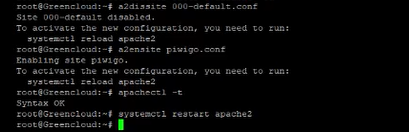
Enable virtual host and check the config:
-
Disables the default site, enables your new site
-
apachectl -t: Tests Apache config syntax
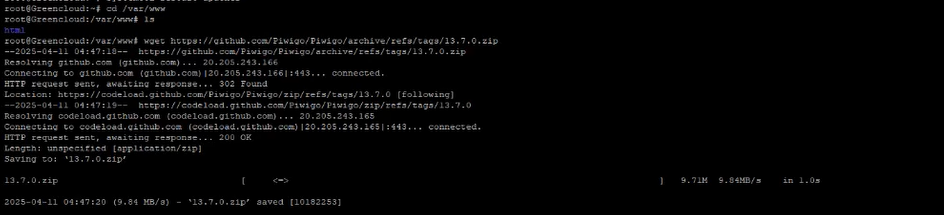
10. Download and Deploy Piwigo
Download the latest release:
cd /var/www
wget https://github.com/Piwigo/Piwigo/archive/refs/tags/13.7.0.zip
Unzip and deploy:
Set correct permissions:
-
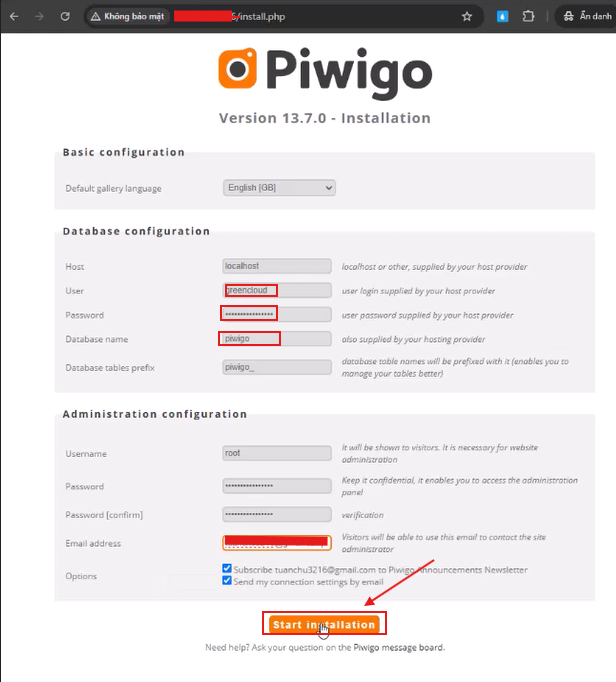
Go to:
http://your-domain.com -
Fill in database details:
-
Database:
piwigo -
User:
piwigo_user -
Password: The one you set
-
-
Set admin login and password
-
Click Start installation


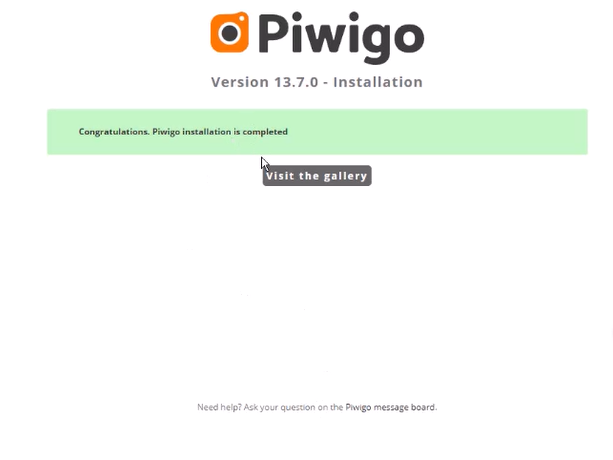
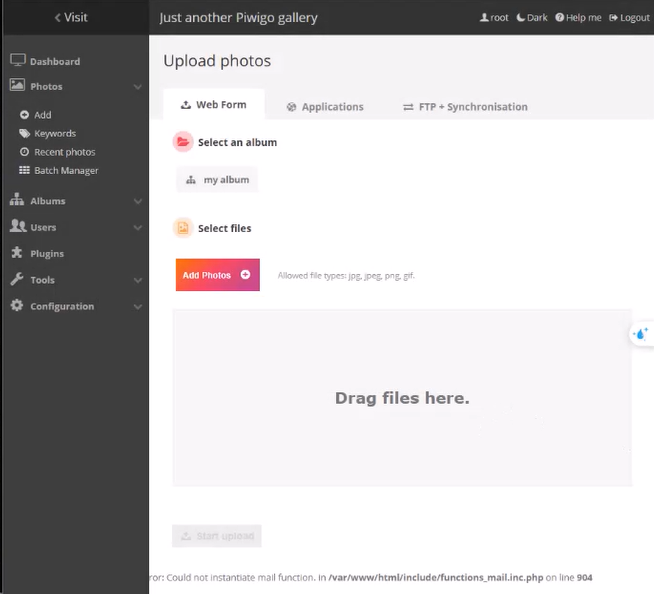
Conclusion
You have now successfully installed and configured Piwigo on your Ubuntu 22.04 server. The gallery is ready to use—feel free to explore themes, plugins, and start uploading your photos.
