How to Install Joomla on Ubuntu 24.04 with Nginx, MariaDB, and PHP
Introduction
Joomla is a powerful, open-source content management system (CMS) built with PHP. It’s widely used for creating websites, blogs, e-commerce platforms, forums, and other web-based applications.
In this tutorial, you’ll learn how to set up Joomla on an Ubuntu 24.04 server using the LEMP stack (Linux, Nginx, MariaDB, PHP-FPM). We’ll also configure your Joomla site to use HTTPS for secure communication.
What You’ll Need
Before getting started, make sure you have:
-
An Ubuntu 24.04 server instance
-
A user with sudo privileges (non-root)
-
A domain name pointing to your server’s IP
Step 1: Install Required Packages
Since Joomla runs on PHP, we’ll start by installing the LEMP stack.
Update System Packages
sudo apt update
Install Nginx, MariaDB, and PHP with Extensions
sudo apt install nginx mariadb-server php-fpm php-curl php-common php-json php-intl php-xml php-gd php-mysql php-imagick php-mbstring php-zip
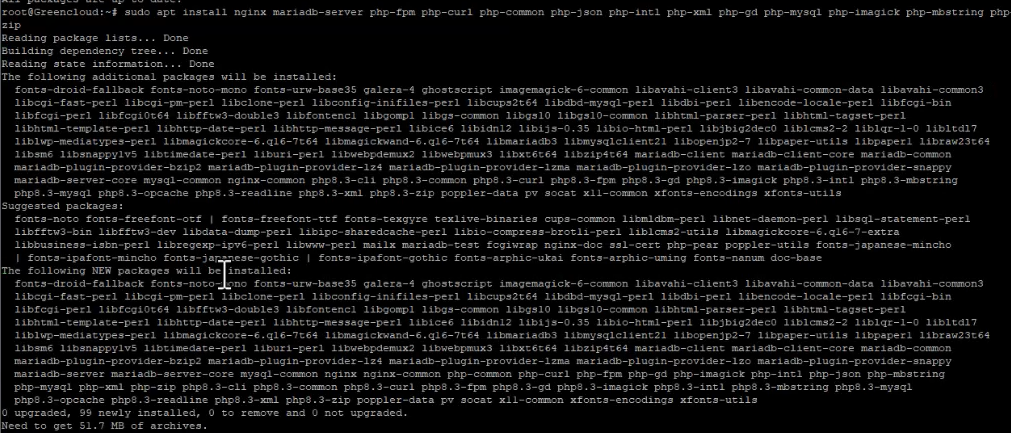
Confirm with Y when prompted.
Step 2: Verify Services Are Running
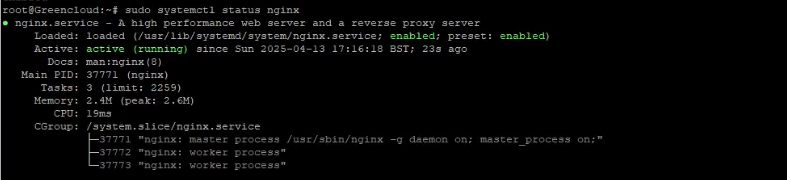
Check Nginx Status
sudo systemctl is-enabled nginx

sudo systemctl status nginx
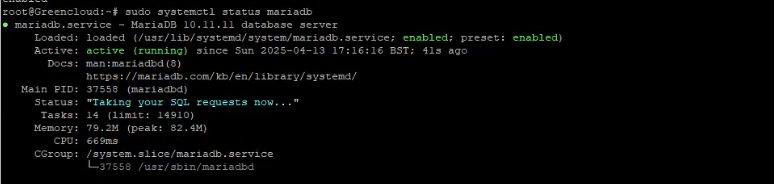
Check MariaDB
sudo systemctl is-enabled mariadb

sudo systemctl status mariadb
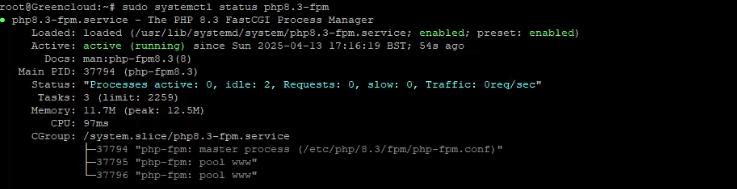
Check PHP-FPM
sudo systemctl is-enabled php8.3-fpm

sudo systemctl status php8.3-fpm
Step 3: Tune PHP-FPM for Joomla
Edit the PHP configuration file:
Update the following values:
Save the file and restart PHP-FPM:
Check the PHP socket:
ss -pl | grep php
You should see something like /var/run/php/php8.3-fpm.sock.
Step 4: Configure the MariaDB Database
Secure the Database Server
Run the built-in security script:
Follow the prompts:
-
Press
ENTERfor no root password (if using default install) -
Say
nwhen asked aboutunix_socketauthentication -
Set a new root password
-
Disable remote root login
-
Remove the test database and anonymous users
-
Reload privileges
Create a Joomla Database and User
In the MariaDB shell:

Confirm the user privileges:
Step 5: Download Joomla
Navigate to your web root:
Download Joomla (replace with the latest version URL):
Extract the archive:
Set the correct permissions:
Step 6: Create an Nginx Server Block
Create a new Nginx configuration file:
Add the following configuration (replace yourdomain.com with your actual domain):
server {
listen 80 default_server;
server_name yourdoain or IP;
server_name_in_redirect off;

access_log /var/log/nginx/localhost.access_log;
error_log /var/log/nginx/localhost.error_log info;

root /var/www/joomla;
index index.php index.html index.htm default.html default.htm;

# Support API
location /api/ {
try_files $uri $uri/ /api/index.php?$args;
}

# Support Clean (aka Search Engine Friendly) URLs
location / {
try_files $uri $uri/ /index.php?$args;
}

# add global x-content-type-options header
add_header X-Content-Type-Options nosniff;

# deny running scripts inside writable directories
location ~* /(images|cache|media|logs|tmp)/.*\.(php|pl|py|jsp|asp|sh|cgi)$ {
return 403;
error_page 403 /403_error.html;
}

location ~ \.php$ {
fastcgi_pass unix:/var/run/php/php8.3-fpm.sock;
fastcgi_index index.php;
include fastcgi_params;
fastcgi_param SCRIPT_FILENAME $document_root$fastcgi_script_name;
include /etc/nginx/fastcgi.conf;
}

# caching of files
location ~* \.(ico|pdf|flv)$ {
expires 1y;
}

location ~* \.(js|css|png|jpg|jpeg|gif|swf|xml|txt)$ {
expires 14d;
}

}
Save and close the file.
Enable the configuration and check syntax:
sudo ln -s /etc/nginx/sites-available/joomla /etc/nginx/sites-enabled/
sudo nginx -t

Restart Nginx:
Final Step: Complete Joomla Setup via Web Installer
Now open your browser and navigate to:
http://yourdomain.com
You’ll see the Joomla installation wizard.
Select your default language and enter your site name.
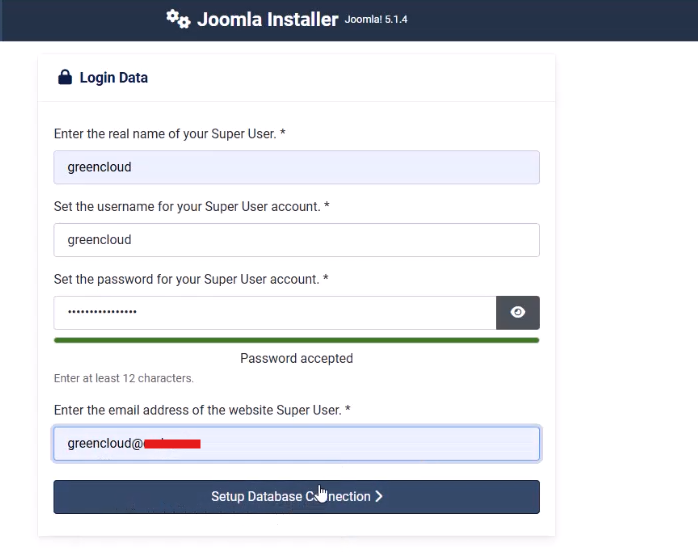
Enter the new admin user, email, and password for Joomla.
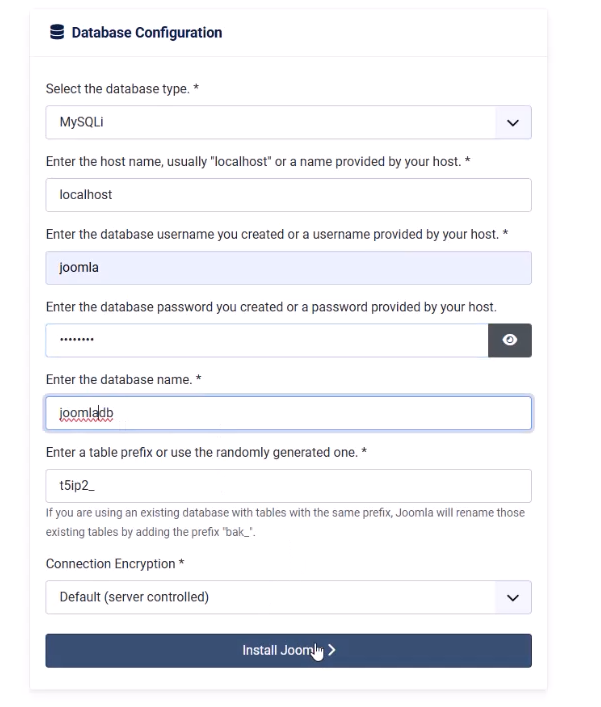
Enter details of your MariaDB database and user, then click ‘Install Joomla‘ to proceed with the installation.
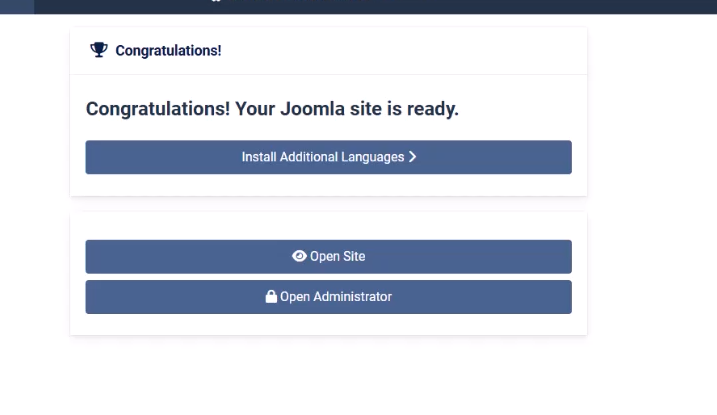
After the installation is complete, click the ‘Open Site‘ to open the default homepage, or ‘Open Administrator’ to access the Joomla administration dashboard.
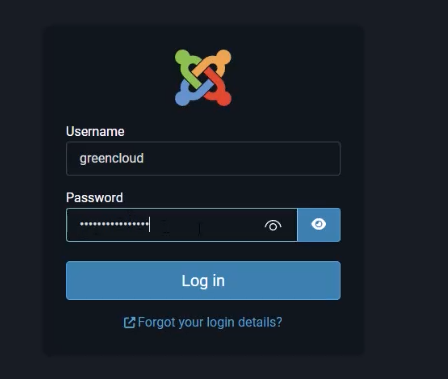
For the default Joomla homepage, you’ll see the following and enter your admin user and password and click ‘Login‘.
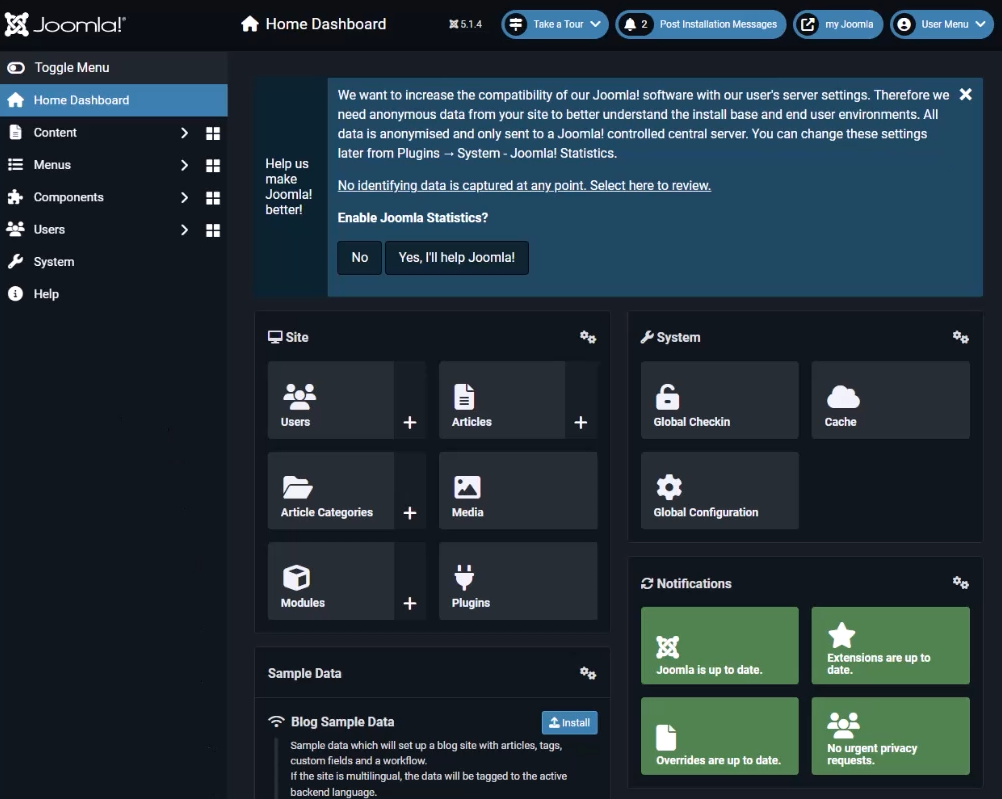
If you’ve the correct user and password, you’ll see the following Joomla administration dashboard.
Conclusion.
Congratulations! Joomla is now installed on your Ubuntu 24.04 server with Nginx, MariaDB, PHP-FPM, and secured with HTTPS via Let’s Encrypt.
