How to Install Consul on Ubuntu 24.04
Introduction
Consul by HashiCorp is a powerful tool for service discovery, configuration, and orchestration in distributed systems. This guide shows you how to install and configure Consul on an Ubuntu 24.04 server.
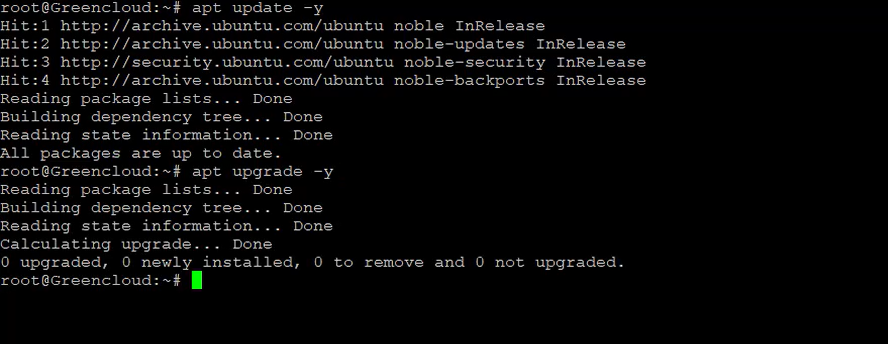
Step 1: Update Your System
Run the commands below to make sure your system packages are up to date:
Step 2: Install Required Packages
Install dependencies needed for Consul:

Step 3: Download Consul
Download the latest stable Consul release (replace version if a newer available):
Step 4: Install Consul
Unzip and move the Consul binary to /usr/local/bin:

Verify Consul is installed:

Step 5: Create Consul User and Directories
Create a dedicated user and directories for Consul:
sudo useradd --system --home /etc/consul.d --shell /bin/false consulsudo mkdir -p /opt/consulsudo mkdir -p /etc/consul.dsudo chown -R consul:consul /opt/consul /etc/consul.d /usr/local/bin/consul
Step 6: Create Consul Configuration File
Create a basic Consul config file with UI enabled:
sudo nano /etc/consul.d/consul.hclAdd the following content:
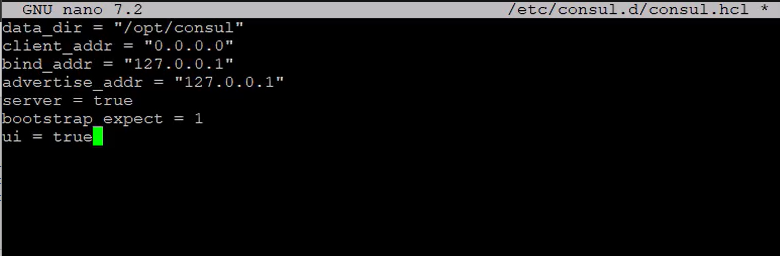
Save and exit the editor.
Step 7: Create a Systemd Service for Consul
Create a systemd service file:
Add:

Save and close the file.
Step 8: Start and Enable Consul Service
Reload systemd, start Consul, and enable it on boot:
Check status:

Step 9: Access the Consul Web UI
Open your browser and visit:
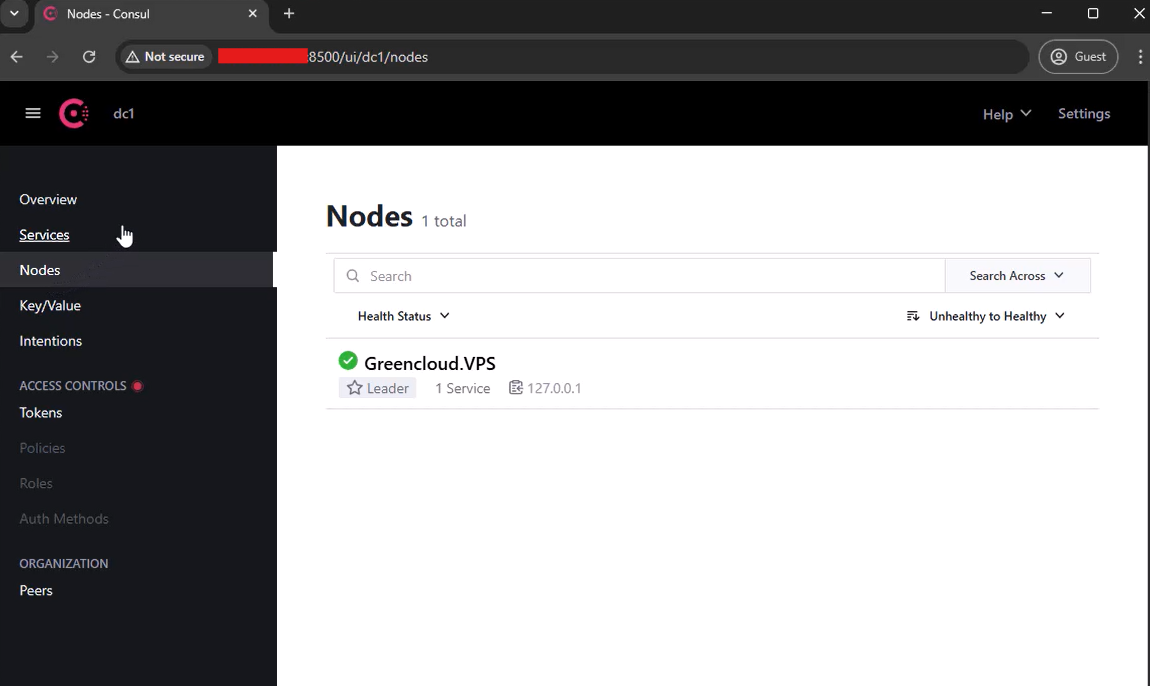
You should see the Consul dashboard.
Conclusion
Consul is now installed and running on your Ubuntu 24.04 server. You can use it to manage service discovery, configuration, and more in your infrastructure.
