How to install osTicket on Ubuntu 24.04 with LAMP Stack
Introduction
osTicket is a widely used open-source support ticket system that helps organizations manage customer support requests efficiently. Written in PHP, osTicket offers a web-based interface that integrates seamlessly with email and web forms. In this tutorial, you’ll learn how to install osTicket on Ubuntu 24.04, using the LAMP stack (Linux, Apache, MariaDB, and PHP). We’ll walk through each step from installing dependencies to configuring your virtual host and completing the web-based installer.
Prerequisites
Before you begin, ensure you have the following:
-
An Ubuntu 24.04 server
-
A non-root user with
sudoprivileges -
A domain name points to your server’s IP address
Step 1: Install Required Packages and PHP Repository
First, update your package list and install essential tools:
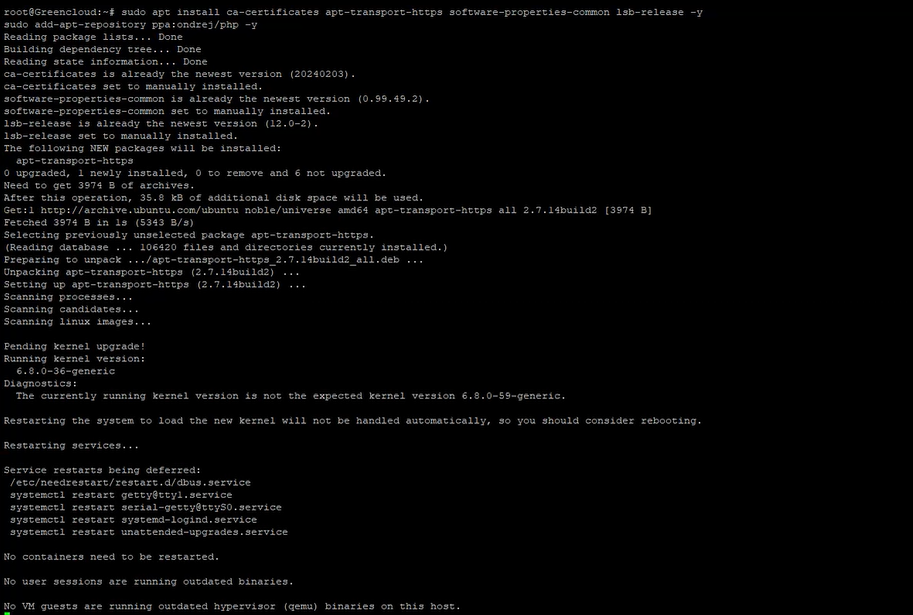 Add the PHP PPA (for PHP 8.2 support):
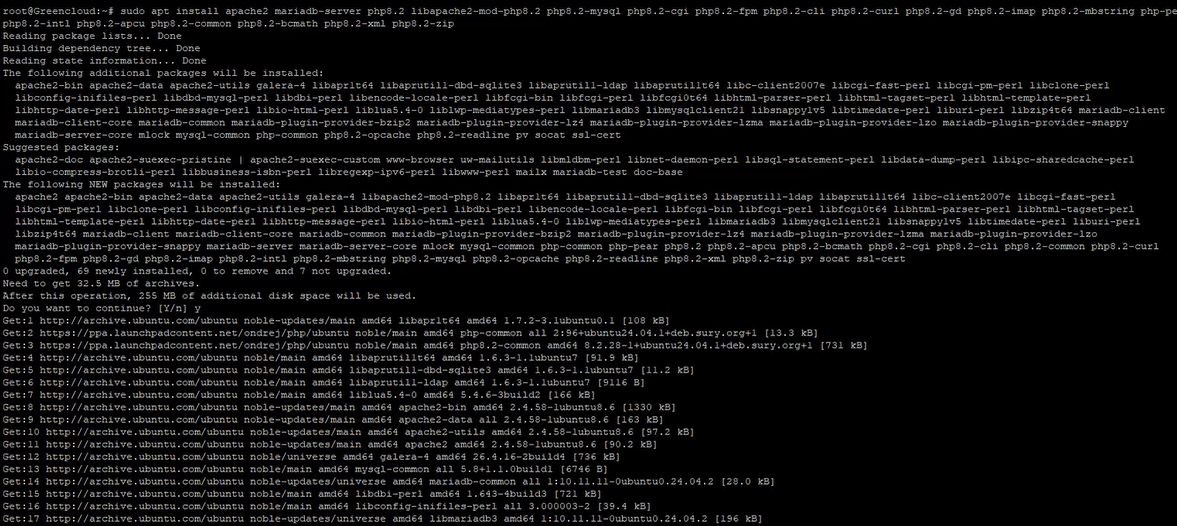
Step 2: Install the LAMP Stack and PHP Extensions
Install Apache, MariaDB, PHP 8.2, and all required PHP extensions:
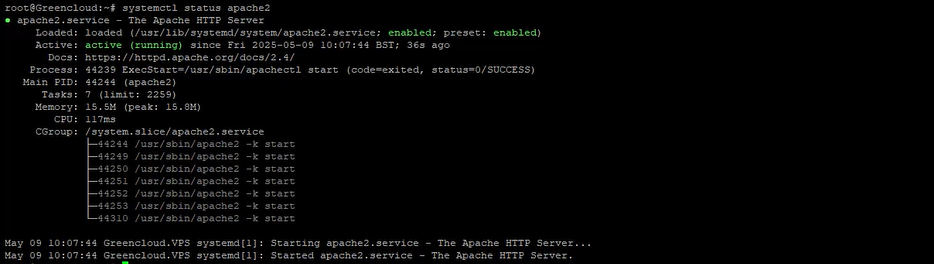
Step 3: Verify Services Are Running
Check the status of Apache:
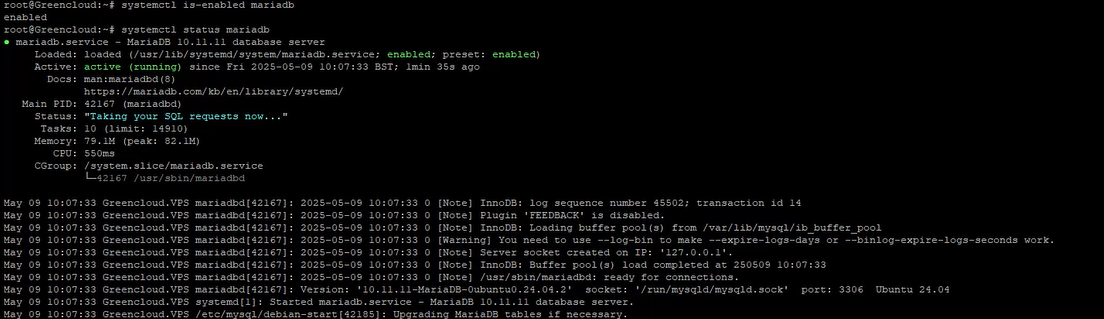
 Check MariaDB:
 Verify PHP version and modules:

Step 4: Configure PHP
Open the PHP configuration file:
Update the following settings:

Save and exit. Then restart Apache:
Step 5: Secure and Configure MariaDB
Run the MariaDB security script:
Follow the prompts:
-
Press ENTER if no root password is set
-
Select
Nfor switching to unix_socket authentication -
Set a strong root password
-
Disable remote root login
-
Remove the test database and anonymous users
-
Reload privilege tables
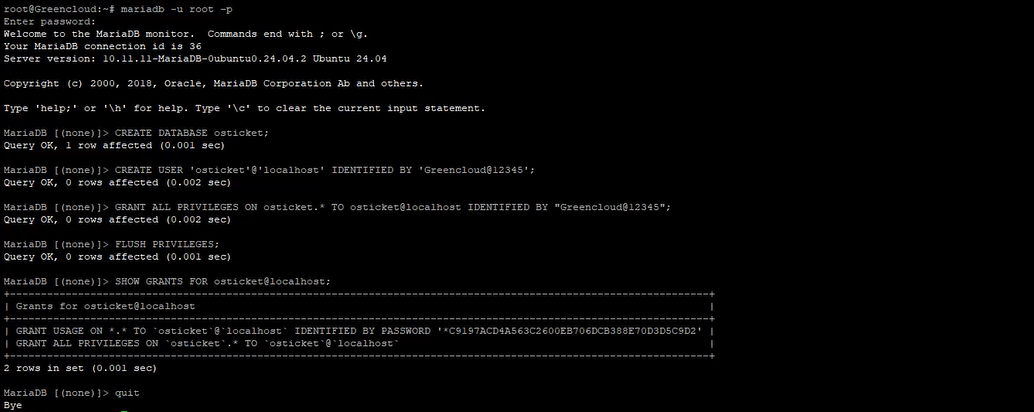
Then log in to MariaDB:
Create the database and user:
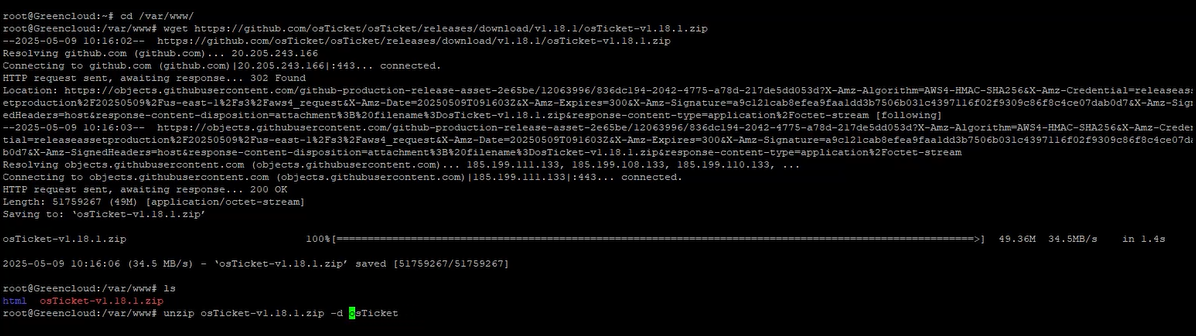
Step 6: Download osTicket
Navigate to the web root and download osTicket:
Set permissions:
![]() Rename the configuration sample file:
Rename the configuration sample file:
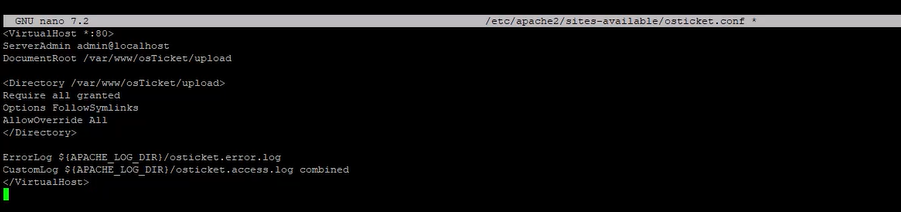
Step 7: Configure Apache Virtual Host
Create a new virtual host file:
Add the following configuration (replace with your actual domain):
 Enable the site and test Apache configuration:
 If the output is
 Syntax OK, Disables the default Apache virtual host (000-default.conf) restart Apache:
Step 8: Install osTicket via Web Interface
1. Open a browser and visit: http://youripaddress
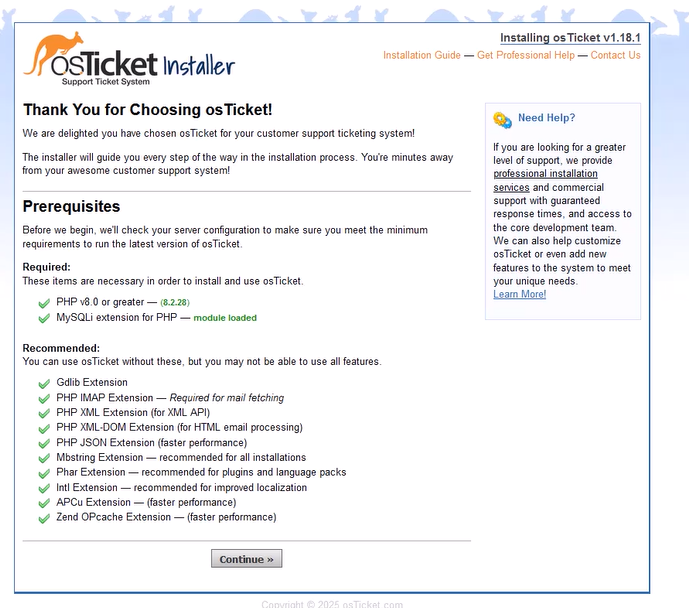
2. The osTicket installer will check your environment. Click Continue
3. Enter system settings, create the admin account, and provide the database info:
-
-
Database Name:
osticket -
Username:
osticket -
Password:
osticketpassword
-
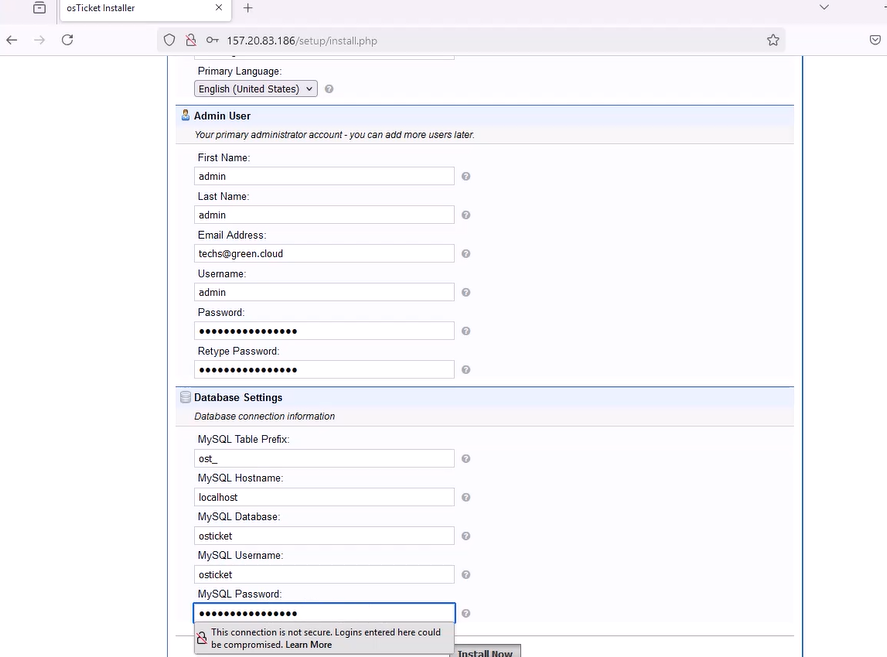
4. Click Install Now
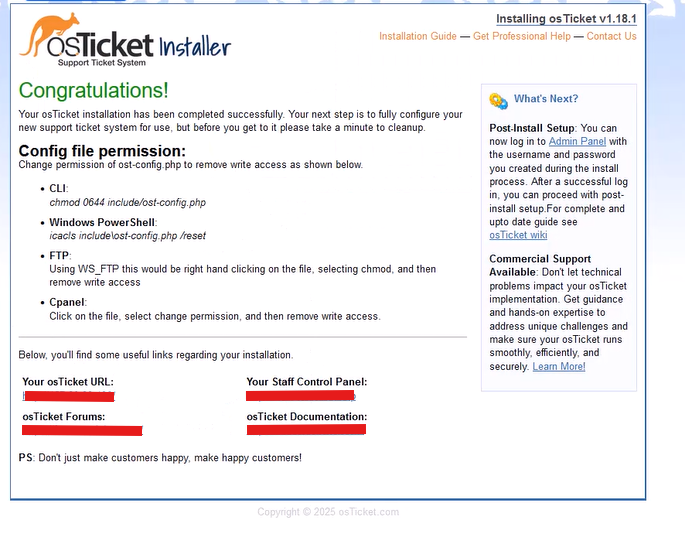
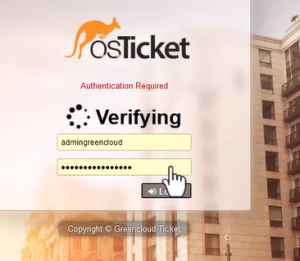
Log in with the admin account:
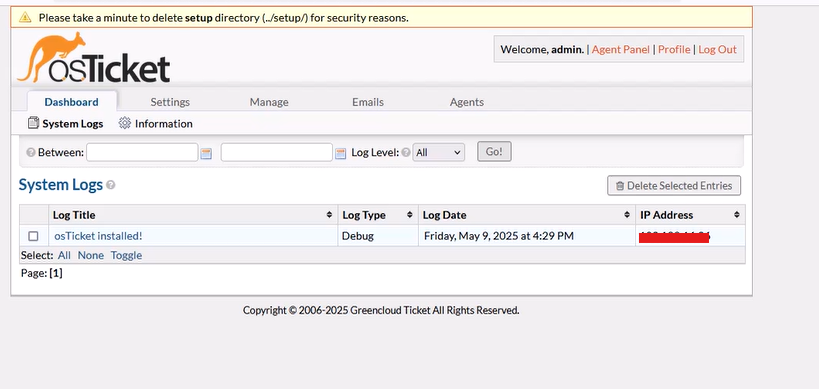
Once installation is complete:
sudo rm -rf /var/www/osTicket/upload/setup
You can now access the main osTicket interface via your domain.
Conclusion
You have successfully installed osTicket on Ubuntu 24.04 with the LAMP stack. You configured Apache, MariaDB, and PHP to support osTicket and completed the installation through the web interface. Your ticketing system is now ready to receive support requests and manage customer interactions effectively.
To further enhance security, consider adding HTTPS support via Let’s Encrypt in future steps.
