Configure Google Authenticator SSH on CentOS 9
I. Overview
What is 2-factor authentication?
Two-Factor Authentication, known as 2FA (Two-Factor Authentication) for short, is an extra step in your regular sign-in. Without 2FA, you will only enter your username and password to log into the system, your account. The password section will be the only layer of protection for the account. Meanwhile, the added second layer of security will help you better protect your account.
Why use 2-layer security?
2-layer security is the best way to protect yourself from attacks that steal user sensitive account information, fake login pages, and other account takeover methods. With 2-layer security, you can rest assured that if your account information is accidentally exposed, it will be difficult for others to access your account because there will be obstacles in security step 2. class. .
In this article, I will show you how to set up 2-factor authentication when SSHing into a VPS server , this helps increase the security of your VPS if your root information is accidentally exposed. Specifically, please see the steps in Part II.
II. Setup Guide
To set up Google Authenticator, you can follow these 4 steps.
Step 1: SSH into your server
First you need to SSH into your VPS with Root privileges.
After SSH is successful, you continue to see Step 2.
Step 2: Set up Google Authenticator
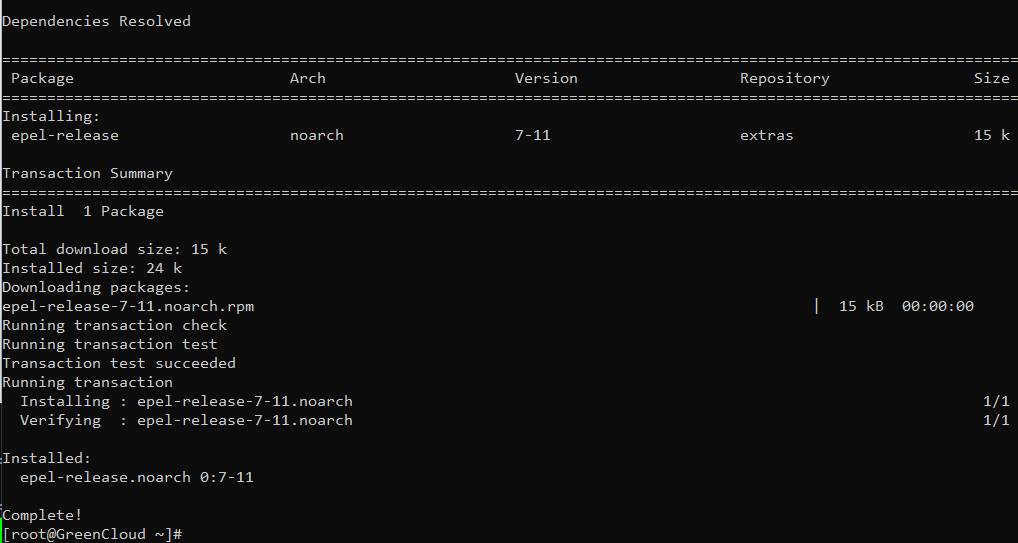
- Install the epel-release repo
yum install -y epel-release
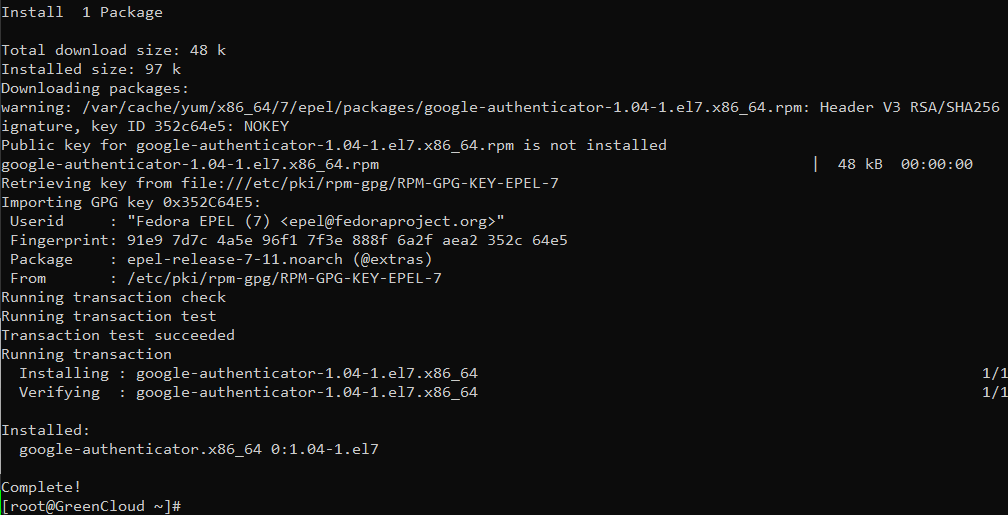
- Install package google-authenticator
yum install -y google-authenticator
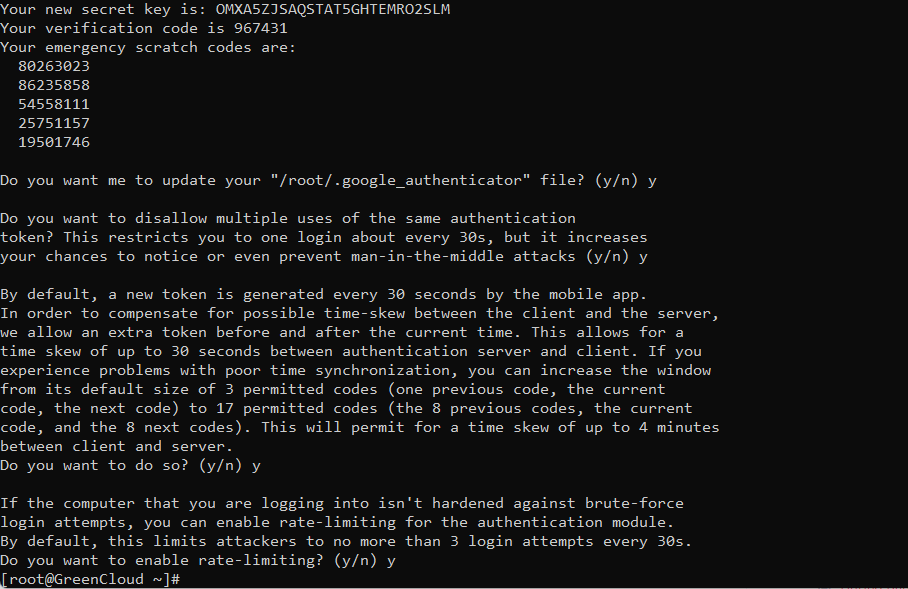
- Run the following command after the installation is done to generate the secret key.
google-authenticator
- Next, the system will ask you to confirm and provide a QR code

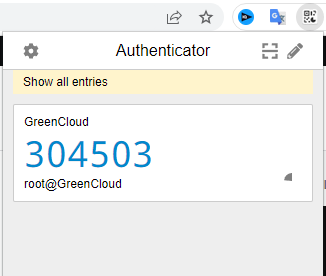
- You open App Authenticator and proceed to Scan the QR code displayed on your VPS.
When scanning the above QR code, we will receive a 6-digit code, these 6 digits will continuously change after 30 seconds.
Step 3: Set up VPS to allow authentication through Google Authenticator
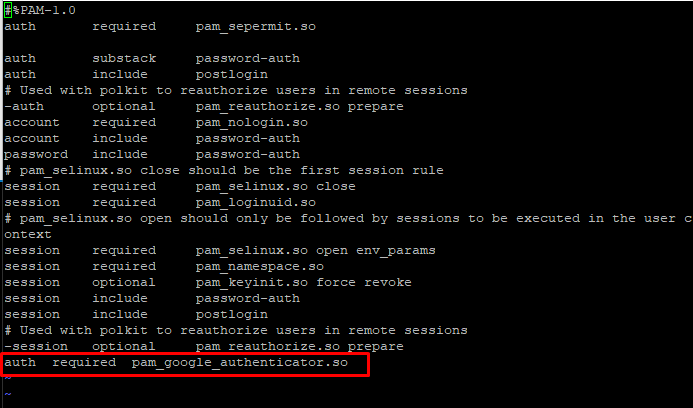
To set up a VPS that allows Google Authenticator to authenticate during SSH, move and edit the file /etc/pam.d/sshd
vi /etc/pam.d/sshd
- Add and compliment the following lines in the file /etc/pam.d/sshd
Add line: auth required pam_google_authenticator.so
- Edit the file /etc/ssh/sshd_config
- Find the line ChallengeResponseAuthentication , change the setting from no to yes

- Restart the sshd service after editing.
systemctl restart sshd
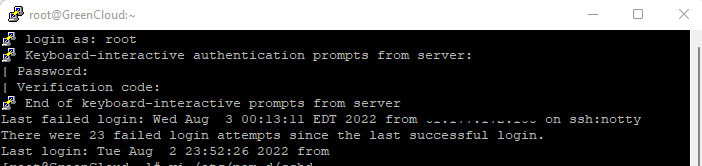
Step 4: Check the operation of Authenticator when SSH
After the configuration is complete, you need to exit the VPS and log back in to test. When Login OTP code will be generated on Google Authenticator App, you just need to enter this code to be able to SSH.
III. Summary
So in this article, I have shown you how to install 2-factor authentication when SSHing into VPS, this helps to increase security and reduce the risk of password sniffing attacks. With 2-factor authentication, you can rest assured that even if your original information is accidentally exposed, others won’t be able to SSH into your VPS without the 2-factor authentication code. If you find this article interesting and useful, you can share it widely for everyone to do.
To see some other useful articles about Linux VPS administration, you can visit the link below.
