How to Install Zulip Private Chat Server on Debian 12
Introduction
Zulip is an open-source chat server that provides a range of features similar to popular platforms like Slack, Microsoft Teams, and Rocket Chat. With a modern interface and the ability to integrate with over 90 third-party services such as GitHub, Jira, Stripe, and Zendesk, Zulip is an effective solution for businesses looking to optimize internal communication and collaboration.
This guide will walk you through the process of installing the Zulip Chat Server on Debian 12.
System Requirements
Before starting, ensure you have the following:
-
A server running Debian 12.
-
At least 2GB of RAM (consider using 4GB and 2 CPU for over 100 users).
-
A non-root user with
sudoprivileges or root user. -
A domain name pointing to your server’s IP (e.g.,
zulip.yourdomain.com).
Update your system:
apt update && sudo apt upgrade

Install the necessary packages:
apt install wget curl nano ufw software-properties-common apt-transport-https gnupg2 ca-certificates debian-archive-keyring -y

Step 1 – Configure the Firewall
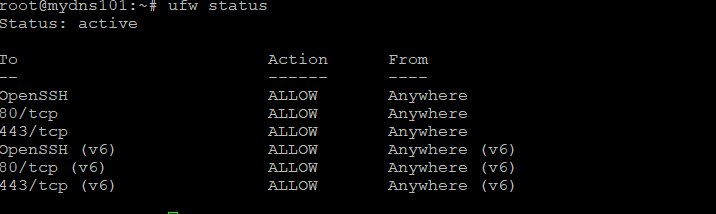
Check the status of ufw:
ufw status
If the firewall is inactive, open the necessary ports:
ufw allow OpenSSH
ufw allow 80/tcp
ufw allow 443/tcp
ufw enable
Verify the firewall status:
Step 2 – Install Zulip
Create a temporary directory and navigate to it:
cd $(mktemp -d)

Extract the downloaded file:
tar -xf zulip-server-latest.tar.gz

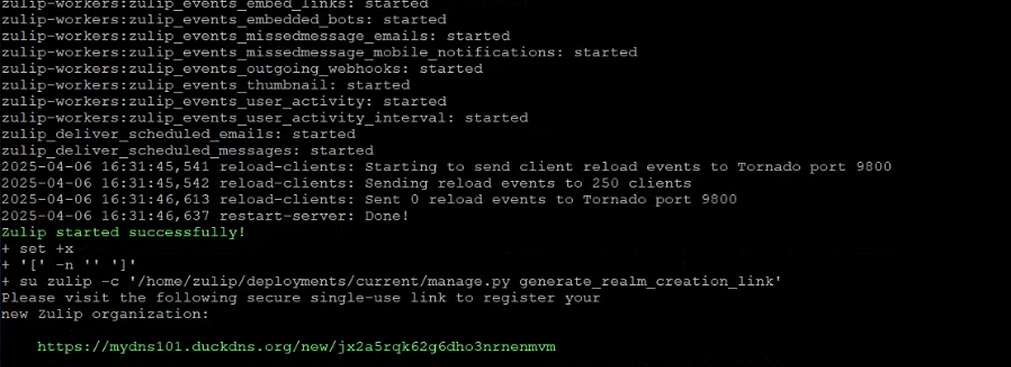
Start the installation process (replace YOUR_EMAIL and YOUR_HOSTNAME):
./zulip-server-*/scripts/setup/install --certbot --email=YOUR_EMAIL --hostname=YOUR_HOSTNAME

Once the installation is complete, which will take approximately 20 minutes, you will receive a unique URL to access the Zulip interface
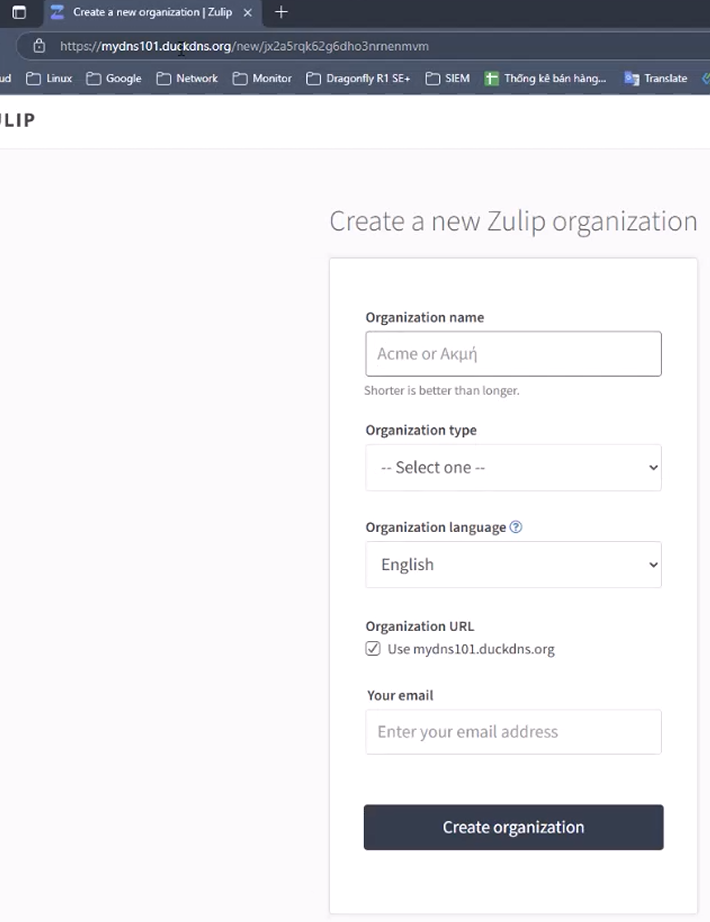
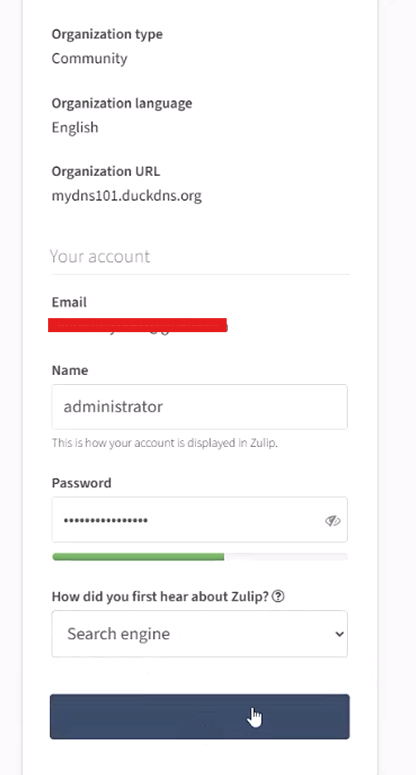
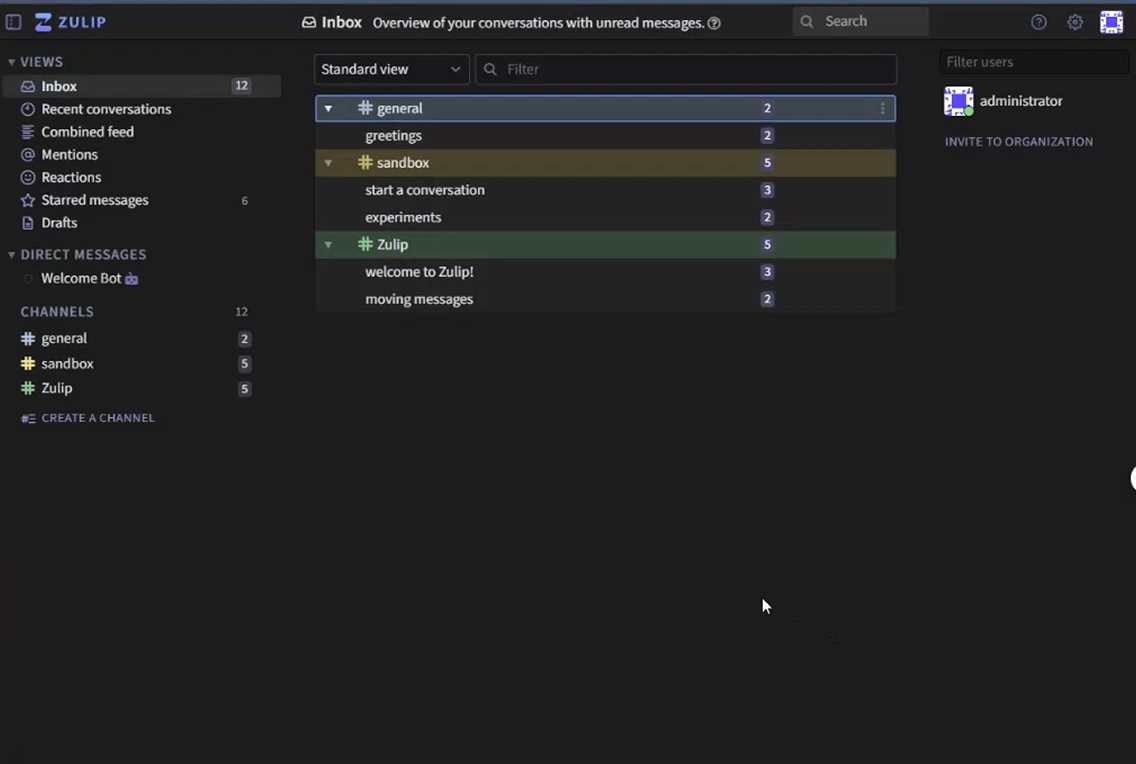
Step 3 – Accessing the Zulip Interface
Open your web browser and navigate to the URL provided during installation. Follow the prompts to set up your organization: enter your organization name, email, password, and start using Zulip.

Step 4 – Configuring Outgoing Email
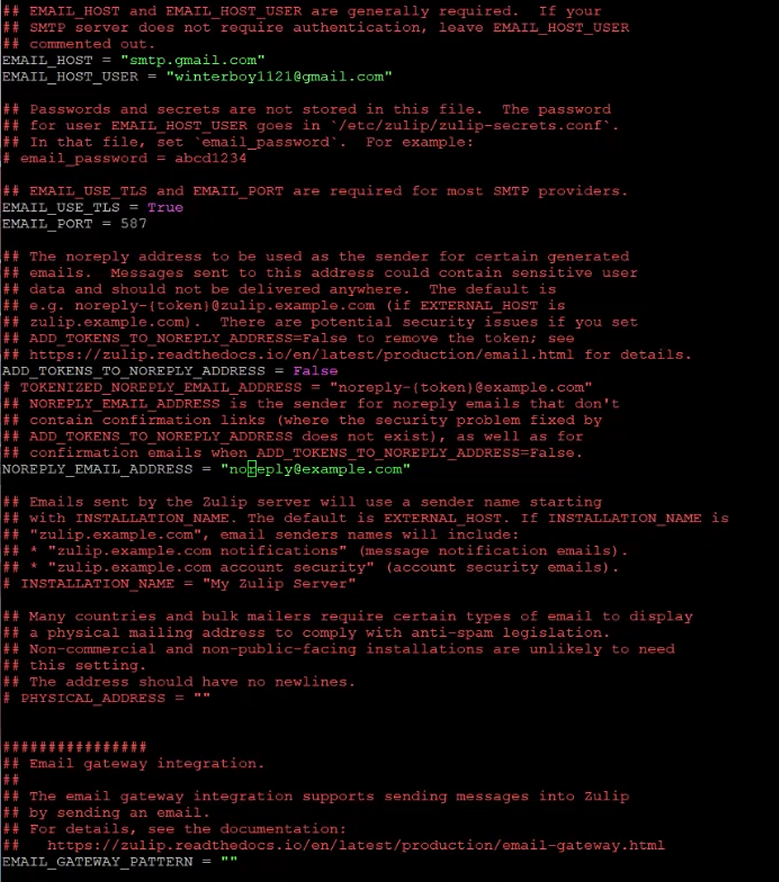
Edit the Zulip settings file:
Add or update the following lines:
EMAIL_HOST = 'email-smtp.example.com'
EMAIL_HOST_USER = 'your_smtp_username'
EMAIL_USE_TLS = True EMAIL_PORT = 587
ADD_TOKENS_TO_NOREPLY_ADDRESS = False
NOREPLY_EMAIL_ADDRESS = '[email protected]'
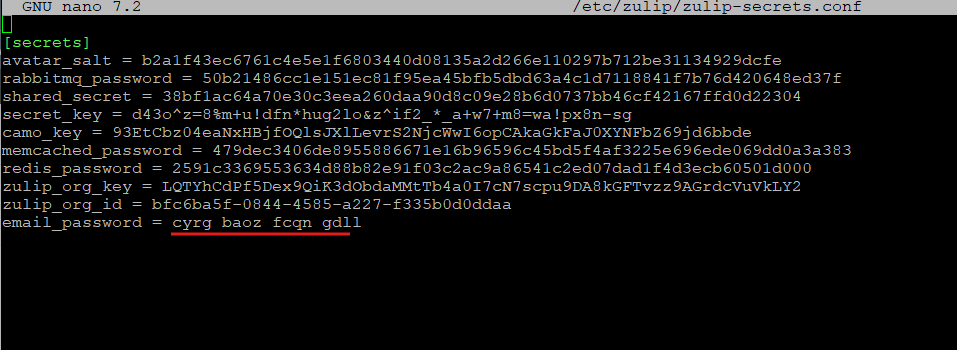
Save your SMTP password:
nano /etc/zulip/zulip-secrets.conf
Add the following line:
email_password = your_smtp_password In this guide, it is created from Gmail, you can generate it here: https://myaccount.google.com/apppasswords
To test your outgoing email configuration, send a test email:

send invitation to new user to the organization
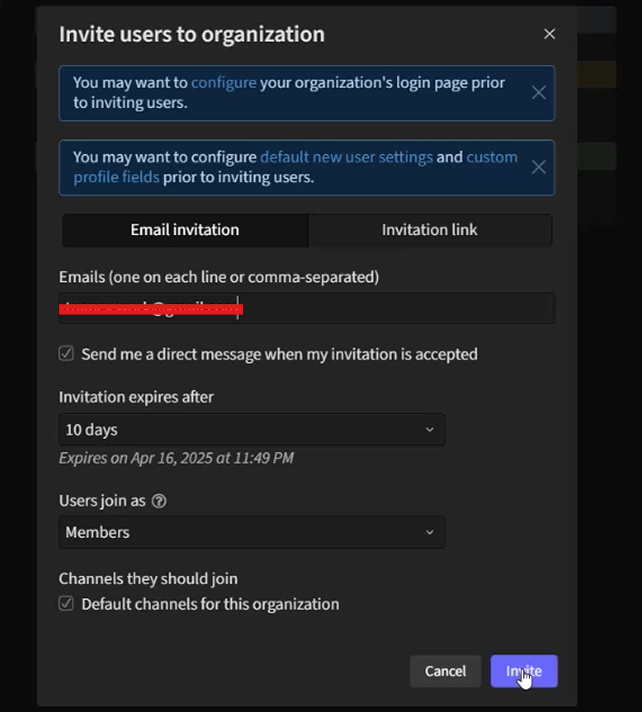
Invitation sent to client account

Client creates their account

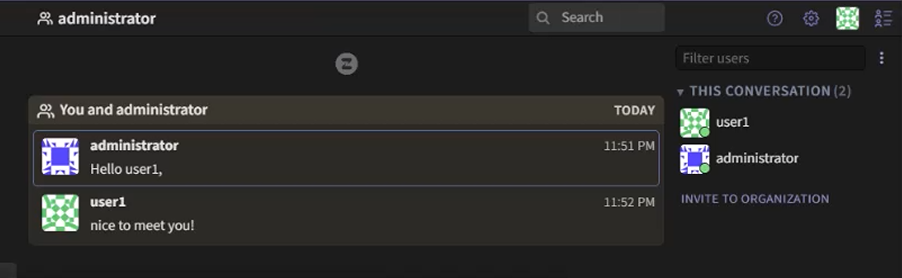
It is working now !
Zulip Server Command
You can manage the Zulip server using various commands. To access the command interface, use:
To restart the server, run:
Upgrading Zulip
To keep your Zulip installation up to date, download the latest release:
Then perform the upgrade:
Backup and Restore Zulip
Backing up your Zulip installation is essential for data safety. To create a backup:
To restore from a backup:
-
First, install Zulip by following Step 2.
-
Then, run the restore command:
Conclusion
By following this guide, you can successfully set up a powerful chat server that enhances communication and collaboration within your team. Zulip’s seamless integration with various third-party tools makes it an excellent choice for businesses aiming to streamline their workflows.
If you have any questions or need further assistance, feel free to leave a comment below!
