How to install Samba Server on AlmaLinux 9
Introduction
Samba is an open-source software that facilitates file and printer sharing between Linux/Unix and Windows operating systems. On AlmaLinux 9, Samba enables the setup of a flexible and secure file-sharing server suitable for enterprise and personal environments.
This guide will help you install and configure Samba on AlmaLinux 9 to set up a file-sharing server within a local network.
1. Installing Samba
1.1 Update the System
Before installing, ensure your system is up to date:
dnf update -y1.2 Install Samba Packages
Install the Samba package using the following command:
dnf install -y samba samba-common samba-client1.3 Check Samba Version
After installation, verify the Samba version:
smbd --version2. Configuring Samba
2.1 Create Samba Group and User
groupadd smbgroup
useradd -M -s /sbin/nologin -G smbgroup smbuser
smbpasswd -a smbuser
2.2 Create Shared Directory
Create the shared directory and set permissions:
mkdir -p /srv/samba/shared
chmod 770 /srv/samba/shared
chown smbuser:smbgroup /srv/samba/shared
mkdir -p: Create the directory.
chmod 770: Grant full access to the owner and group, deny others.
chown smbuser:smbgroup: Set the owner and group.
2.3 Backup Default Configuration File
Before making changes, back up the original configuration file:
cp /etc/samba/smb.conf /etc/samba/smb.conf.bak2.4 Edit Configuration File
Open the configuration file using the vi or nano editor:
nano /etc/samba/smb.confAdd the following content to create a shared folder:
[shared]
   path = /srv/samba/shared
   read only = no
   browsable = yes
   writable = yes
   guest ok = no
   valid users = @smbgroup
This Samba configuration creates a shared folder with controlled access:
-
Path:
/srv/samba/shared -
Access: Only users in
smbgroup(valid users = @smbgroup) -
Permissions: Read & write enabled (
read only = no,writable = yes) -
Visibility: Visible on the network (
browsable = yes) -
Authentication: No guest access (
guest ok = no)
3. Starting and Enabling Samba
3.1 Start Samba Service
systemctl enable --now smb nmb3.2 Check Service Status
systemctl status smb nmb4. Configuring Firewall
Open the necessary ports for Samba to function:
firewall-cmd --add-service=samba --permanent
firewall-cmd --reload
5. Testing Connectivity
From a Windows client, check connectivity using the command:
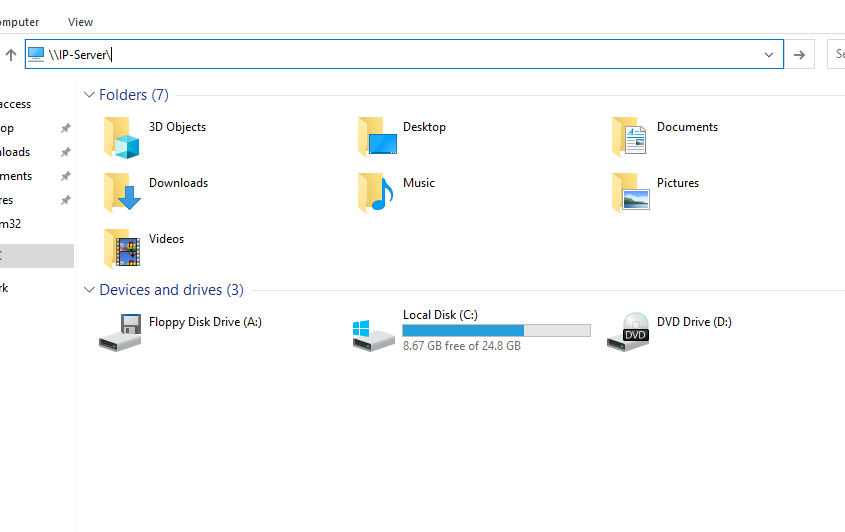
Access the shared folder on Windows:
Open File Explorer and enter: \\IP-Server\ (replace IP-Server with the actual IP).
Log in with:
Username: smbuser
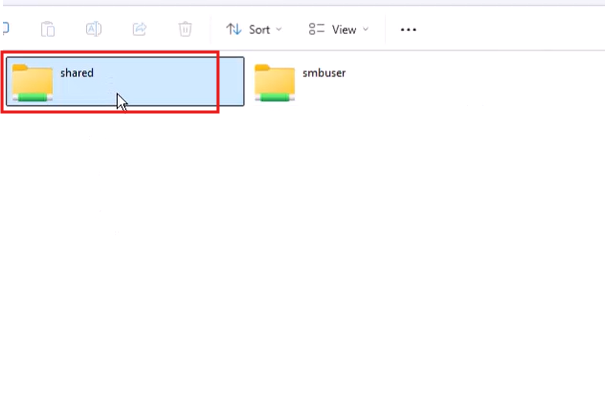
Password: (previously set password).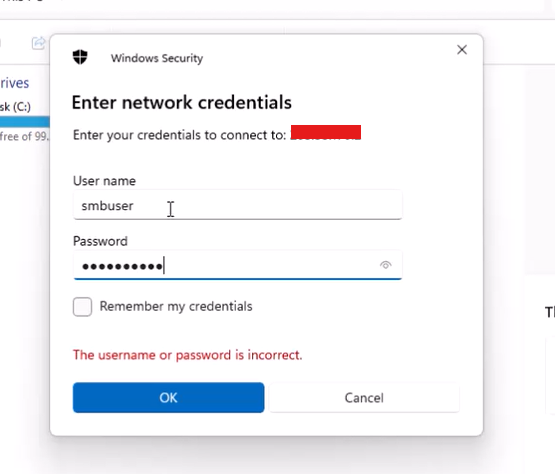 Open the “share” folder.
Create a file on Windows:
-
-
-
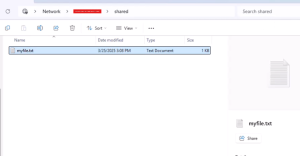
Inside the “share” folder, right-click → New → Text Document.
-
Name it myfile.txt, add some content, and save.
-
-
Verify in the Samba server.

6. Uninstalling Samba
If you no longer need Samba, you can uninstall it using the following steps:
6.1 Stop and Disable Samba Services
systemctl stop smb nmb
systemctl disable smb nmb
6.2 Remove Samba Packages
dnf remove -y samba samba-common samba-client6.3 Delete Configuration Files and Shared Folder (Optional)
If you want to remove all Samba configuration files, run:
rm -rf /etc/samba
rm -rf /srv/samba
6.4 Delete Samba User and Group (Optional)
sudo userdel smbuser
sudo groupdel smbgroup
Conclusion
You have successfully installed, configured, and uninstalled a Samba server on AlmaLinux 9. Samba enables secure file sharing within a local network and can be easily removed when no longer needed. You can further fine-tune access permissions to suit your specific requirements.
