How to fix Local Security Authority missing on Windows
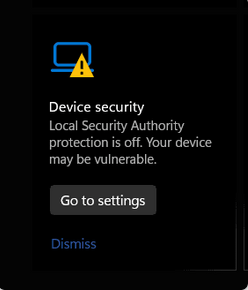
Local Security Authority (LSA), an essential component of the Windows operating system, plays a significant role in managing the security policies of a system. It is responsible for verifying and authenticating users as they log in, enforcing local security policies, and generating access tokens. By doing so, it ensures that users are who they claim to be, and only have access to resources that they are authorized to use. However, at times, users encounter an issue where the Local Security Authority Protection is missing, leaving the system in a vulnerable state.
The possible reason behind the Local Security Authority (LSA) option missing from the Windows security app can be the corruption of the Windows Security main components. Sometimes, if you haven’t updated the system in a while, Windows Security definitions can become quite obsolete.
In this article, we will guide you through some methods to fix the above error.
Solution 1. Manually create the RunAsPPL key
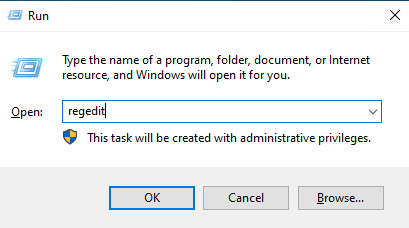
Step 1. Press “Windows” + “R” to open the “Run” Prompt.
Step 2. In the Run dialog box, type “regedit” and hit Enter.
Step 3. Navigate here:
ComputerHKEY_LOCAL_MACHINESOFTWAREPoliciesMicrosoftWindows Defender
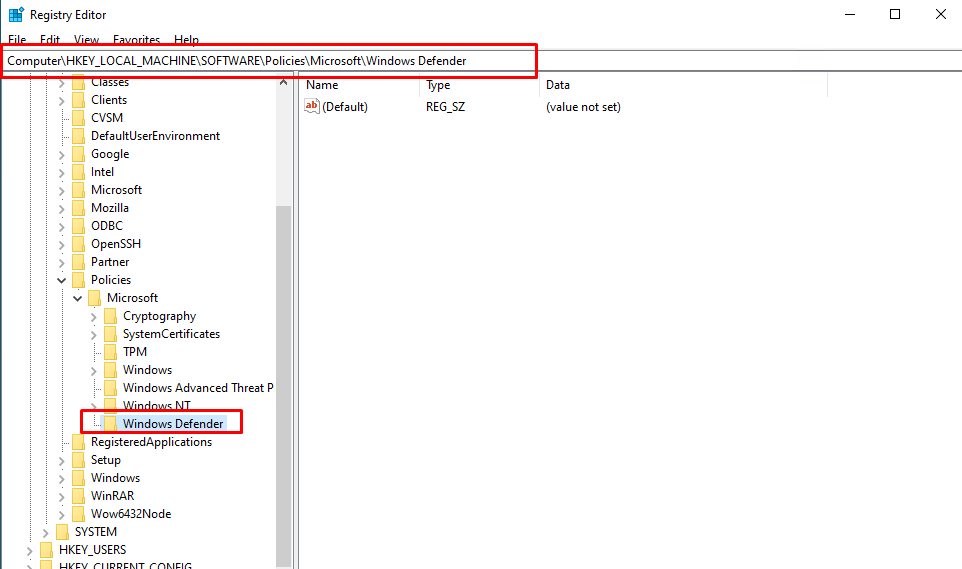
Step 4. Try to find the “RunAsPPL” value.
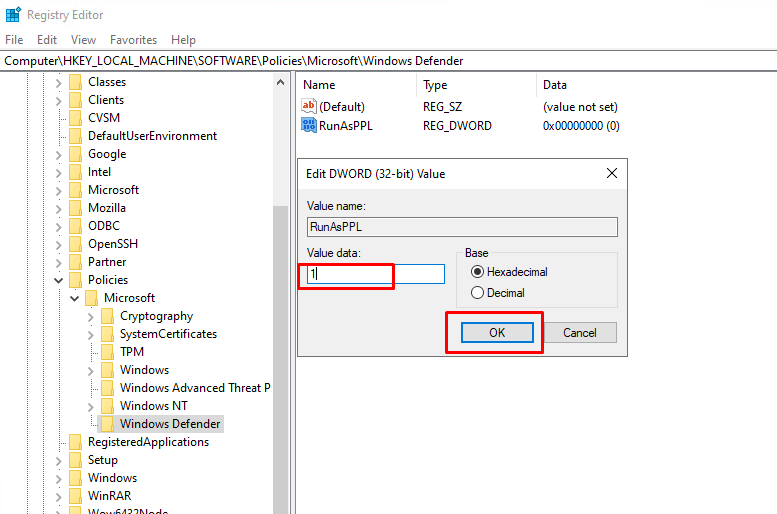
Step 5. Double-tap that value so that you can place a value on it.
Can’t find the “RunAsPPL” value? Create the value manually.
1. Directly right-click on the right pane of the Registry Editor page and tap “New>” and click “DWORD (32-bit)” to create a new value.

2. Rename this value to “RunAsPPL“.
Step 6. Fix the value to “1” in the correct place.
Step 7. Click “OK” to save this change.
Reboot the PC then try again.
Solution 2. Enact the LSA group policy
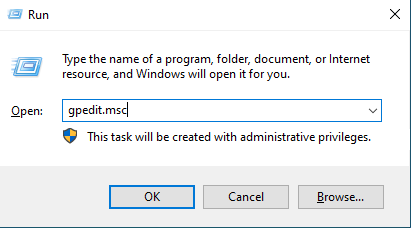
Step 1. Press Win + R and then type “gpedit.msc”, and then click on “OK”.
Step 2. Navigate here:
Computer Configuration > Administrative Templates > System > Local Security Authority

Step 3. Open the ” Configure LSASS to run as a protected process ” policy so that you can change it.
Step 4. Switch the policy to “Enabled” mode. Then, set the ‘Configure LSA to run as a protected process‘ to “Enabled with UEFI Lock” mode

Step 5. You can only apply this policy by clicking on “Apply” and “OK“.
This LSA policy modification can only take place after a system reboot. Reboot the PC then try again.
Method 3. Update the Windows Security app
You should update the Windows Security application and test that.
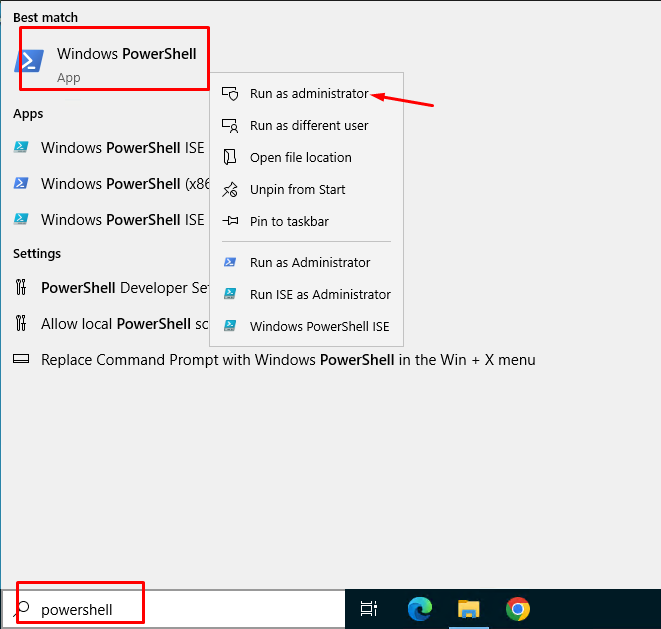
Step 1. Start to input “powershell” after using the Win+S at once.
Step 2. You can right-click the “Windows PowerShell” when you see that. Next, tap “Run as administrator“.
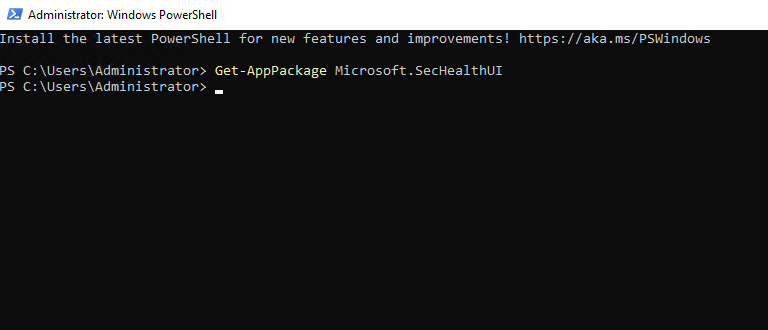
Step 3. Copy-paste this command into the administrative PowerShell. Hit Enter to update the Windows Security app.
Get-AppPackage Microsoft.SecHealthUI
Windows Security Application updates will be installed on your device soon. Then try again.
Method 4. Update your computer
Windows Security gets regular updates through various Windows Update streams.
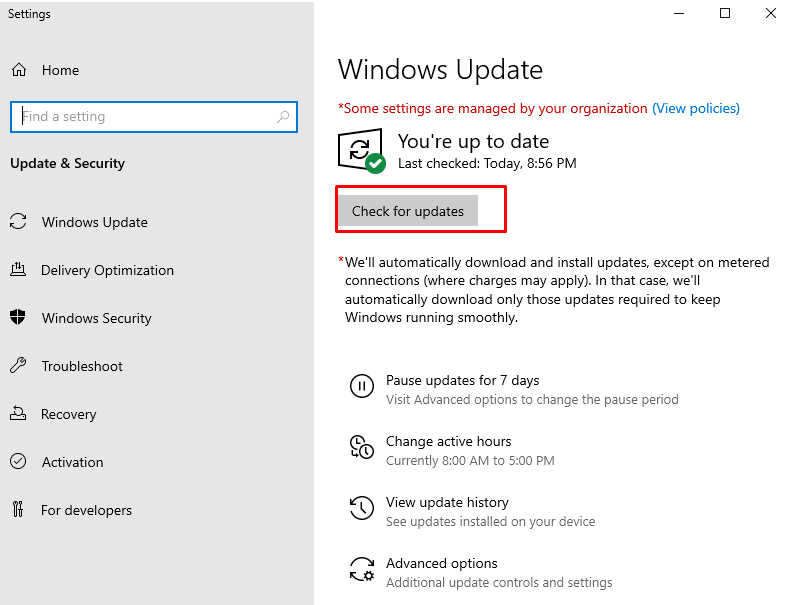
Step 1. Open the Settings page and get to the “Windows Update” tab.
Step 2. Tap “Check for updates” to check for the latest updates on your system.
Windows will start downloading the latest Windows Security updates and install them as well. Restart the system to complete the changes.
Then check the status of the LSA in Windows Security.
Conclusion
In our case after performing the above steps, we did not see the error again.
Hopefully, this article will be helpful for you. Good luck!

