How to Install and Configure NFS Server to share folders on Windows Server 2022
In this guide, we are going to install and configure NFS Server and create NFS Share. This is an efficient way to share a directory with other client machines in your organization. You can use it as a central repository that can be mounted to clients and hence be able to access similar files as though they were part of the system.
Follow the steps shown in this post to install and configure the NFS Server in your Windows Server 2022. If you encounter any issues don’t hesitate to contact us in the comments section.
Install NFS Server
Install NFS Server to share files and folders. There are 2 ways:
Method 1: Run PowerShell with Admin Privilege and Install NFS Server
You can run the following command on Powershell.
Install-WindowsFeature FS-NFS-Service -IncludeManagementTools
Method 2: Using GUI
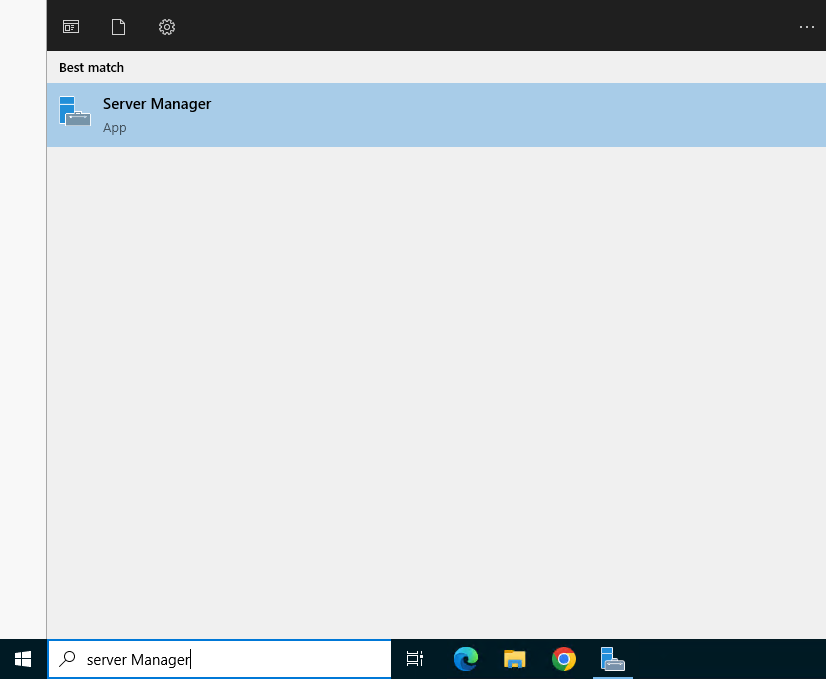
Step 1: Open Server Manager
Hit the “Windows” key and search for “Server Manager“. Once open, click on “Add Roles and Features“
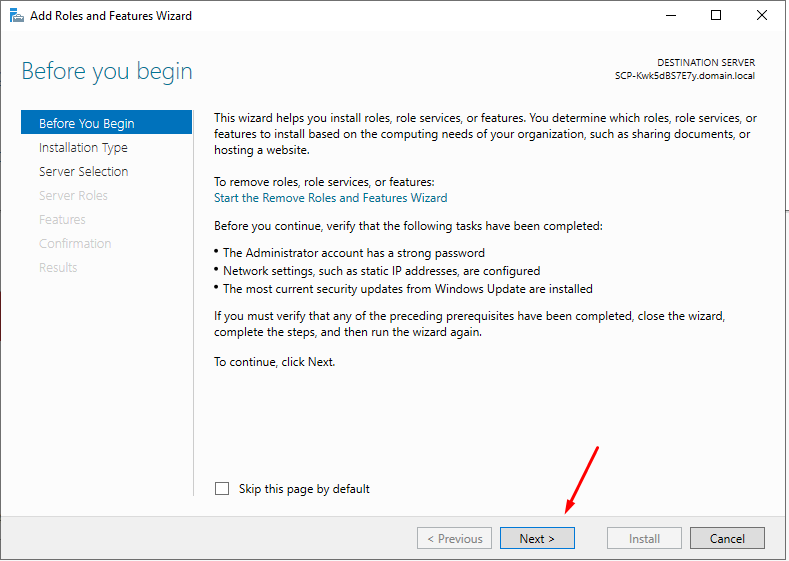
Step 2: Click Next on Wizard
On the first page of the “Add Roles and Features Wizard“, click “Next“
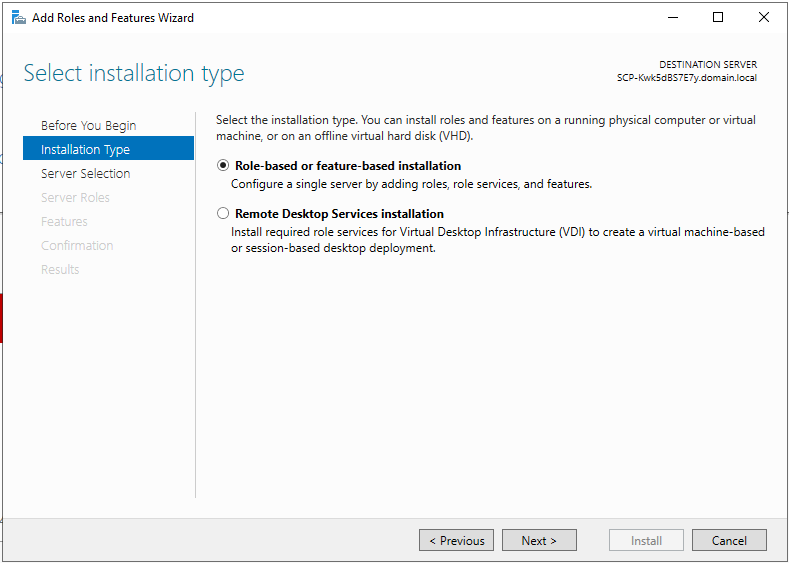
Step 3: Role-Based
In the “Select Installation type page“, select “Role-based or feature-based-installation” and click “Next“
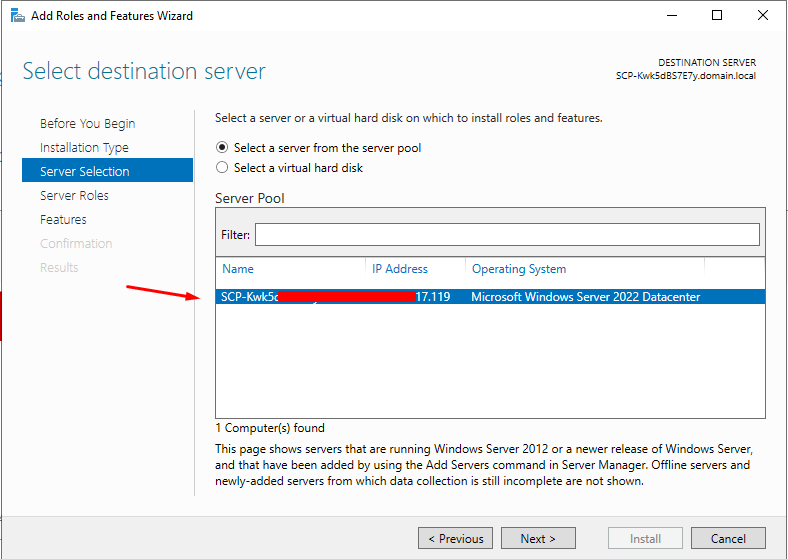
Step 4: Choose Server
Select the server you will install NFS on and click “Next“.
Step 5: Select Role
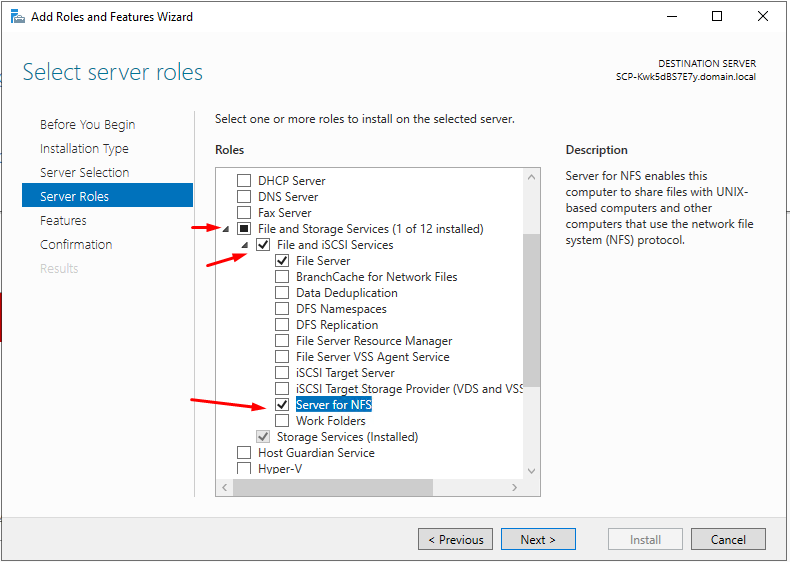
In this “Select server roles” part, expand “File and Storage Services” and further expand “File and iSCSI Services” then check the box against “Server for NFS“. A pop-up window will come forth.
Step 6: Add Features
In the pop-up window, click “Add Features” and hit “Next“.
Step 7: Features
In this “Select features” page, simply click on “Next“.

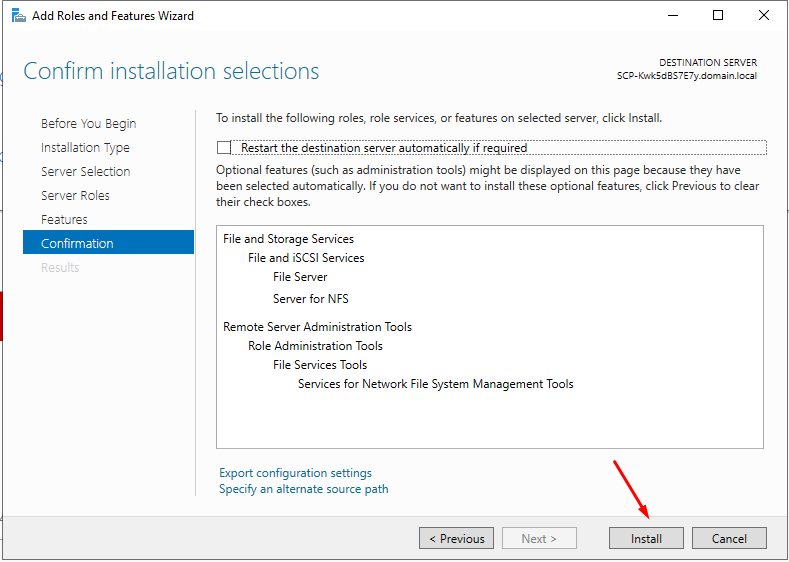
Step 8: Confirm and Install
Confirm your installation selections and hit “Install“. Let’s finish installing then click “Close” and you will have finished the installation process.
Configure NFS Server
Step 1: Configure NFS Share Folder
We are now going to configure a folder that we shall export to clients. Create a directory/folder in your desired disk partition. I will create TestShare in the C partition.
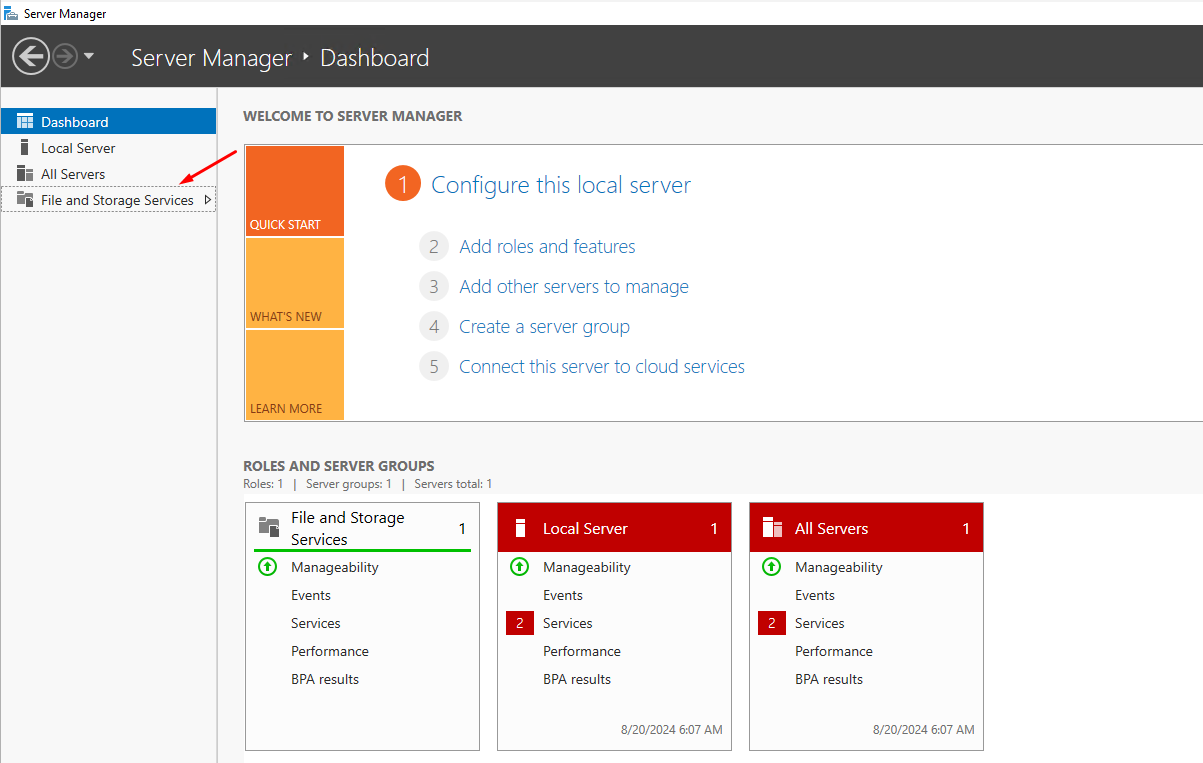
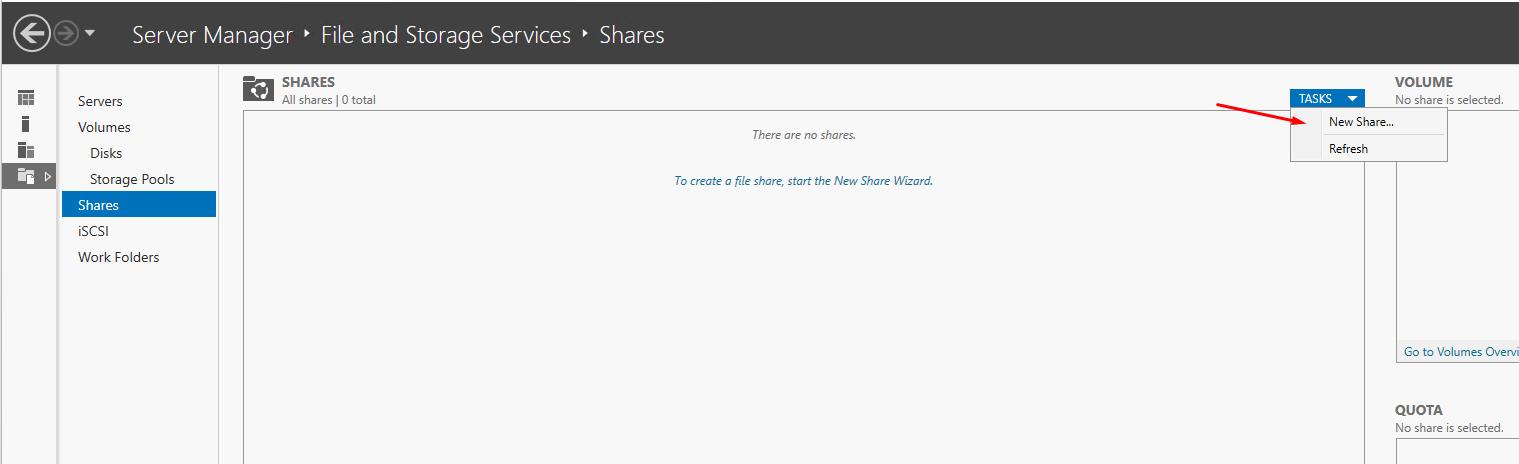
Head over to “Server Manager“. Click “File and Storage Services” and select Shares from the expanded menu. After that, click on the “TASKS” drop-down menu and select “New Share…“. A “New Share Wizard” will open.
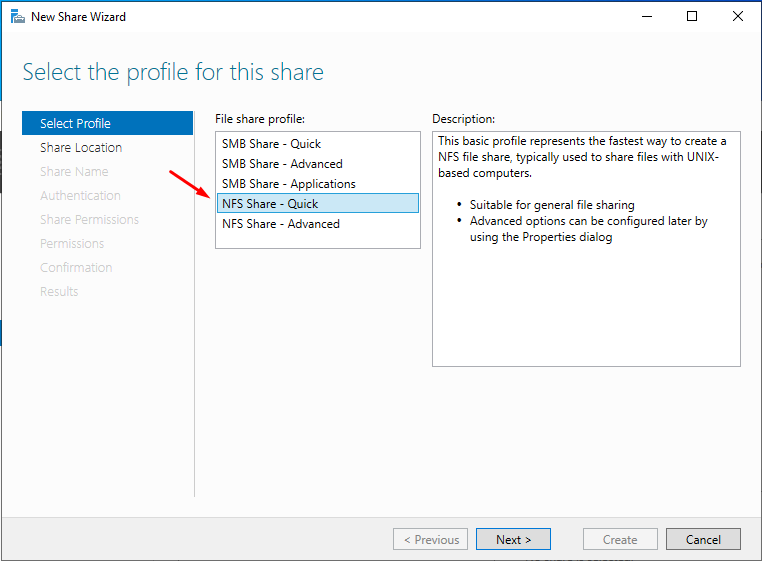
Step 2: Select profile
On the first page of the wizard, select “NFS Share-Quick” and Click “Next” as shown below.
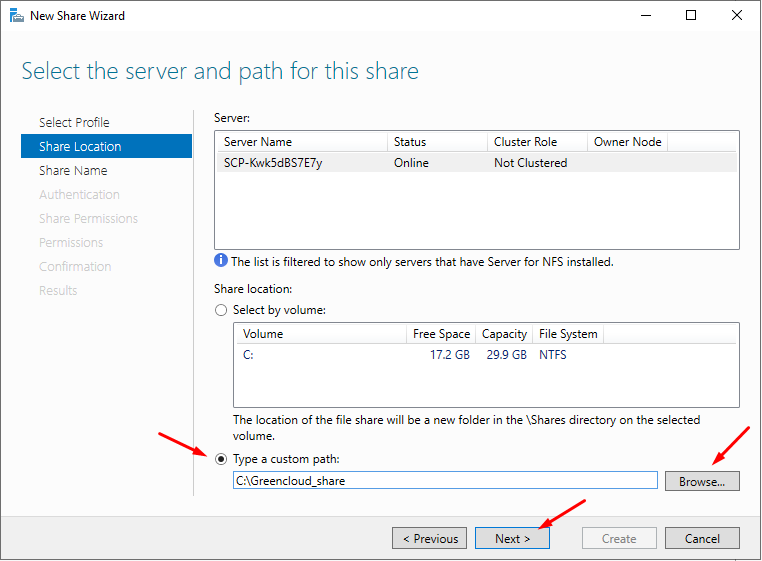
Step 3: Select the Share Folder
On this page, choose “Type a custom path“, browse for your directory, and click “Next“
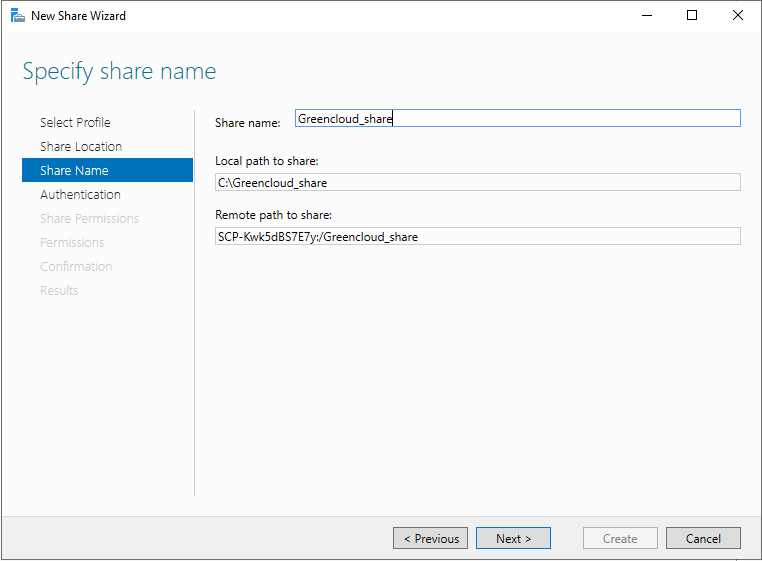
Step 4: Name your Share
Type in a name for your share and hit “Next“
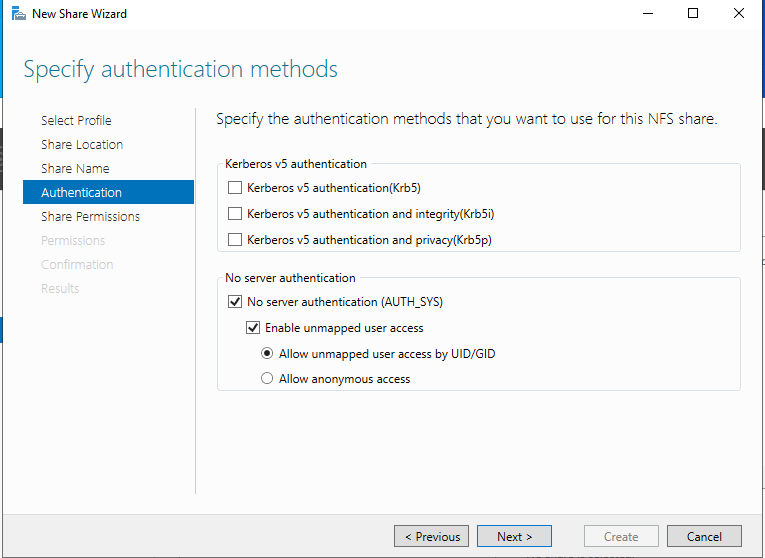
Step 5: Specify authentication methods
Depending on the authentication methods that your organization uses, you have a choice to make at this stage. Choose the one that befits your use case and hit “Next“.
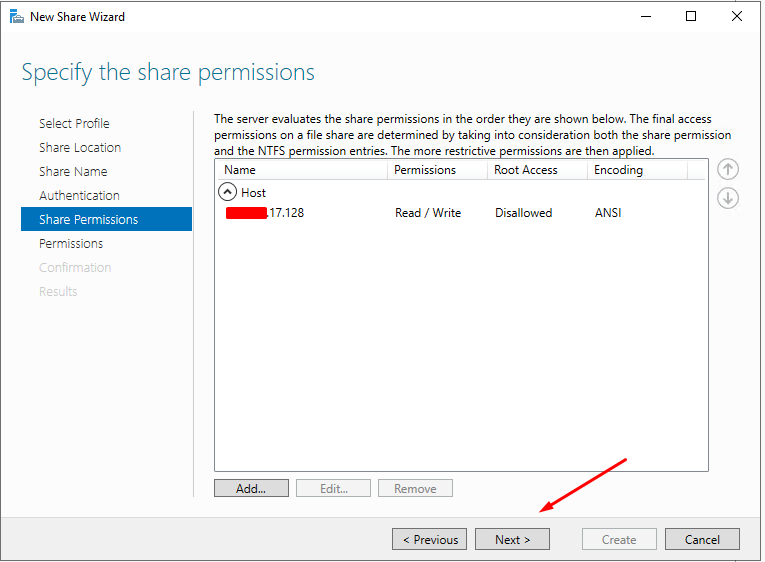
Step 6: Choose Hosts to Access the Share
Click on “Add” in the window below and you now have many options to choose the hosts to access the share. You can place only one host, a Netgroup, a Client group, or all servers that can reach it. Make your choice and click on “Next“
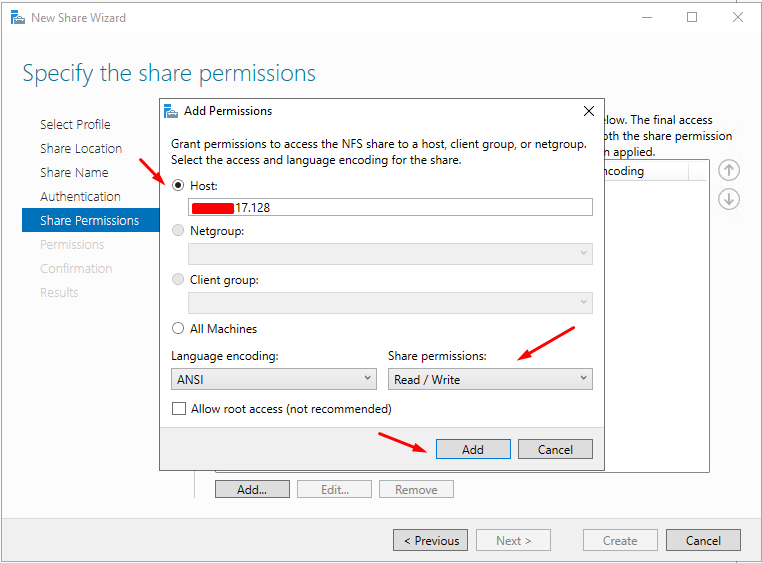
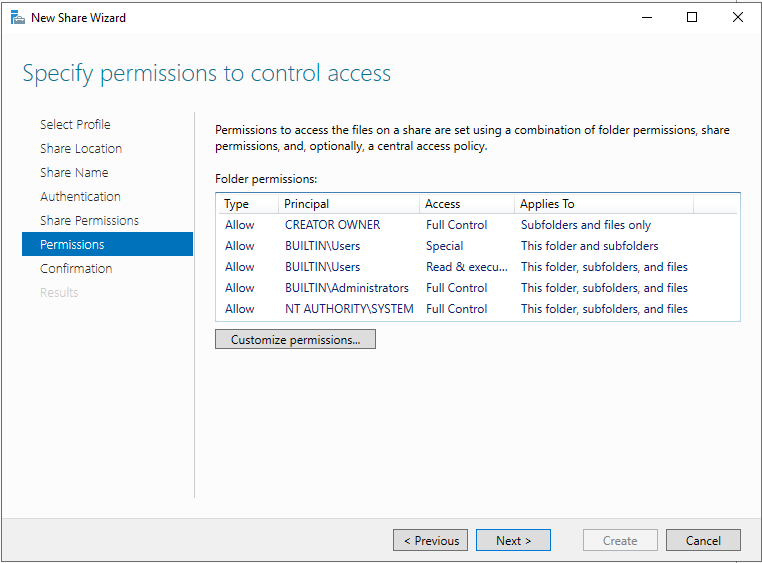
Step 7: Specify Permissions
You can tweak the permissions to befit your scenario here. Once done, click “Next“.
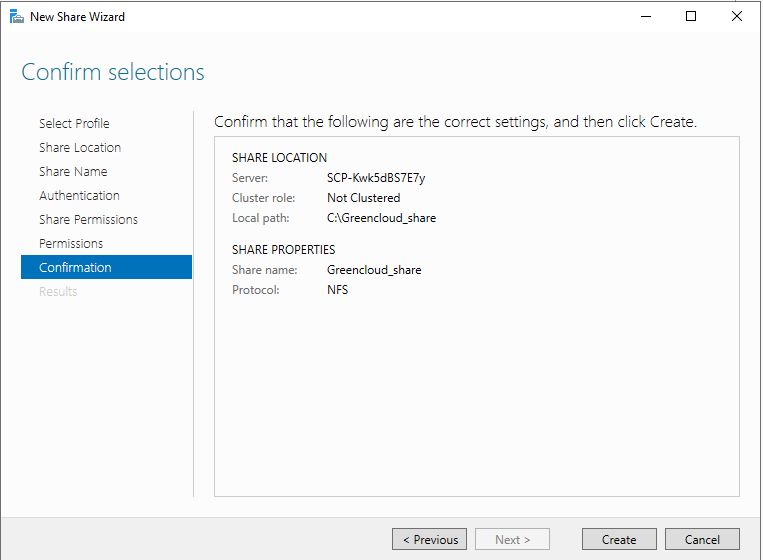
Step 8: Confirm your selections and click Create
Step 9: Finish
Once done creating, click “Close“

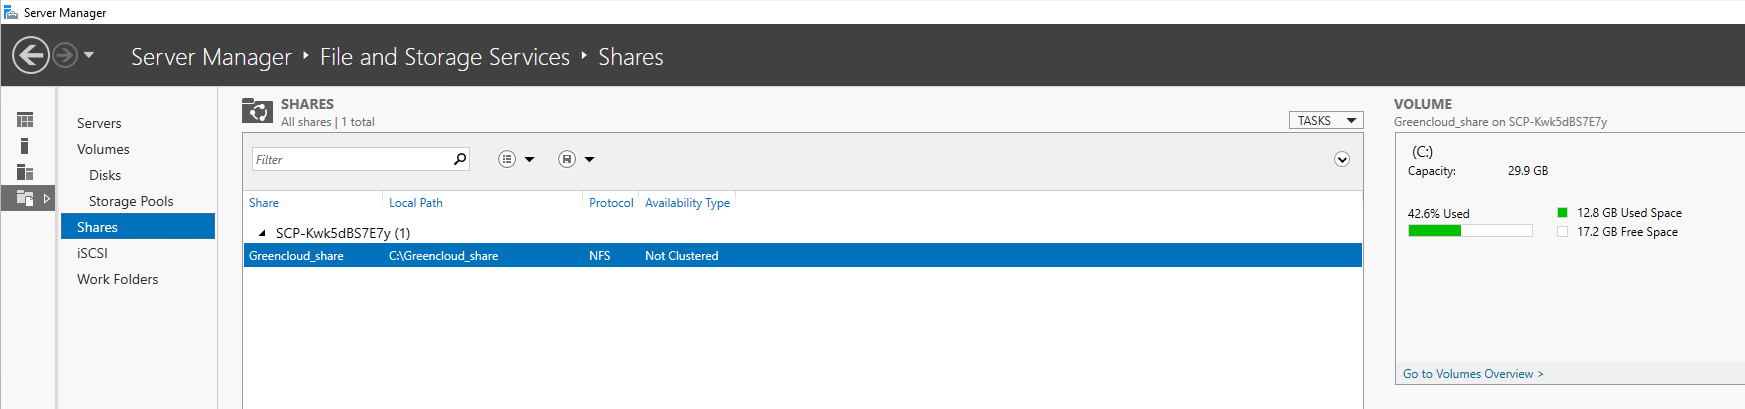
Step 10: Confirm your share is created
Go back to “Server Manager” > “File and Storage Services” > “Shares“
Conclusion
We have successfully installed the Server and created a share. Next, we are going to install an NFS Client and connect to our created NFS Share.
