How to upload custom iso in Virtfusion
Greencloud provides a variety of standard ISOs in its library but you may upload a custom ISO if you need something special. This tutorial describes how to upload a bootable ISO file containing installation files of a particular Operating System you want to use in Virtfusion control panel
This tutorial targets users who want to use operating systems that we do not offer by default, e.g. for licensing reasons or because of broken cloud images provided by the OS provider. It allows users to install the exact OS they want.
Access your Virtfusion Control Panel
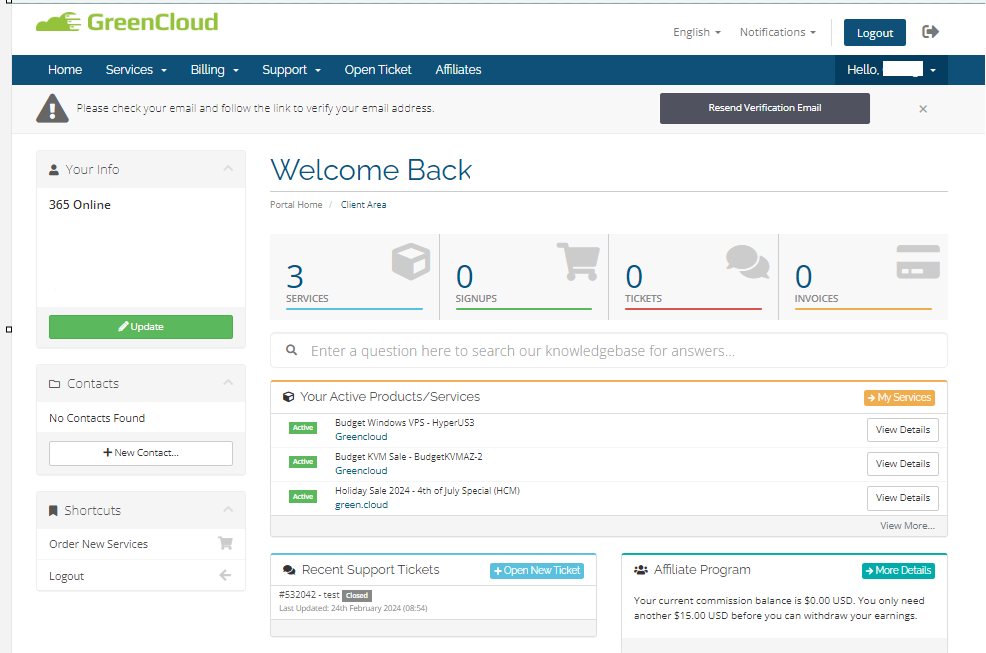
Step 1: Access your client area
Then you are in the client area
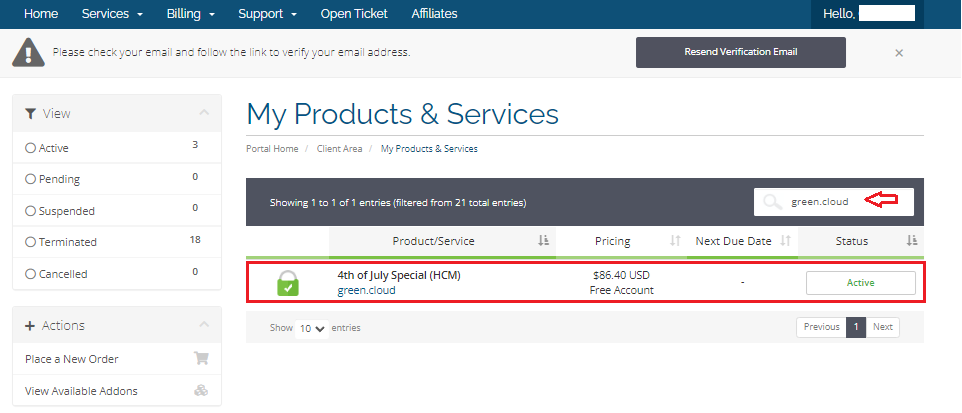
Step 2. Click on Services -> My services

Then choose the service you want to reinstall as the VPS service I want to reinstall here is “green.cloud”
Step 3: Click Open Control Panel
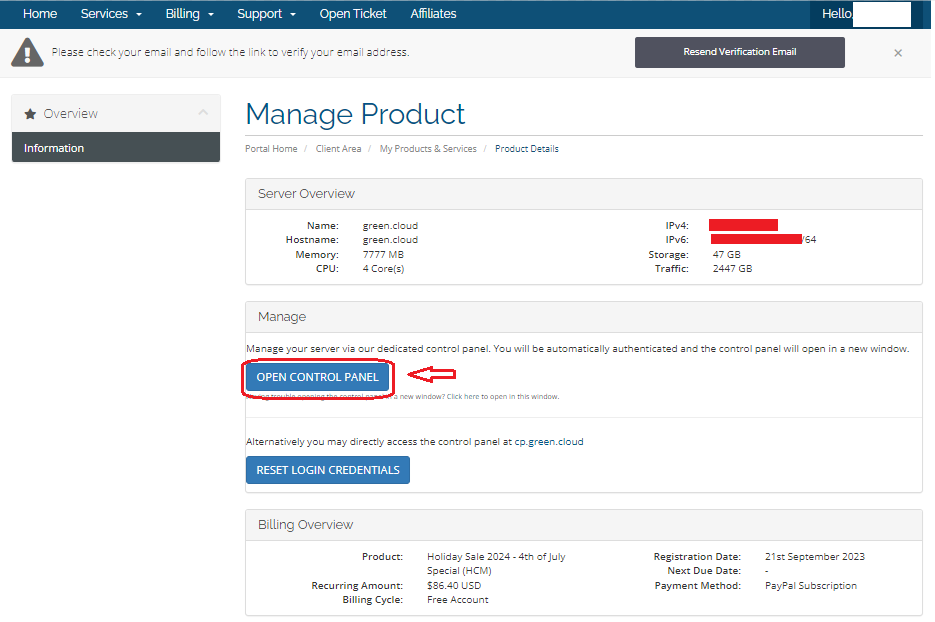
Now you have successfully accessed the Virtfusion Control Panel

Upload custom iso in Virtfusion
Option 1: Upload custom iso available on our library
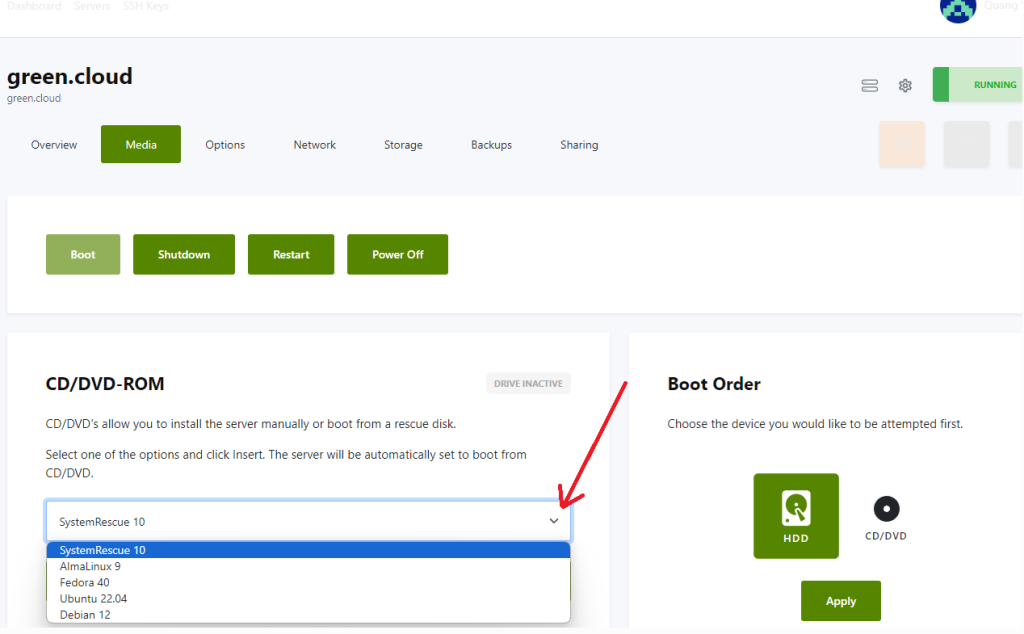
On your Virtfusion Control Panel click on the “Media” tab
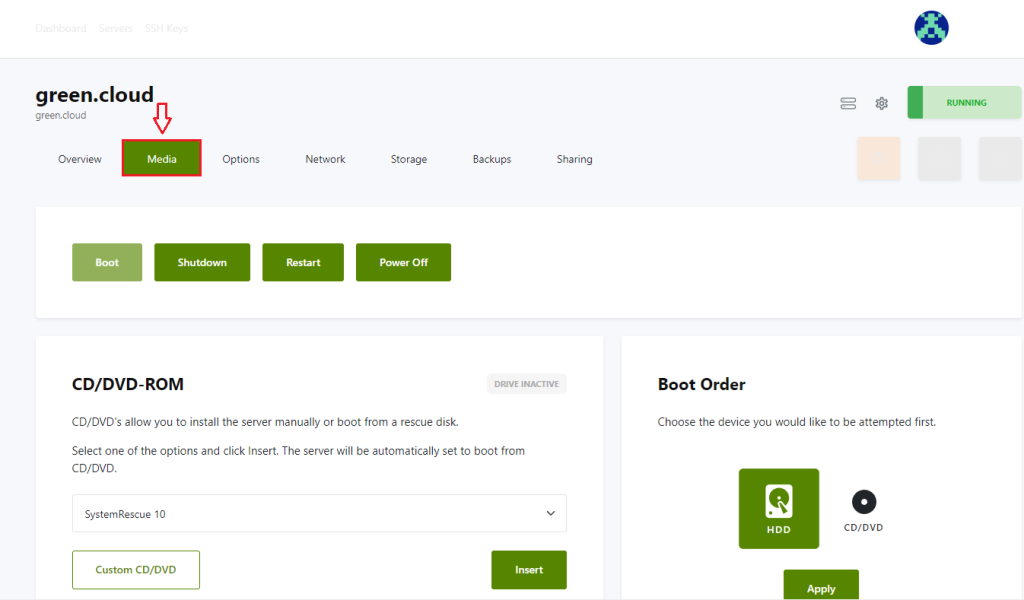
You can choose the ISO file in the CD/DVD-ROM tab and choose “Mount”:
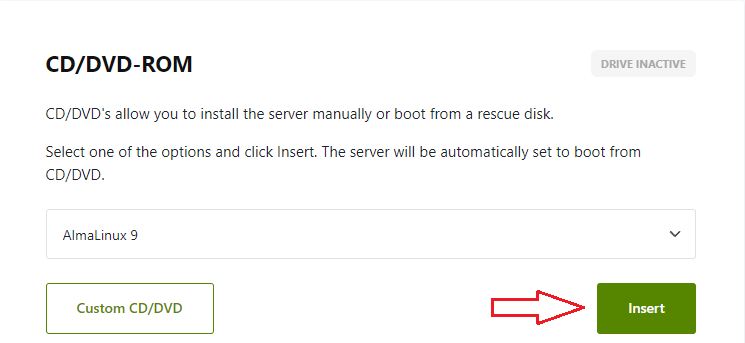
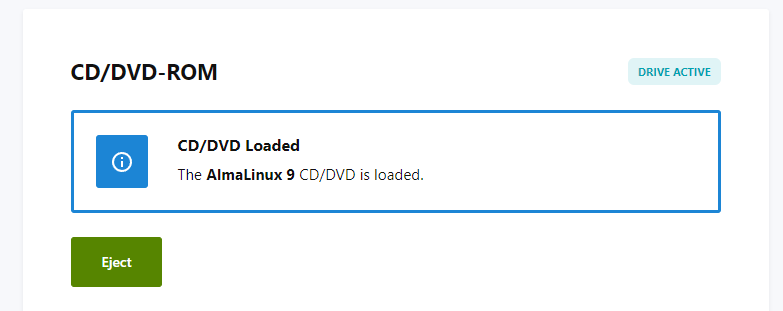
After selecting the ISO please click the Insert button to apply it
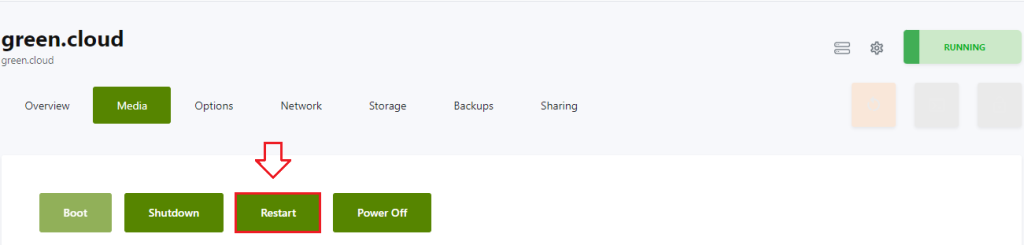
Reboot your VPS
Then go to the “Options” tab to open your VPS via VNC
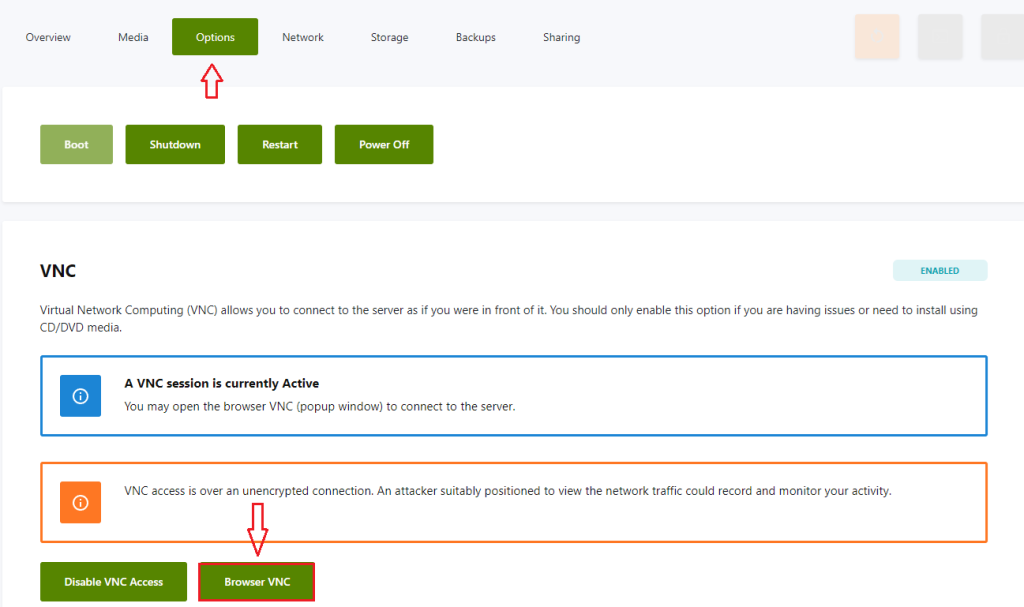
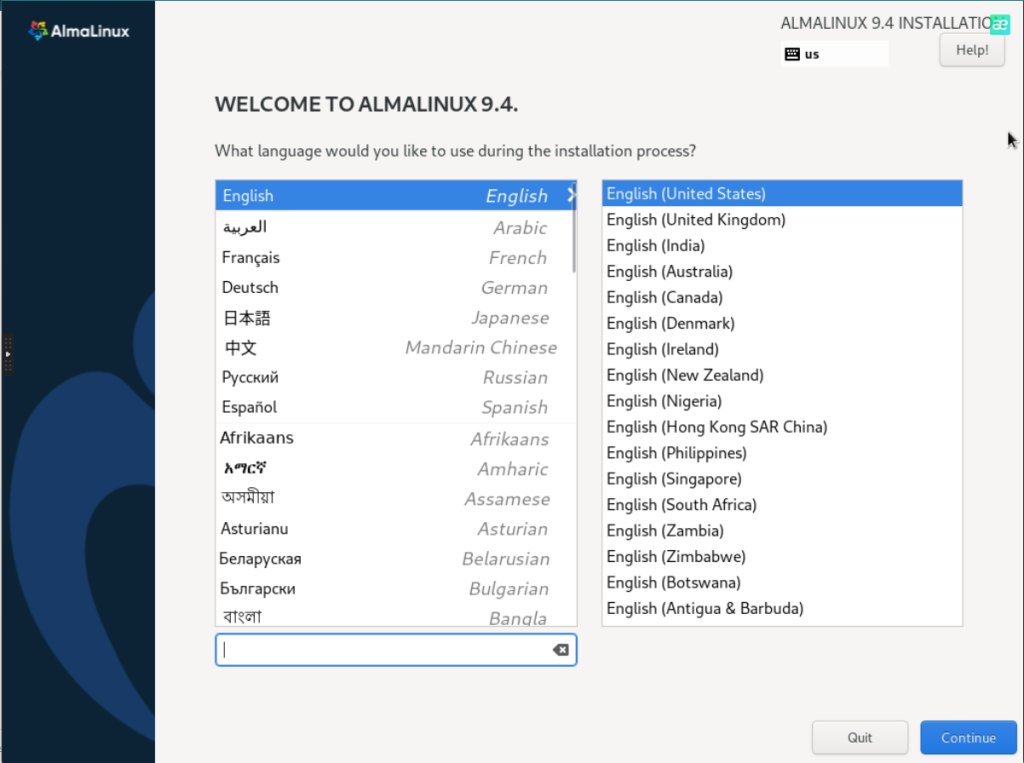
Now the installation screen is ready to open and you can proceed with the custom installation
Option 2: Upload custom iso according to your wishes
In case you want to install another client iso that is not available in our library, you can upload it according to the following instructions.
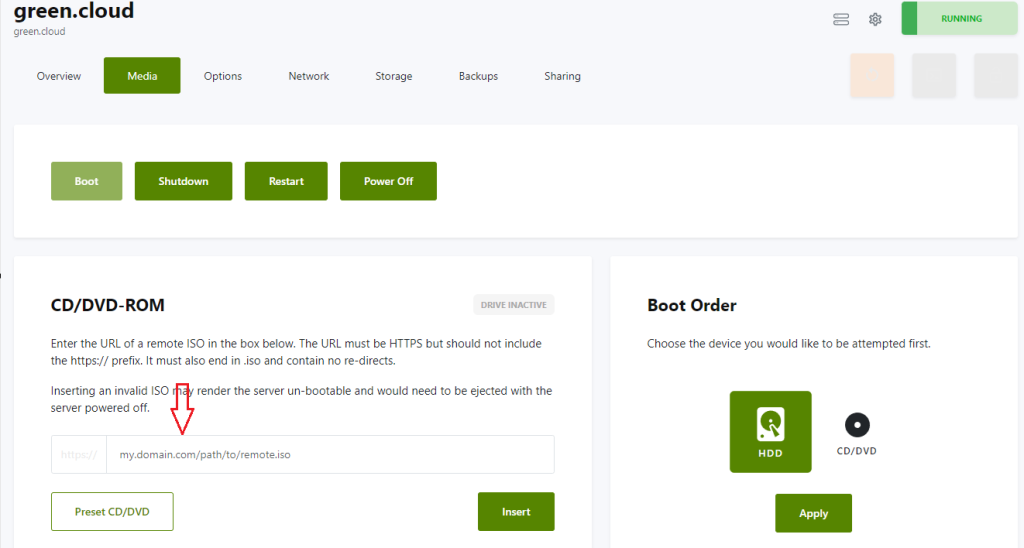
On your Virtfusion Control Panel click on the “Media” tab -> Select the “Custom CD/DVD” button

Enter the URL of the remote ISO in the box below. It must also end in .iso as a direct download link and not contain a redirect.
Inserting an invalid ISO may cause the server to fail to boot and will require exiting when the server shuts down.
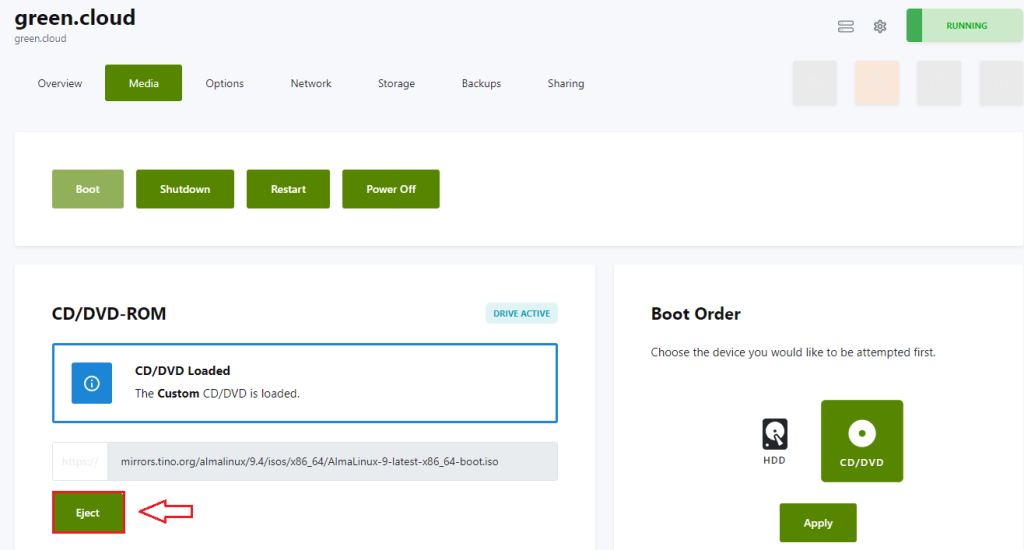
As in this tutorial, we choose to upload with the AlmaLinux-9 iso following this direct download link: https://mirrors.tino.org/almalinux/9.4/isos/x86_64/AlmaLinux-9-latest-x86_64-boot.iso
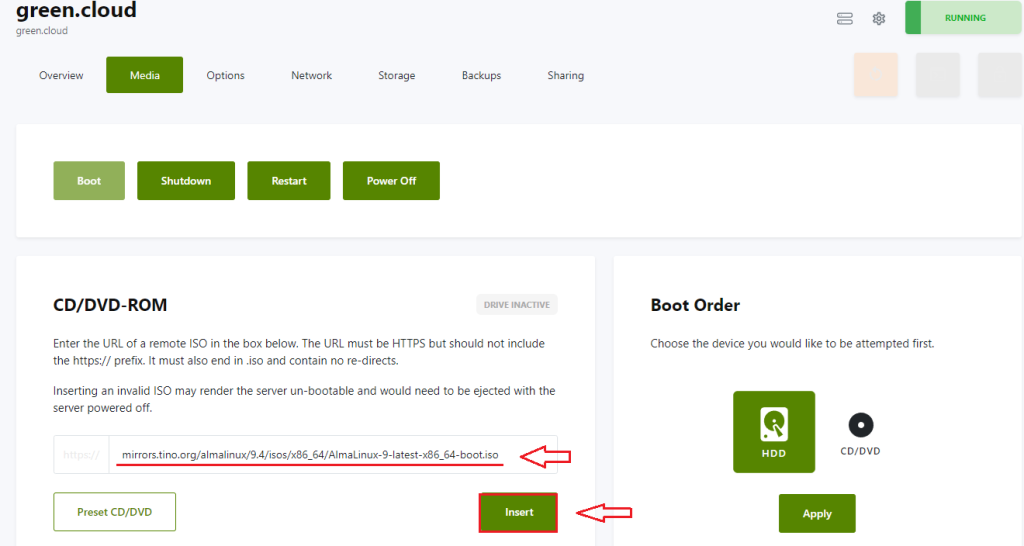
Click the Insert button to apply

Restart your VPS and access your VPS via VNC
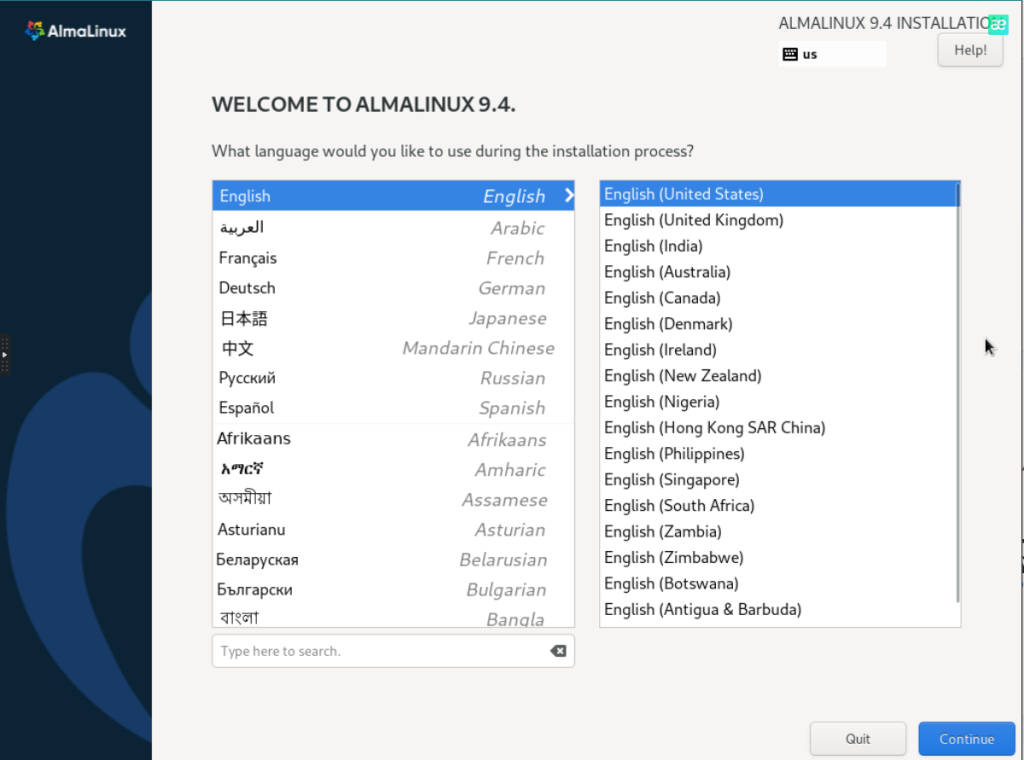
Now the installation screen is ready to open and you can proceed with the custom installation
Note: If you want to remove your custom iso link, you can click the "Eject" button on the "Media" tab
Conclusion
In this tutorial, we have seen how to upload a custom iso through the Virtfusion Control Panel. This allows us to access all the contents of the disk image files and optionally copy them to our system.
Good luck!

