How to find Large Files taking up Hard Drive Space on Windows
There are many reasons why you might want to find large files on your device. One of the most common reasons would be to make space, but many people also want to find large files to change their location or make changes to the file. Whatever your reason is, you can find the solution to this problem in our article.
Below are several methods to locate large files on any Windows 10 operating system. Create more room for new awesome things to download and enjoy a faster operating system by clearing or moving large files.
1. How to find Large Files on Windows
Method 1: Find Large Files on your Windows using File Explorer
Using specific File Explorer features, you can easily organize your files. This allows you to quickly filter out large files, even if they’re hidden from view by default.
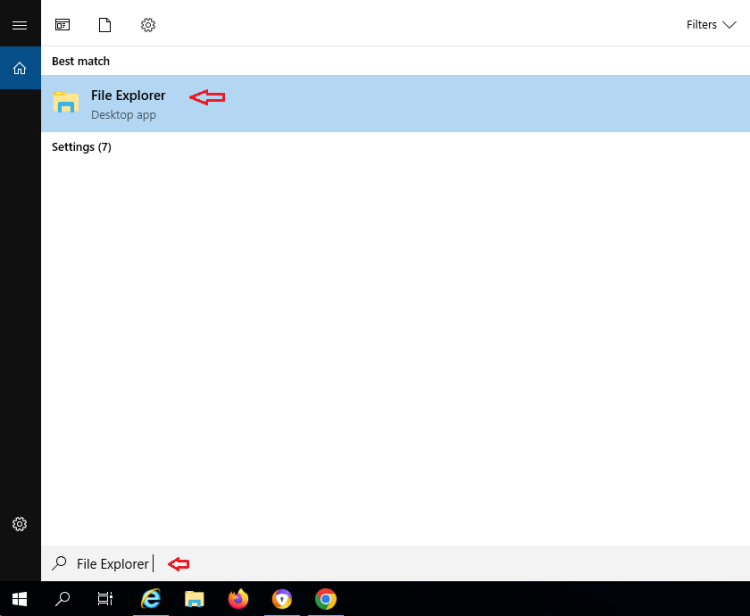
- Step 1: Open the File Explorer by clicking on its icon from your taskbar
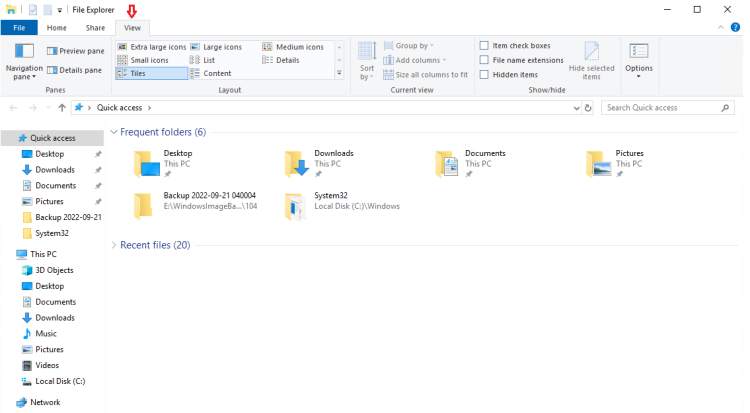
- Step 2: Click on the “View” tab from the top section of the File Explorer.
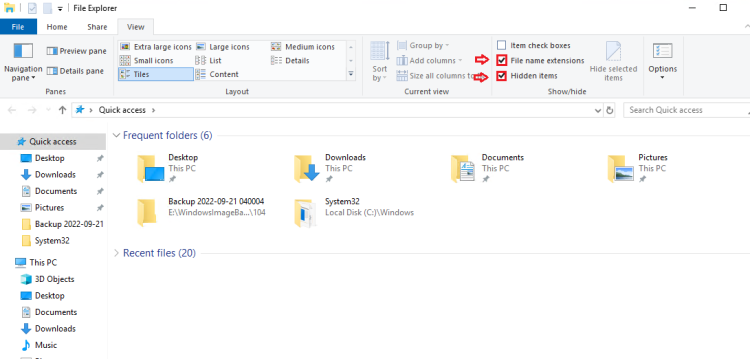
- Step 3: Make sure to enable “Hidden items” from the “Show/hide” section. This will make it possible for File Explorer to search for large files even if they’re normally hidden
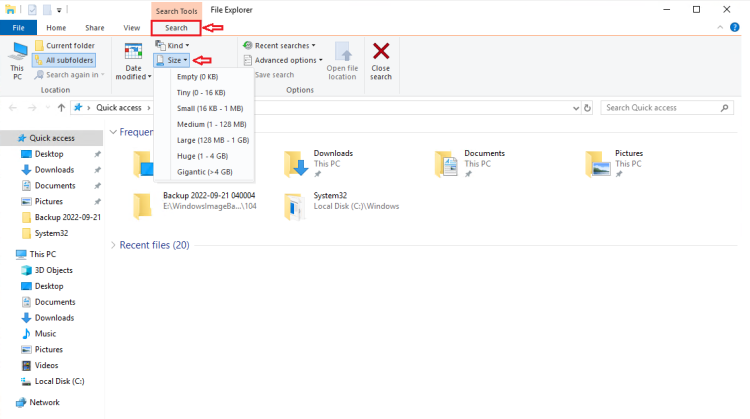
- Step 4: Click into the search box in the top-right of the File Explorer. This will make a new “Search” tab appear next to the “View” tab – click on that.
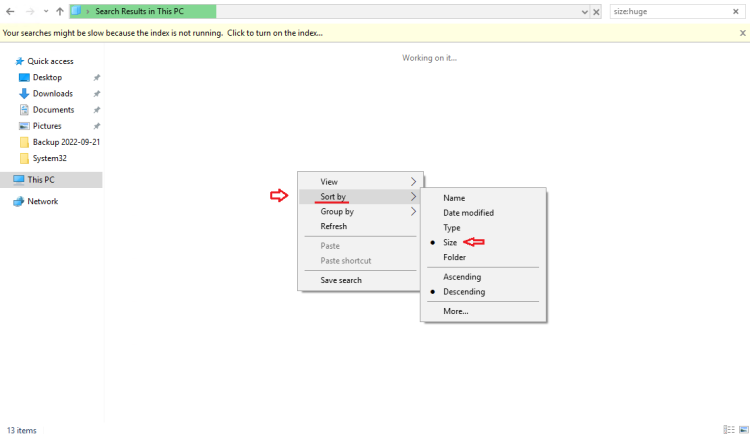
- Step 5: Click on “Size” then select the appropriate file size you want to look for. You can search for sizes between 0 KB up to 4 GB or more.
- Step 6: After search results appear, right-click on any empty space in the File Explorer and select Sort by → Size → Decreasing. Doing this will place the largest files on top of the list.
Method 2: Find large files use the PowerShell
-
Listing files ordered by size
The starting point is the cmdlet Get-ChildItem that allows you to list files and directories. Get-ChildItem alone can’t find the largest files. Thus, you have to filter its output to extract the wanted properties.
gci -r| sort -descending -property length | select -first 10 name, length
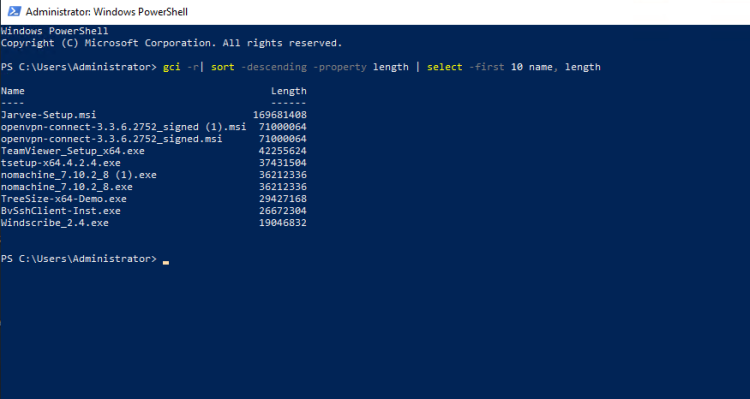
If you want to examine entire directory trees, you have to use Get-ChildItem recursively by adding the -r switch. Then you sort the collection of FileInfo objects in descending order based on the Length property (sort as an alias for Sort-Object). And with the help of Select-Object (alias select), you pick the first 10 entries with their names and sizes.
-
Displaying file sizes in GB
The result has a little cosmetic flaw: it displays the file sizes in bytes. Particularly with GB-sized chunks, you will get very big numbers. This makes it difficult to get an overview. You can solve this problem by calculating the corresponding property:
gci -r|sort -descending -property length | select -first 10 name, @{Name="Gigabytes";Expression={[Math]::round($_.length / 1GB, 2)}}
Instead of displaying the property length unprocessed, you can convert file sizes with a calculated property to GB and round the numerous decimal places with the round function.
Method 3: Find large files use the Command Prompt
If you don’t want to go this step-by-step instruction, then I have prepared a video that will guide how to find large files in Windows using command line:
Or, you may go through below steps using Command line in order to find large files in Windows or older version:
Step 1: Click on Window+ R and type CMD
Step 2: Click on Run as Administrator located on left-hand-side
Step 3: Choose Yes, if pop-up windows appear
Step 4: In the Command Prompt, type following and press Enter key:
forfiles /S /M * /C "cmd /c if @fsize GEQ size in binary bytes echo @path"
Please note that you will have to replace “size in binary bytes” to the size.
This command can be used to find files larger in size than a particular value just by specifying the required value to be compared for the file size attribute
- Example 1: if you would like to to find files that are 1 MB or more, then type the following command and press Enter:
forfiles /S /M * /C "cmd /c if @fsize GEQ 1048576 echo @path"
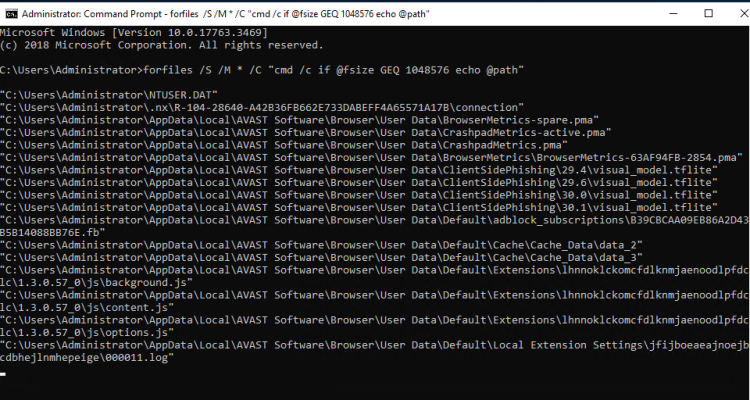
This command will search all subdirectories and their files under the current folder with file size greater than or equal to 1MB and return the complete path of the file(s) as output.
- Example 2: On similar lines, the command to find files having size more than 100 MB would be:
forfiles /S /M * /C "cmd /c if @fsize GTR 104857600 echo @path"
- Example 3: The command to find files having size more than 1 GB would be:
forfiles /S /M * /C "cmd /c if @fsize GTR 1073741824 echo @path"
Once the results of the command appear, close the command prompt.
2. How to find Large Files using Third-Party tools (TreeSize Free)
If you want to see more than the 100 largest files on your device, we commend using a different third-party app called TreeSize Free. It also shows large folders, allowing you to find the root of any large file.
Here’s how to download and use TreeSize Free.
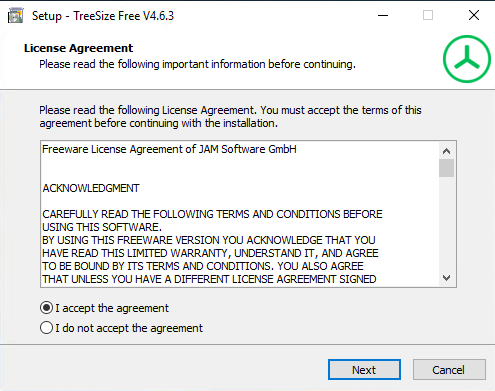
- Step 1: You can download TreeSize Free in here:
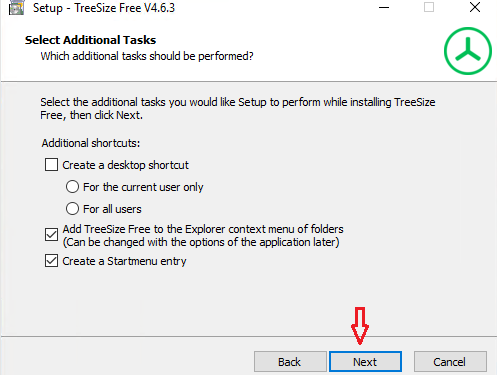
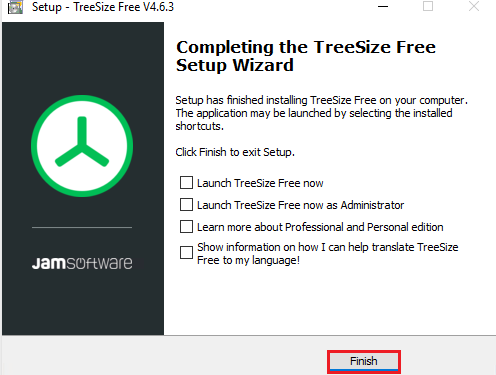
And below are the installation steps
- Step 2: Then you open the TreeSize Free software to use. The interface is quite similar to Windows Explorer. You go to the Select Directory section to select the hard drive partition you want to scan.

Or select the Folder icon above to select each Folder you want.
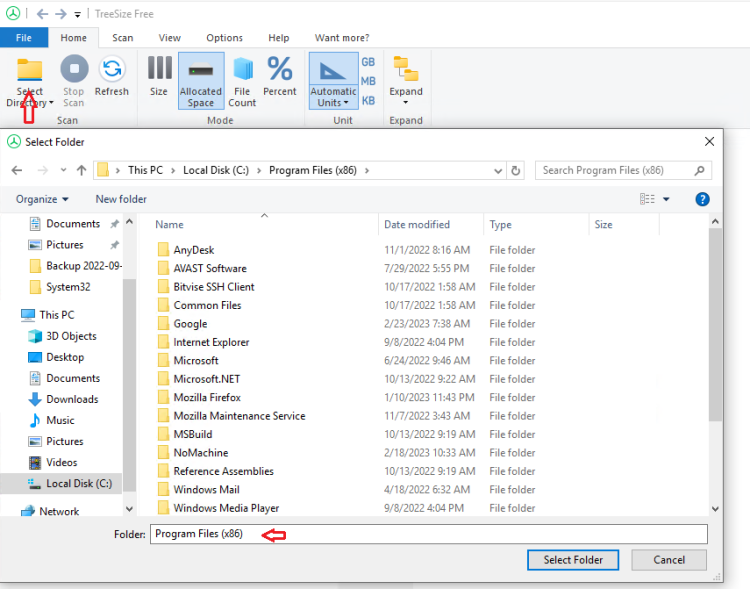
The software will start scanning the selected hard drive, then it will display information such as file size, percentage, .. things.
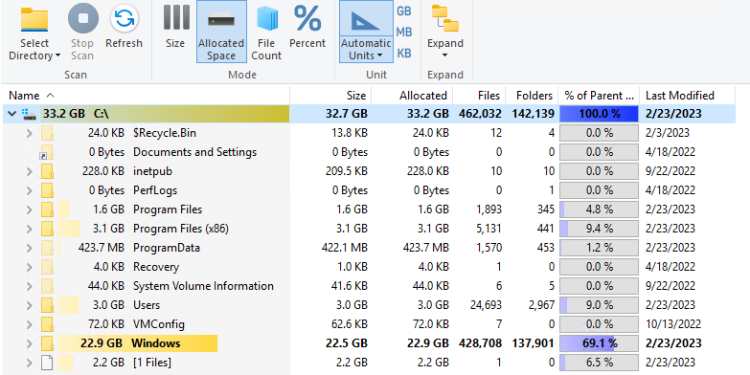
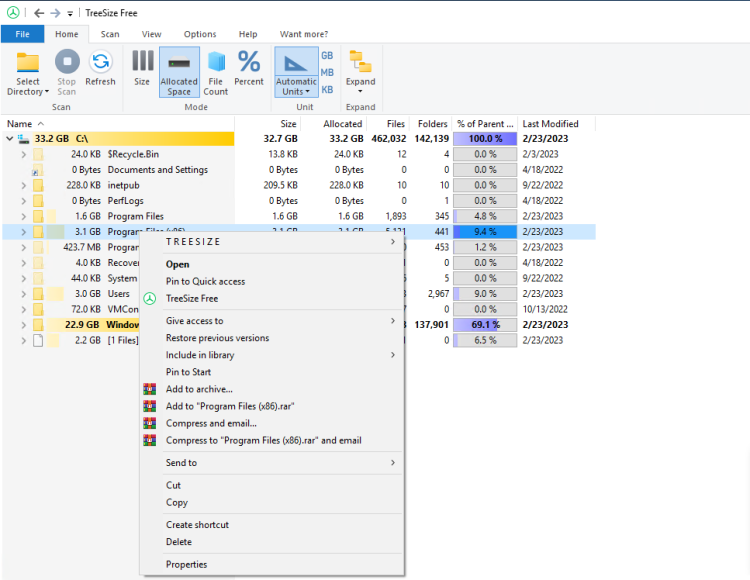
You can use TreeSize as a File Explorer because you can open, delete, copy, move files, etc. in a completely normal way
We hope that this guide was able to teach you how to Find Large Files on Your Windows System. If you ever need further assistance, our customer service is happy to guide you through any issues you might have.
Good Luck!