How to install Pritunl VPN server on Ubuntu 20.04
In this tutorial, we will show you how to install Pritunl VPN Server on Ubuntu 20.04 LTS. For those of you who didn’t know, the Pritunl VPN server is a free, open-source enterprise VPN server that anyone can use to set up a secure VPN tunnel across networks. It provides a simple and user-friendly web interface and has the ability to create a wide range of cloud VPN networks. It provides an official client package and supports all OpenVPN clients for most devices and platforms.
This article assumes you have at least basic knowledge of Linux, know how to use the shell, and most importantly, you host your site on your own VPS. The installation is quite simple and assumes you are running in the root account, if not you may need to add ‘sudo‘ to the commands to get root privileges. I will show you through the step-by-step installation of the Pritunl VPN Server on Ubuntu 20.04 (Focal Fossa). You can follow the same instructions for Ubuntu 18.04, 16.04, and any other Debian-based distribution like Linux Mint.
Install Pritunl VPN Server on Ubuntu 20.04 LTS
Step 1: system update
First, make sure that all your system packages are up-to-date by running the following apt commands in the terminal
$ apt update
$ apt upgrade
$ apt install curl gnupg2 wget unzip
Step 2 : Installing Pritunl VPN Server on Ubuntu 20.04.
By default, Pritunl is not available in the Ubuntu default repository. So you will need to add GPG key and repository to your system
- First, add the GPG key with the following command:
$ apt-key adv --keyserver hkp://keyserver.ubuntu.com --recv E162F504A20CDF15827F718D4B7C549A058F8B6B
$ apt-key adv --keyserver hkp://keyserver.ubuntu.com --recv 7568D9BB55FF9E5287D586017AE645C0CF8E292A
- Next, add the Pritunl repository with the following command:
$ echo "deb http://repo.pritunl.com/stable/apt focal main" | tee /etc/apt/sources.list.d/pritunl.list
- Once the repository is added, update the repository cache and install the Pritunl server with the following command:
$ apt update
$ apt install pritunl
- Once the installation is finished, start the Pritunl service and enable it to start at system reboot with the following command:
$ systemctl start pritunl
$ systemctl enable pritunl
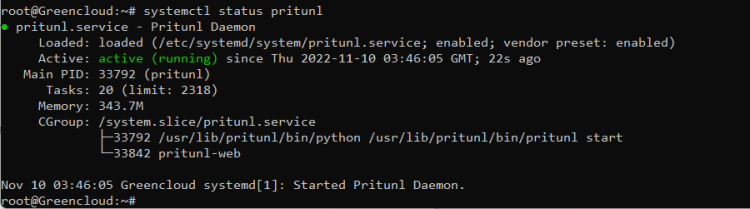
- You can now verify the status of the Pritunl service with the following command:
$ systemctl status pritunl
Output
- You can also verify the Pritunl listening port with the following command:
$ ss -antpl | grep pritunl
Output

Once you are finished, you can proceed to the next step.
Step 3: Intalling MongoDB
Pritunl built on MongoDB so you will need to install the MongoDB server in your system. By default, MongoDB is not available in the Ubuntu 20.04 default repository so you will need to add the MongoDB repository to your system.
- First,download and add the MongoDB key with the following command:
$ curl -fsSL https://www.mongodb.org/static/pgp/server-4.4.asc | apt-key add -
- Next, add the MongoDB repository with the following command:
$ echo "deb [ arch=amd64,arm64 ] <https://repo.mongodb.org/apt/ubuntu focal/mongodb-org/4.4> multiverse" | tee /etc/apt/sources.list.d/mongodb-org-4.4.list
- Once the repository is added, update the repository and install the MongoDB server with the following command:
$ apt update
$ apt install mongodb-server
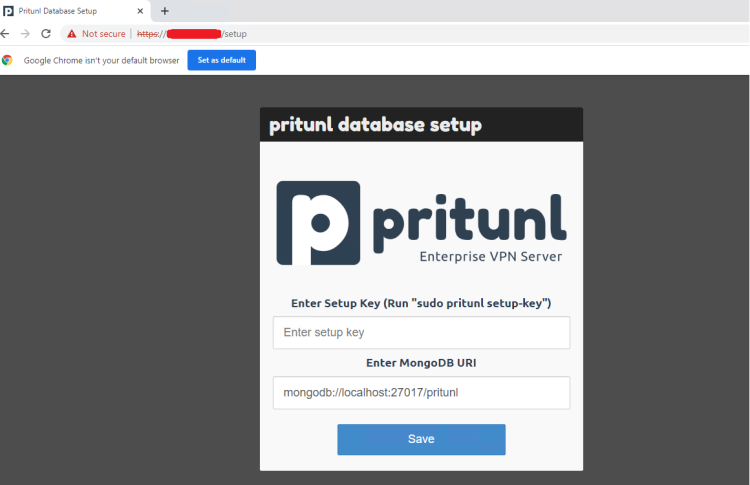
Step 4: Access Pritunl web Interface
- Open your web browser and access the Pritunl web installation wizard using the URL https://your-server-ip. You should see the following screen:
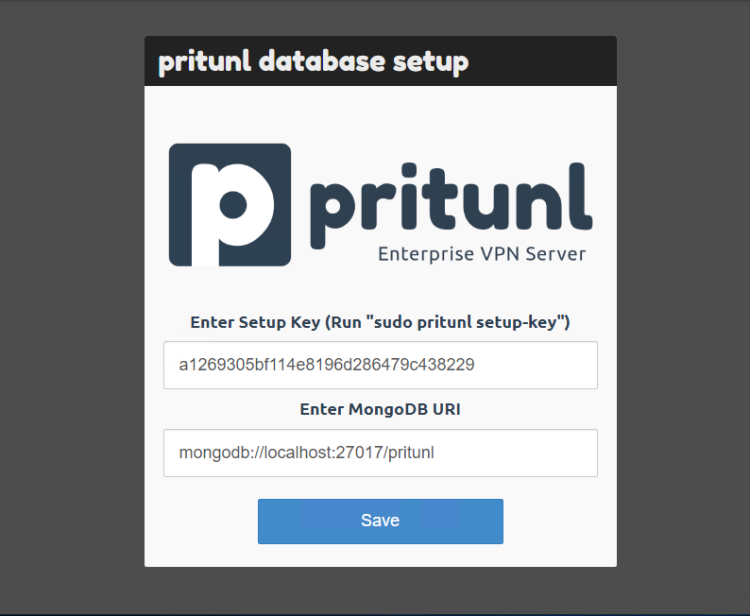
- Now, open your terminal and run the following command to generate a key:
$ pritunl setup-key

- After that, copy the setup key and paste it to the Pritunl database setup wizard. After paste, the setup key, click on the Save button
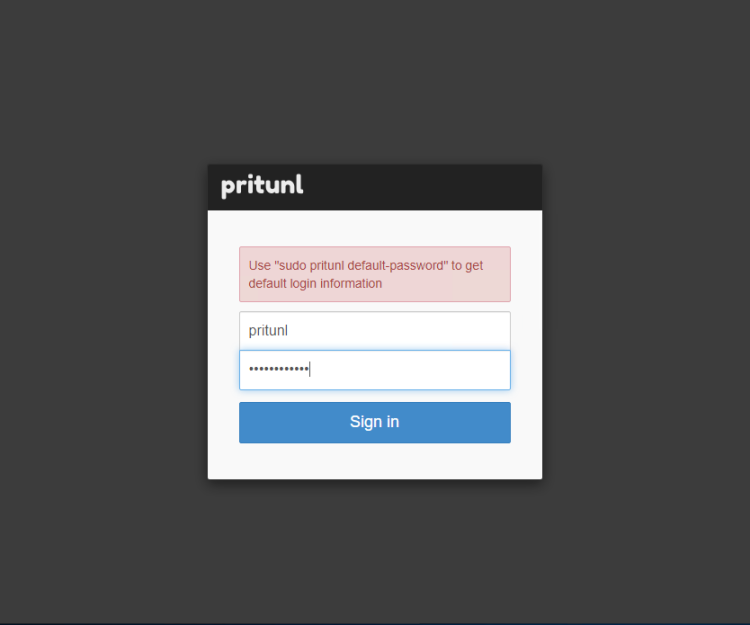
- Next, you will need to generate a default username and password to sign in. To do that, run the following command:
$ pritunl default-password

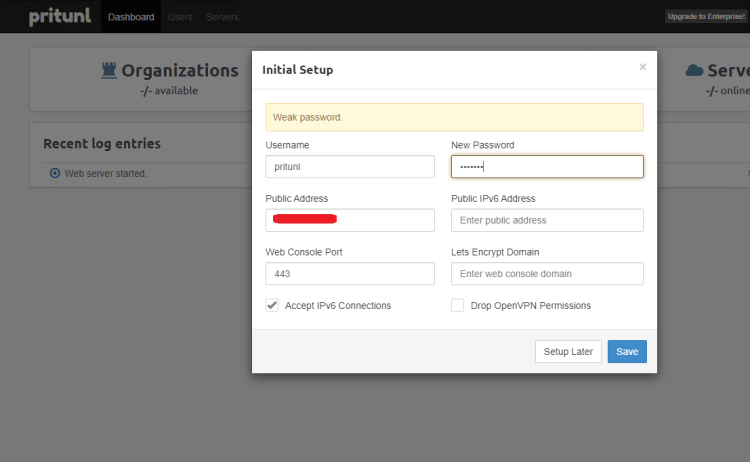
- Now login with the default username and password, and set up your environment from Pritunl dashboard
- Change your password or user if you wish then click on the Save button. You should see the following page
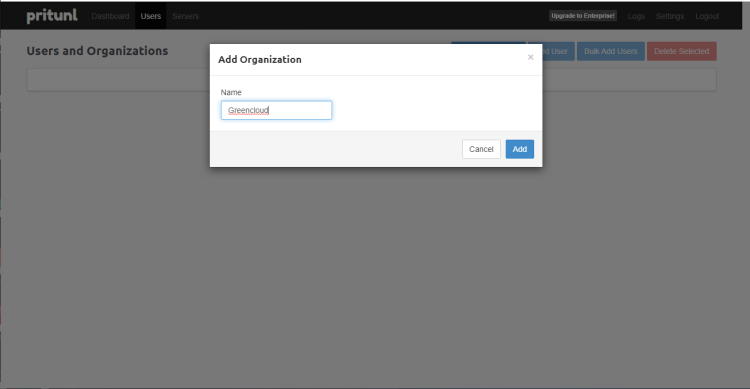
- Now, click on the Add Organization button. You should see the following page,provide your Organization name and click on the Add button
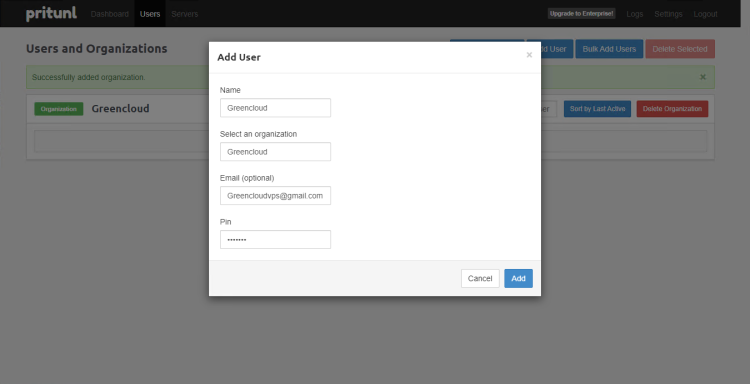
- Click on the Add User button. You should see the following page,provide your username, pin and click on the Add button
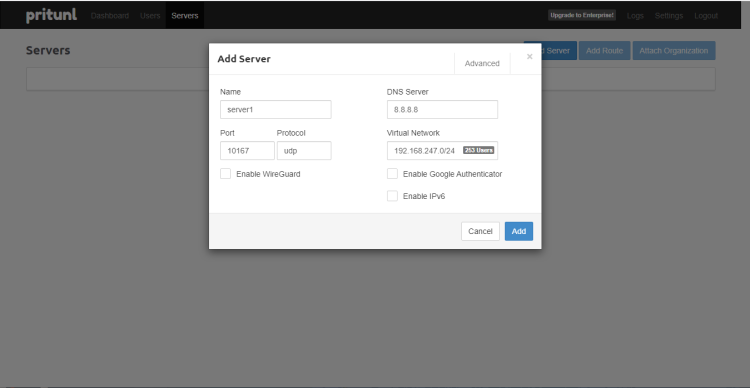
- Now, click on the Servers tab,provide your server name, port, DNS IP, Virtual network and click on the Add button
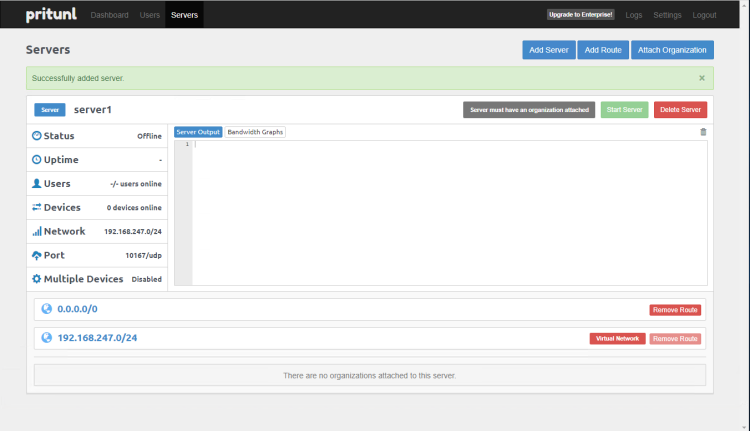
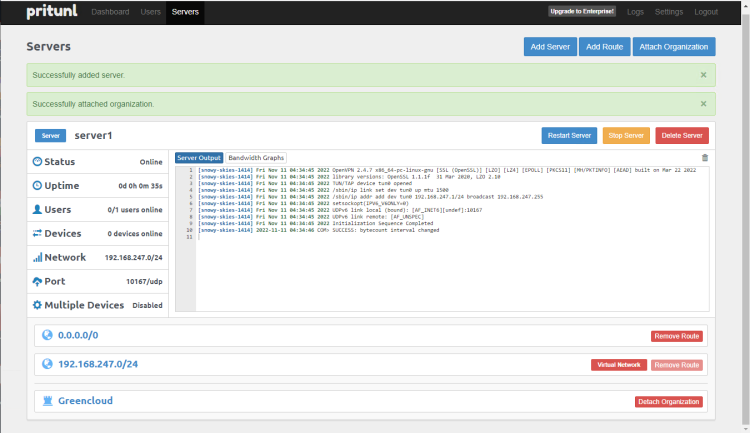
- Click on the Attach Organization button to attach your Organization to the server >click Attach button

- Click on the Start Server button to start the VPN server.
Congratulations! You have successfully installed Pritunl VPN. Thanks for using this tutorial for installing the Pritunl VPN Server on your Ubuntu 20.04 LTS Focal Fossa system. For additional help or useful information, we recommend you check the official Pritunl website.
Good Luck!

