How to configure the network on Linux
If you are a regular Linux user or a system administrator, you may require network setup on your system. Unlike desktop systems where you can use dynamic configurations, you will have to perform specific configurations on the servers depending on your network environment.
Dynamic configurations are constantly changing when the server is restarted, so in some cases a static configuration is required, such as when the server needs to be administered remotely or when the server is running an application application or service that requires constant access. So, in this article, I will explain how you can set up basic networking in a Ubuntu-based Linux operating system. Basic setup includes setting static IP, Gateway, DNS and hostname.
We have used Ubuntu 20 operating system to describe the process mentioned in this article.
1. View the current network configuration.
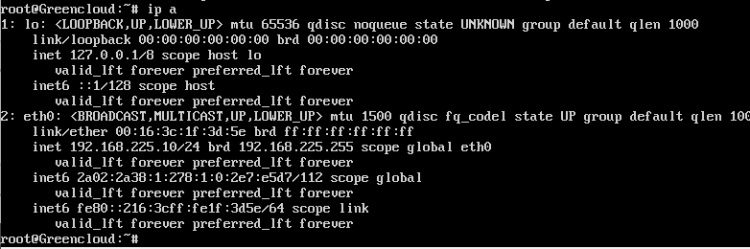
To view the current network configurations, run the following command in Terminal. It will display the output for each network interface in a separate section.
# ip a
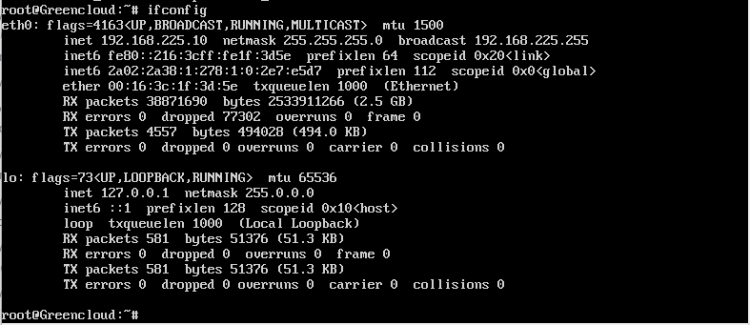
You can also run the ifconfig command to see the IP address.
# ifconfig
2. Change network
configuration Basic network configuration includes setting static or dynamic IP address, adding Gateway, DNS server information. There are different ways to configure the network on Ubuntu Operating System.
Method 1: Using the ifconfig and route commands
In this method, we will see how to configure the network settings. However, remember, these settings are not permanent. After you reboot your system, the settings will be deleted.
-
Step 1: Assign an IP address to the network interface.
We will use ifconfig to assign an IP address to our network interface. Here is the command syntax:
# ifconfig <interface> <IP_address> netmask <subnetmask> up
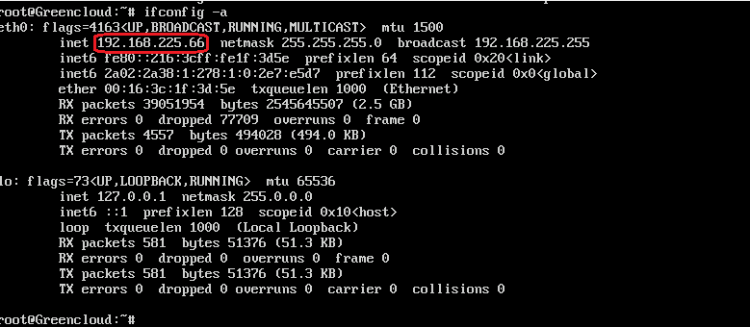
In the following example, the command assigns the IP address 192.168.225.66 to the network interface eth0. The netmask is 24 (255.255.255.0) bits.
# ifconfig eth0 192.168.225.66 netmask 255.255.255.0 up

Once done, you can test your configuration by running the ifconfig command as follows:
-
Step 2: Set default Gateway.
The default gateway is the address used to communicate with the external network. To configure the default Gateway, use the following command syntax:
# route add default gw <IP_address> <interface>
In the following example, I am using 192.68.225.1 as my default Gateway address.
# route add default gw 192.168.225.1 eth0

-
Step 3: Set your DNS server.
DNS servers resolve domain names to IP addresses so that browsers can load Internet resources. To configure the DNS nameserver address, use the following command syntax:
# echo "nameserver <IP_address>" > /etc/resolv.conf
In the following example, I will set the Google DNS IP address as my name server address to 8.8.8.8.
# echo "nameserver 8.8.8.8" > /etc/resolv.conf
How to remove the IP address from the network interface
To remove the IP address from the network interface, run the following command in Terminal:
# ip address del <IP_address> dev <interface>
Method 2: Change the network settings using the network interface file.
In this method, we will configure permanent network settings that your system will remember even after reboot. For that, we will have to edit the file /etc/network/interface with any text editor.Run the following command in the terminal to do so:
How to configure network in Ubuntu/Debian
- Step1 : Use command
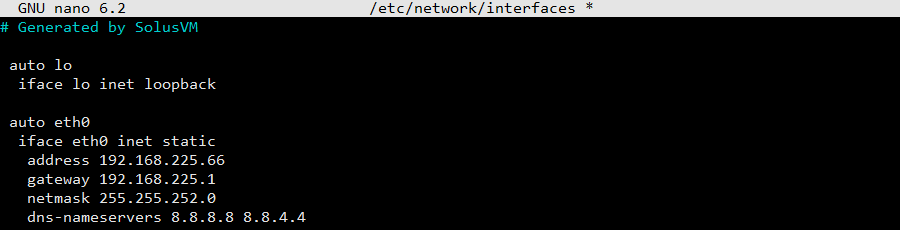
# nano /etc/network/interfaces
The file content is as follows (replace IP/gateway/subnetmask values with your information)
auto eth0

iface eth0 inet static

address 192.168.225.66

netmask 255.255.255.0

gateway 192.168.225.1
Now press Ctrl + O and then Ctrl + X to save and exit the file.
Please note that the address, network mask, and Gateway line must begin with a leading space
- Step 2: Reboot or restart network services with the command:
# systemctl restart networking.service
- Step 3: Normally, after step 2 it is done. In some cases, you must set up a nameserver. Proceed as follows:
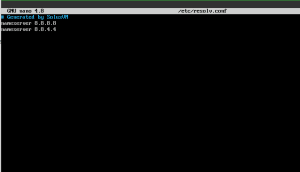
# nano /etc/resolv.conf
Enter the file content as below and save OK:
nameserver 8.8.8.8
nameserver 8.8.4.4
How to configuring network in CentOS
- Step 1: Use the ifconfig command to check the server’s network cards
- Step 2: After determining which network card needs to be configured (for example, eth0 card), set up the IP for the network card with the following command:
# nano /etc/sysconfig/network-scripts/ifcfg-eth0
The file content is as follows (change the IP/gateway/subnetmask values with your values)
DEVICE=eth0
TYPE=Ethernet
ONBOOT=yes
BOOTPROTO=none
BROADCAST=192.168.225.255
HWADDR=00:25:90:C3:65:BC
IPADDR=192.168.225.66
NETMASK=255.255.255.0
GATEWAY=192.168.225.1
DNS1=8.8.8.8
If we want to configure the network card to receive IP from the DHCP server, we replace the content above with the following content:
DEVICE=eth0
TYPE=Ethernet
ONBOOT=yes
NM_CONTROLLED=yes
BOOTPROTO=DHCP
DNS1=8.8.8.8
- Step 3: Reboot or restart network services with the command:
# systemctl restart network
3. Set the Hostname.
Just like an IP address, a unique hostname is also used to identify a system on the network. To find your system’s current hostname, run the command below in Terminal:
$ hostname

To change the system hostname, you can run the command below. But when you reboot your system, your original hostname will be restored.
$ hostname host_name
 Here I am changing my hostname from Ubuntu to Ubuntu20
To permanently change the hostname, you will need to edit the hostname file located at /etc/hostname
Enter the command below to do so:
$ nano /etc/hostname
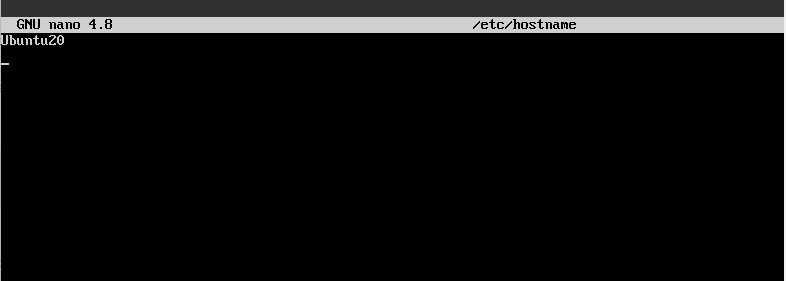
This file contains only the hostname, change the old name to the name you want, then press Ctrl + O and Ctrl + X to save and exit.
Good Luck!

