How to install Cockpit on Centos 9 Stream
The cockpit is a free remote server manager that is lightweight and easy to use for GNU/Linux servers
Although it may be focused on novices, the reality is that almost any user can use it because it makes the task of administering a system like CentOS much easier.
Because Cockpit intentionally uses APIs and system commands, an entire team of administrators can manage a system the way they prefer, including the command line and utilities alongside Cockpit.
So, what can I do with Cockpit? Well, these are some operations you can do with Cockpit.
- Inspect and change network settings
- Configure a firewall
- Manage storage (including RAID and LUKS partitions)
- Create and manage virtual machines
- Download and run containers
And much more.
Install Cockpit on CentOS 9 Stream
Step 1. First, let’s start by ensuring your system is up-to-date.
# apt update
Step 2. Installing Cockpit
By default, Cockpit is available on the CentOS 9 Stream base repository. Let’s install the Cockpit server using the following command below:
# apt install cockpit
Once the installation is complete, now enable Cockpit (to start automatically upon system boot), start, and verify the status using the commands below:
# systemctl start cockpit
# systemctl enable cockpit
# systemctl status cockpit
Step 3. Configure Firewall.
If your server is protected by the firewall and you haven’t opened the Cockpit ports. Enable them with the following command below:
# firewall-cmd --permanent --zone=public --add-service=cockpit
# firewall-cmd --reload
To verify the Cockpit was active or not used after the command:
# service cockpit status

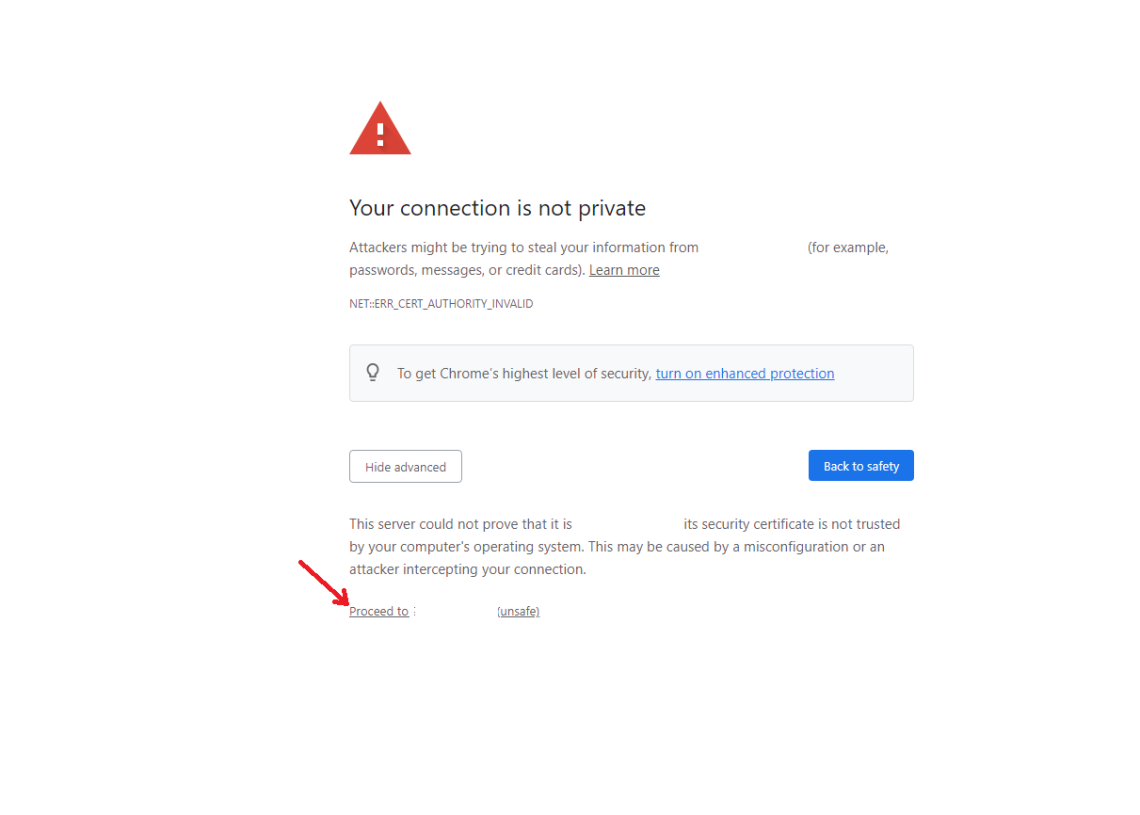
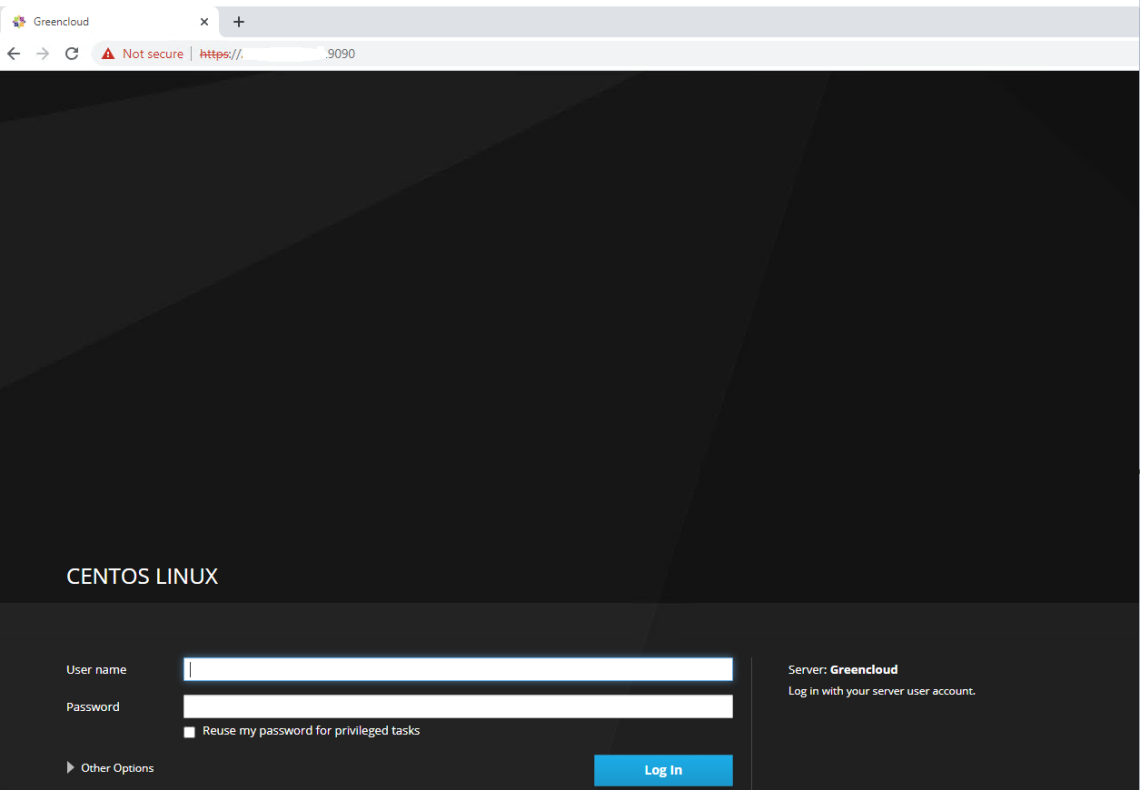
Step 4. Accessing Cockpit Web Interface.
To access the Cockpit dashboard visit the URL below using your browser:
https://ip-vps:9090
Sign in by your SSH login information.
Once you are logged in to Cockpit, you can see a complete overview of the system.
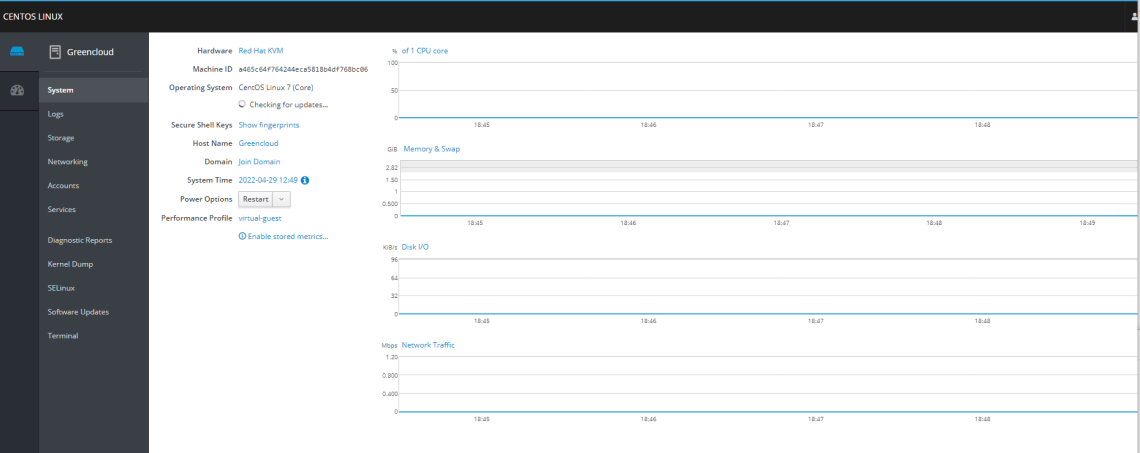
Here you can perform administrative tasks like add/remove users, start/stop services, configure networks….
Good Luck!

