How to backup data on Server with Windows Server backup
Windows Server Backup is a very useful tool that Microsoft has integrated into Windows server OS, in this article we will install the Server to automatically back up data on a schedule, from which it can be easily restored. data in case of failure. This backup is best to save backups to external storage drives or other servers, not to backup on the server itself.
Backup data with Windows Server Backup
+Step 1 : You can go to Server Manager -> Manage -> Add Roles and Features -> go next and select Windows Server Backup to install
+Step 2: Once installed, open Windows Server Backup by going to: Server manager -> Tools -> Windows Server Backup or (start -> run -> wbadmin.msc)
+Step 3: In the working window, there are 2 backup options
- Backup once: only backup once after we configure.
- Backup Schedule: run according to the schedule you set up
We choose Backup Schedule

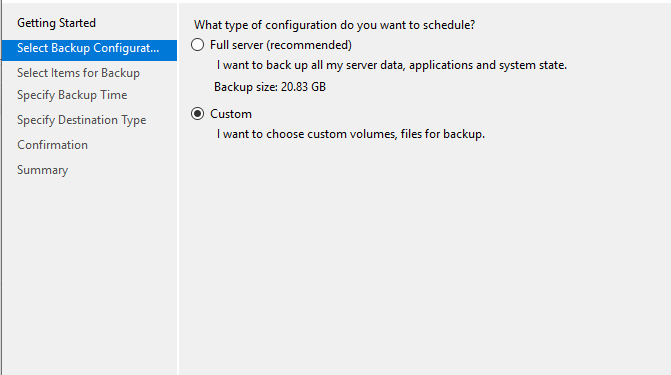
+Step 4: This step has 2 options:
- Full Server: back up all drives on the server.
- Custom: option folder, drive to backup.
We choose Custom -> Next
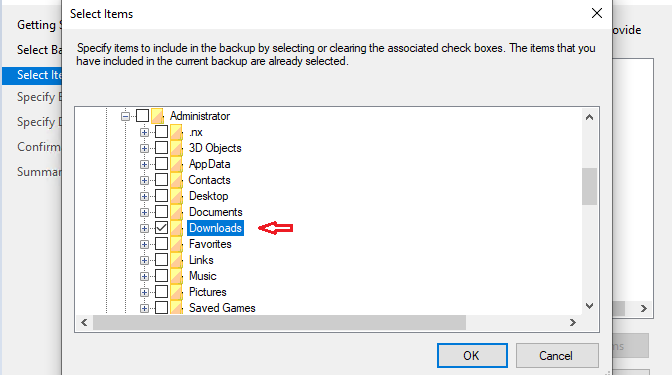
+Step 5: Select Add Items

+Step 6: In this step, you choose which folder or drive you want to back up. Here I want to backup the “Downloads” data
-> Note: to adjust the backup type, after specifying the backup location, select Advanced setting -> VSS Settings tab
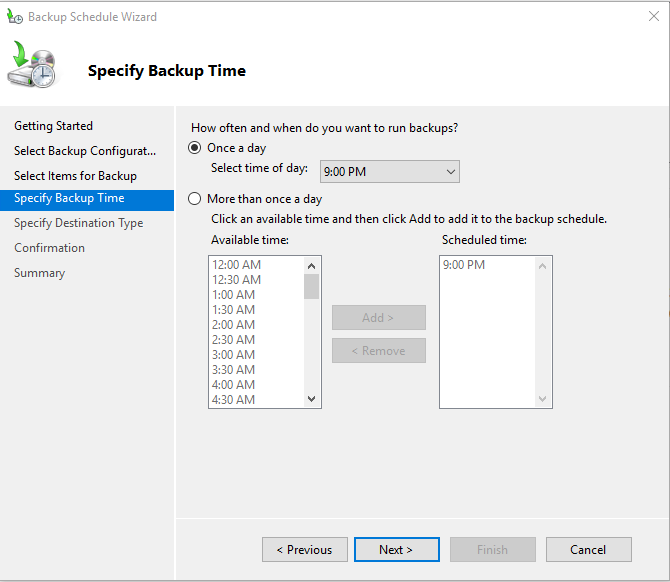
+ Step 7: We have 2 options:
- Once a day: schedule to run 1 backup in 1 day
- More than once a day: schedule to run backup multiple times in 1 day
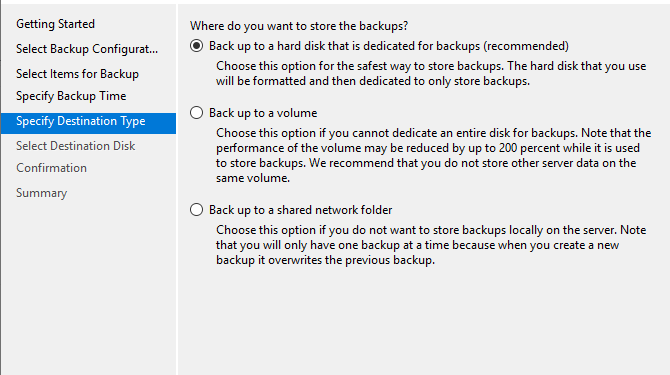
+Step 8: Choose where to store the backup file, here there are 3 options:
- Back up to hard disk that is dedicated for backups : save the backup file on another hard drive (recommended, this option will reformat the selected drive and this drive will be reserved for backups)
- Back up to a volume: save on 1 partition (uploading to a partition will not be safe if it is located with the OS, if you can choose another drive to backup, it will not be formatted and hidden. as option 1)
- Back up to a shared network volume: save on a shared folder in the network (If you choose this method, it will only have one backup, and there will be no option to backup from time to time like the two methods above)
I choose Back up to hard disk that is dedicated for backups -> Next
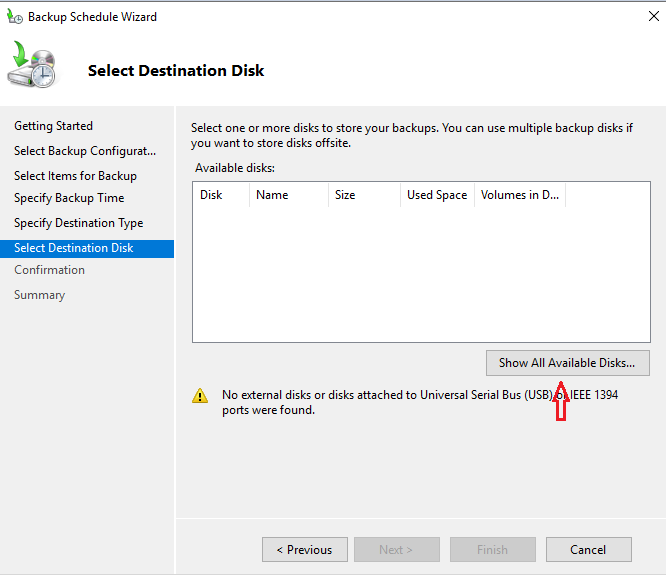
+Step 9: Select Show All Available Disks….
+Step 10: Check the drive you want to save the backup on
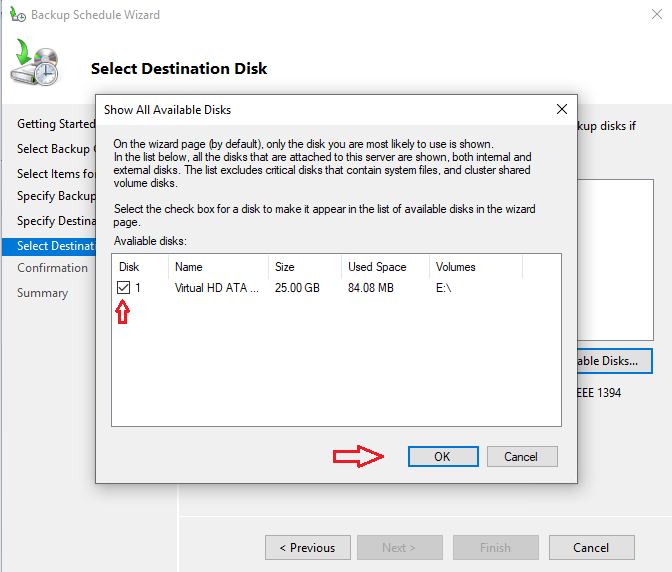
Tick again

+ Step 11: Select Yes
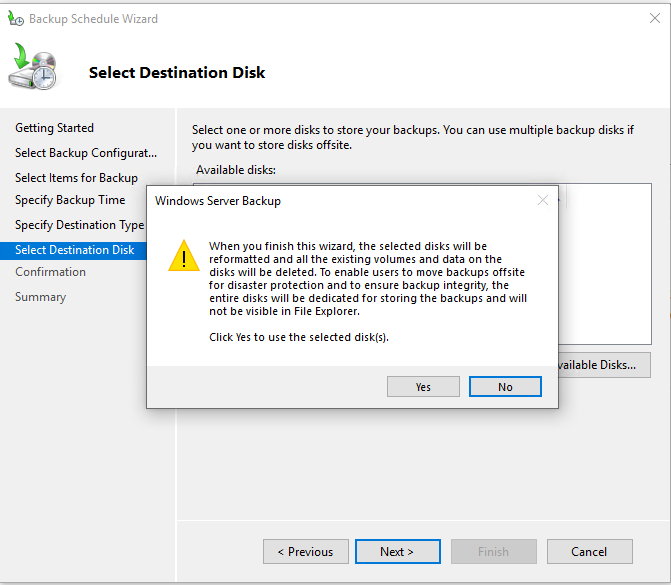
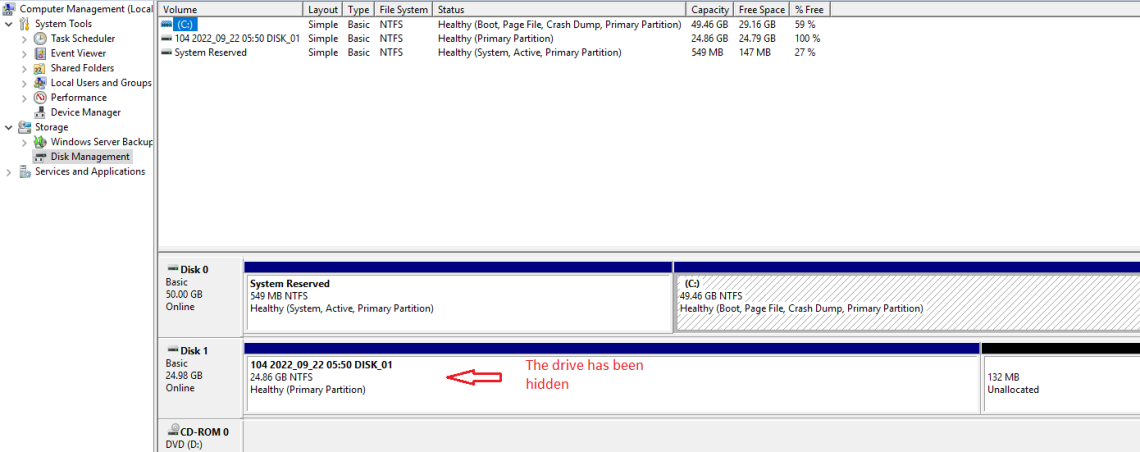
+Step 12: Review the information and then click Finish. Once completed, the selected hard drive will be formatted and hidden for backup purposes only.
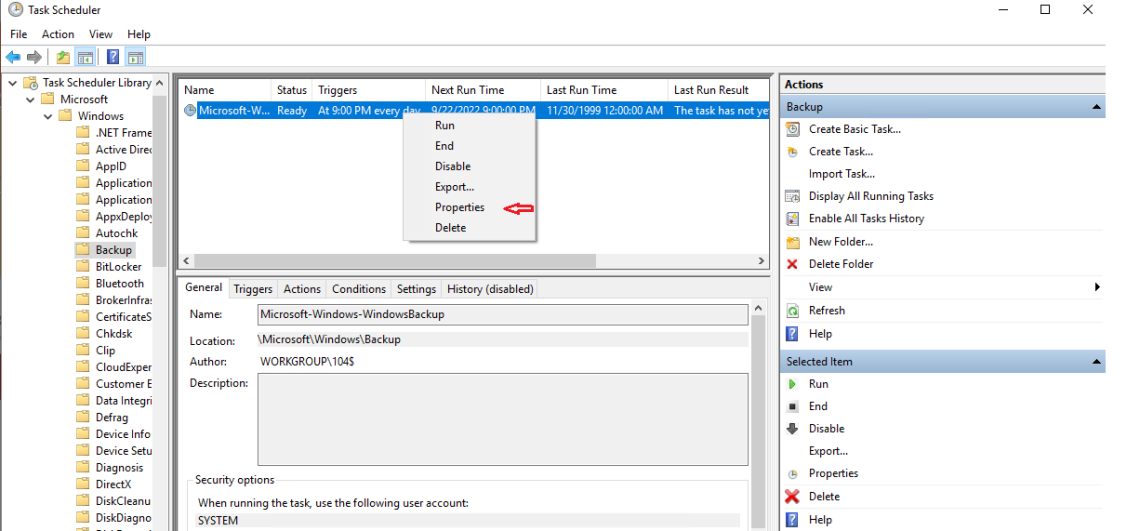
+Step 13: At this point, you have finished setting up Windows Server Backup, if you want to customize the backup runtime, open the Task Scheduler by going to:
- Server manager -> Tools -> Task Scheduler.
- Next, go to Task Scheduler Library -> Microsoft -> Windows -> Backup
- In the right window, select the calendar that we have just set up, right-click and select Properties
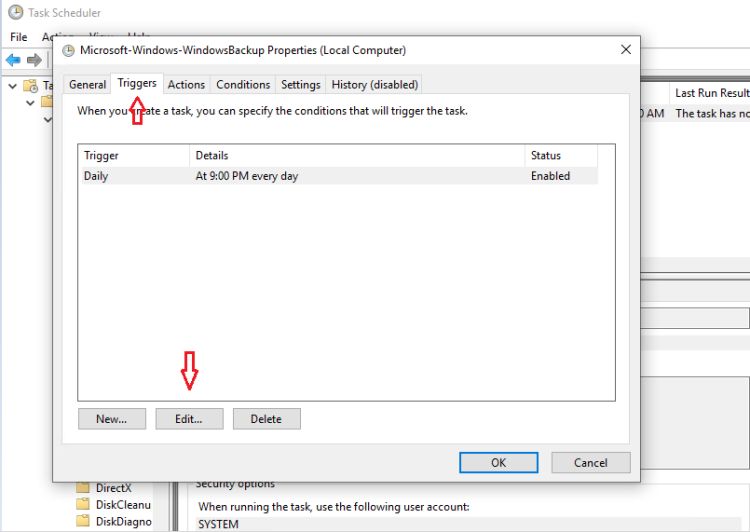
+Step 14: Select the Triggers tab
+Step 15: Here you can set the schedule as you like, day, week, month…
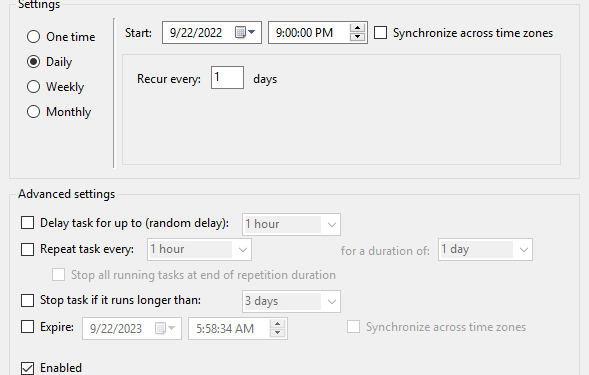
That’s it, setting up an automatic backup schedule with Windows Server Backup is complete.
Good Luck !

