How To Install Glances on AlmaLinux 9
In this tutorial, we will show you how to install Glances on AlmaLinux 9. For those of you who didn’t know, Glances is a cross-platform curses-based system monitoring tool written in Python. Glances provide information regarding memory, CPU, Disk IO, file system, Uptime, processes, interfaces, alerts & many other system information.
Install Glances on AlmaLinux 9
Step 1. First, let’s start by ensuring your system is up-to-date.
dnf update -y

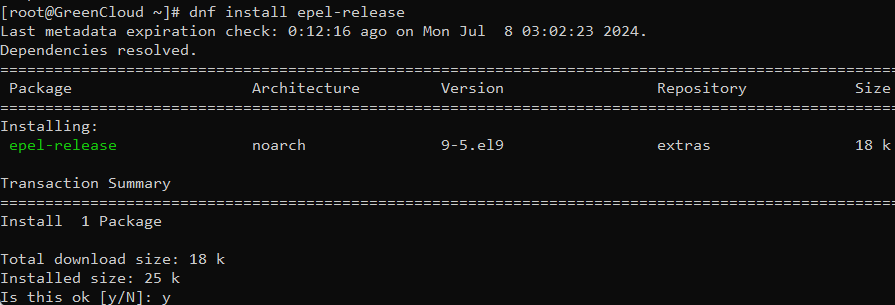
Step 2: Enable the EPEL and CRB Repository by using the below command.
dnf install epel-release
Step 3: Install the required packages by using the below command.
dnf install python3 python3-jinja2 python3-psutil python3-setuptools hddtemp python3-pip lm_sensors

Step 4. Installing Glances
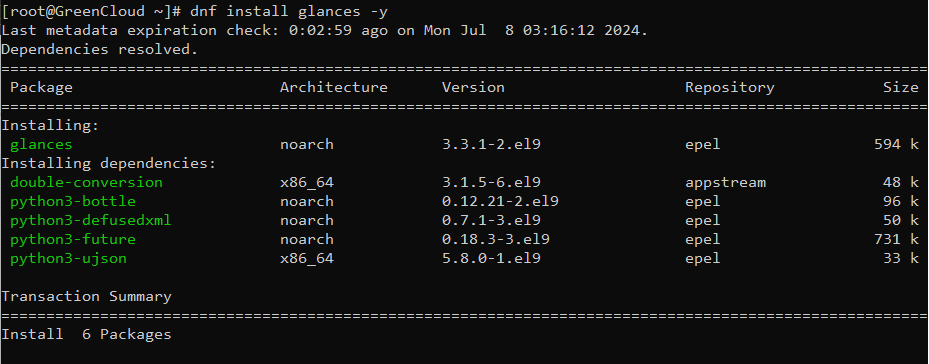
By default, Glances is available in the AlmaLinux 9 base repository. Now we install Glances using the following command below:
dnf install glances -y
Step 5. Configure Firewall.
Now we add a Firewall rule so that the web console would be accessible:
firewall-cmd --zone=public --add-port=61208/tcp --permanent
firewall-cmd --reload

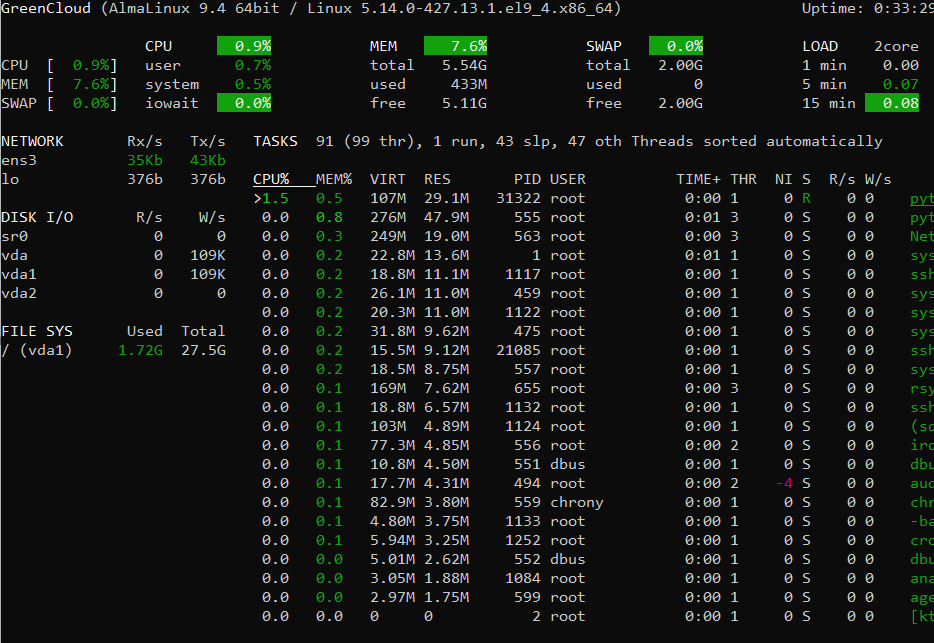
Step 6. Accessing Glances System Monitoring on AlmaLinux.
Once successfully installed, we can use it for real-time Linux monitoring by opening the terminal & running the following command below:
glances
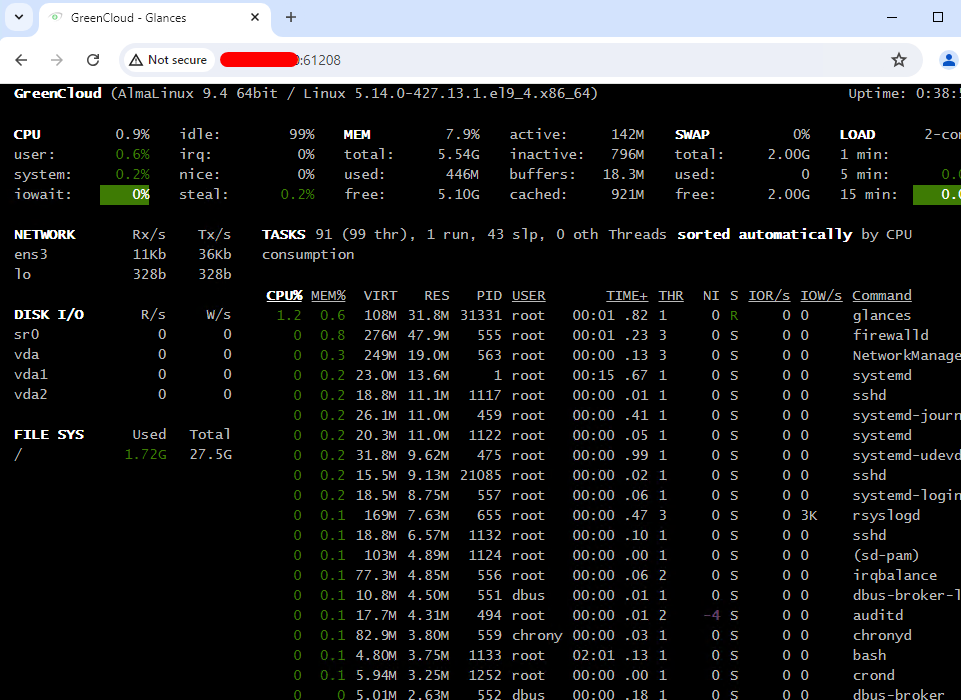
Step 7. Accessing Glances Web Interface.
A cool feature in Glances is the ability to render the metrics on a web browser, just run the glances with the -w option:
glances -w
Output:

Now, open your web browser and access your website using the URL http://your-server-ip-address:61208/. You should see the Glances default page:
Conclusion
In this guide, we have walked you through the steps required to install the Glances Monitoring Tool on Almalinux 9. Your feedback is much welcome.

