How to Upgrade Windows Server 2019 to 2022 without data loss
Microsoft has been steadily making Windows Server OS more “cloud-aware” with more Azure features being natively integrated into the OS. And it just does it in Windows Server 2022, the latest and most advanced Windows Server operating system by far, and you can enjoy other advantages as well.
- Windows Server 2022 is more “cloud-friendly” and has all the features that Microsoft offers with Azure, and unlocks the potential with Windows Admin Center.
- Windows Server 2022 also has a new set of security features that sits at the core of Windows Server 2022 and is unlocked by having the right hardware under the hood, such as TPM 2.0.
- Besides, it still focuses on the container space, specifically Kubernetes which is the most powerful and popular container orchestration platform. And it provides Active Directory identities for containers using group-managed service accounts.
How to Upgrade Windows Server 2019 to 2022 Step by Step
By comparison, Windows Server 2022 vs 2019, the new system is much more secure, so many users prefer to experience the latest version and its features. If you don’t know how to perform an in-place upgrade Windows Server 2019 to 2022, please continue to read the following contents and follow the steps carefully.
Before in-place upgrade from Windows Server 2019 to 2022, you need to make some preparations:
- Be sure the current operating system is up-to-date. Go to Settings > Update & Security > check for Update. If it says you’re up to date, just close this window and continue to see below. But if the system is outdated, you should update Windows Server 2019 to the latest version.

- Next, you need to check the hard drive space on the VPS Windows Server 2019. If the hard drive is 15GB, it can be upgraded normally. In case of low hard drive space is not enough to upgrade. You can clean the hard drive in the download file or you can refer to the following instructions to clean the hard drive:

https://green.cloud/docs/7-tips-to-free-up-hard-drive-space-on-windows-vps/
- In case the hard drive is finished cleaning, the free space is still not guaranteed. You can purchase additional hard drive space for an upgrade by contacting us or purchasing additional hard drives in the add-on section.
Then, You can follow the steps below to start upgrading from Windows Server 2019 to Windows Server 2022.
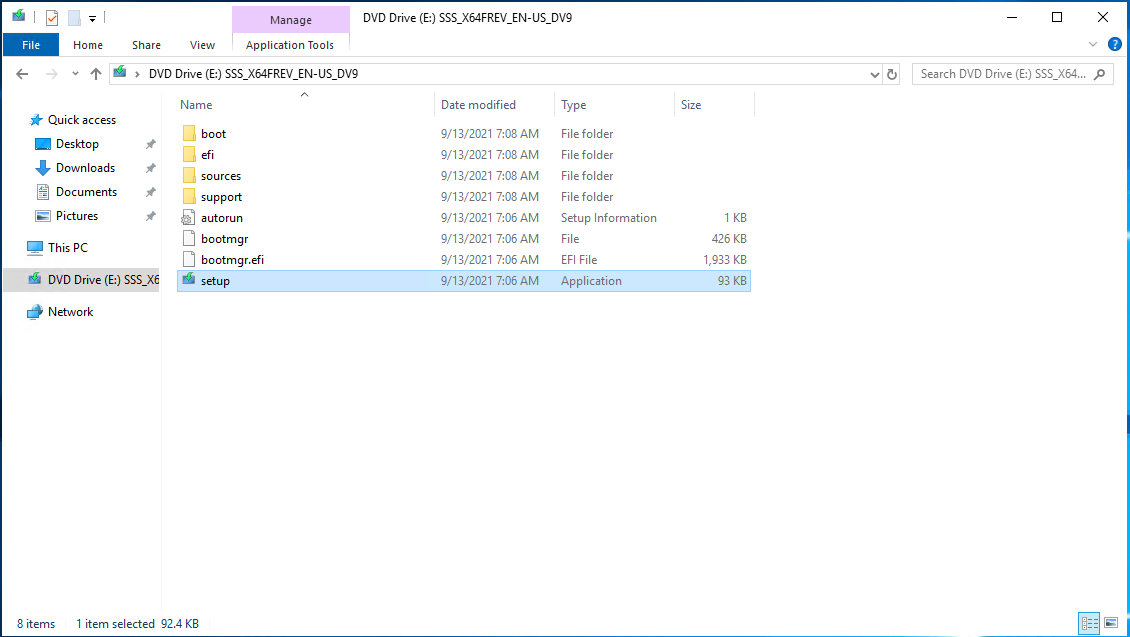
Step 1. Log in to Windows Server 2019 and You can download the windows server 2022 ISO file at the following link or download the ISO file from the Microsoft homepage, then double-click its Setup.exe file to update and install 2022.
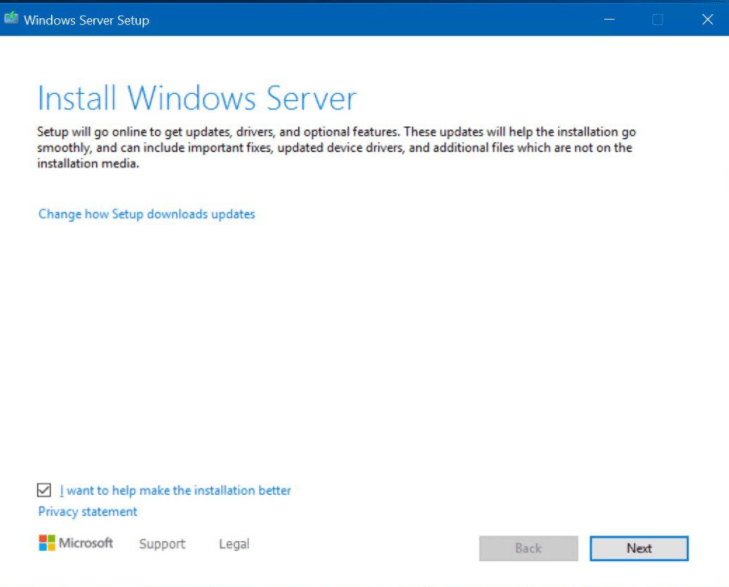
Step 2. In the Install Windows Server window, click Change how Setup downloads updates and then select Download updates, drivers and optional features. Click Next to continue.
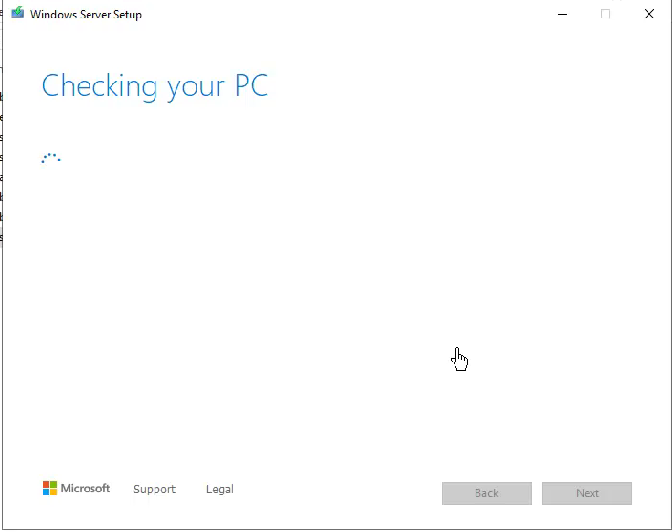
Step 3. Check your VPS system before installing.
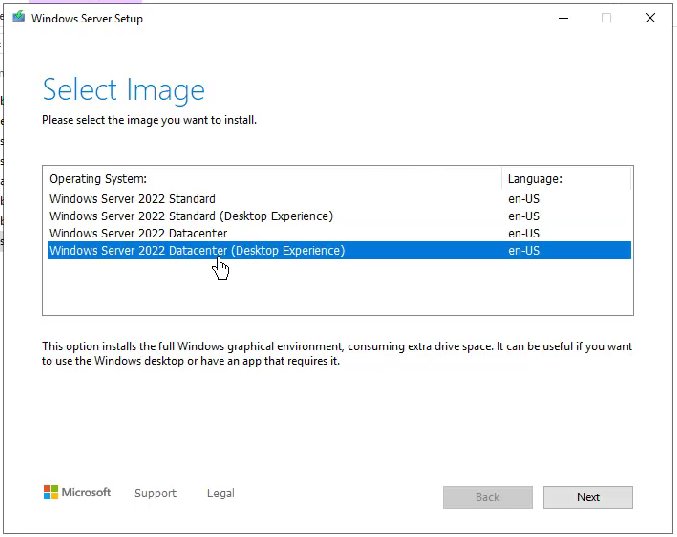
Step 4. Select the edition of Windows Server 2022, which need to be the same as 2019, and then click Next.
Step 5. Read the Applicable notices and license terms then click Accept to move on.
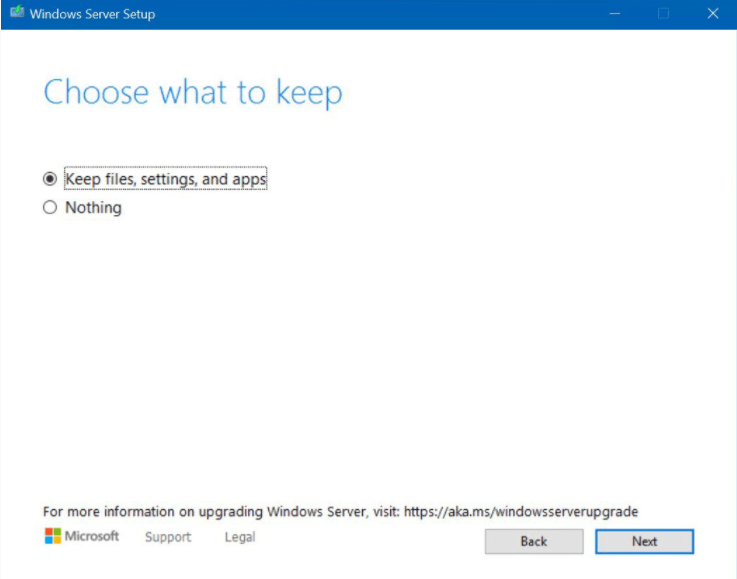
Step 6. Select Keep personal files and apps and then select Next. If you don’t choose the right version, the first option will be unavailable.
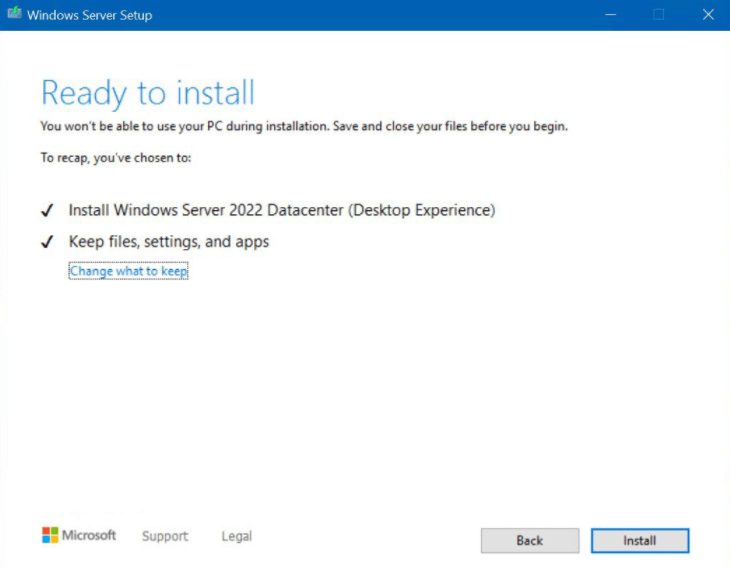
Step 7. After Windows Server Setup analyzes your device, it will prompt you to proceed with your upgrade by selecting Install.
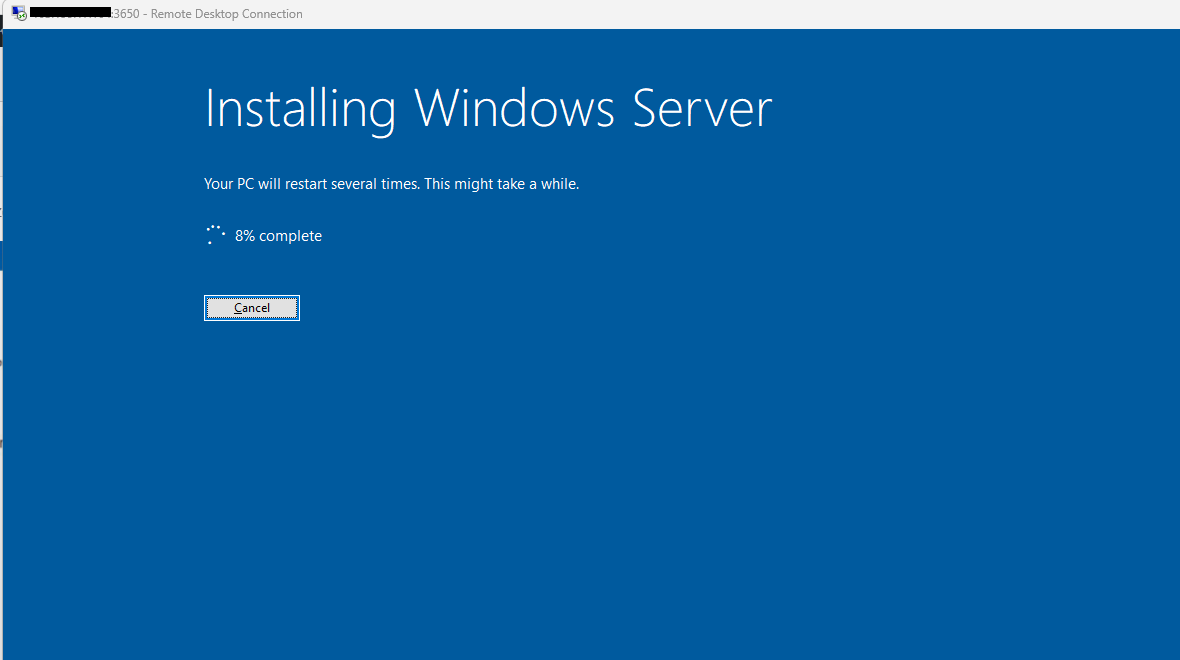
Step 8. The upgrade starts and the upgrade progress is displayed on the screen. After the process is completed, the server will restart.
After the installation process, upgrade the VPS to windows server 2022. You can check your VPS through the VNC console by following the instructions below:
https://green.cloud/docs/how-to-access-the-windows-vps-via-open-console/

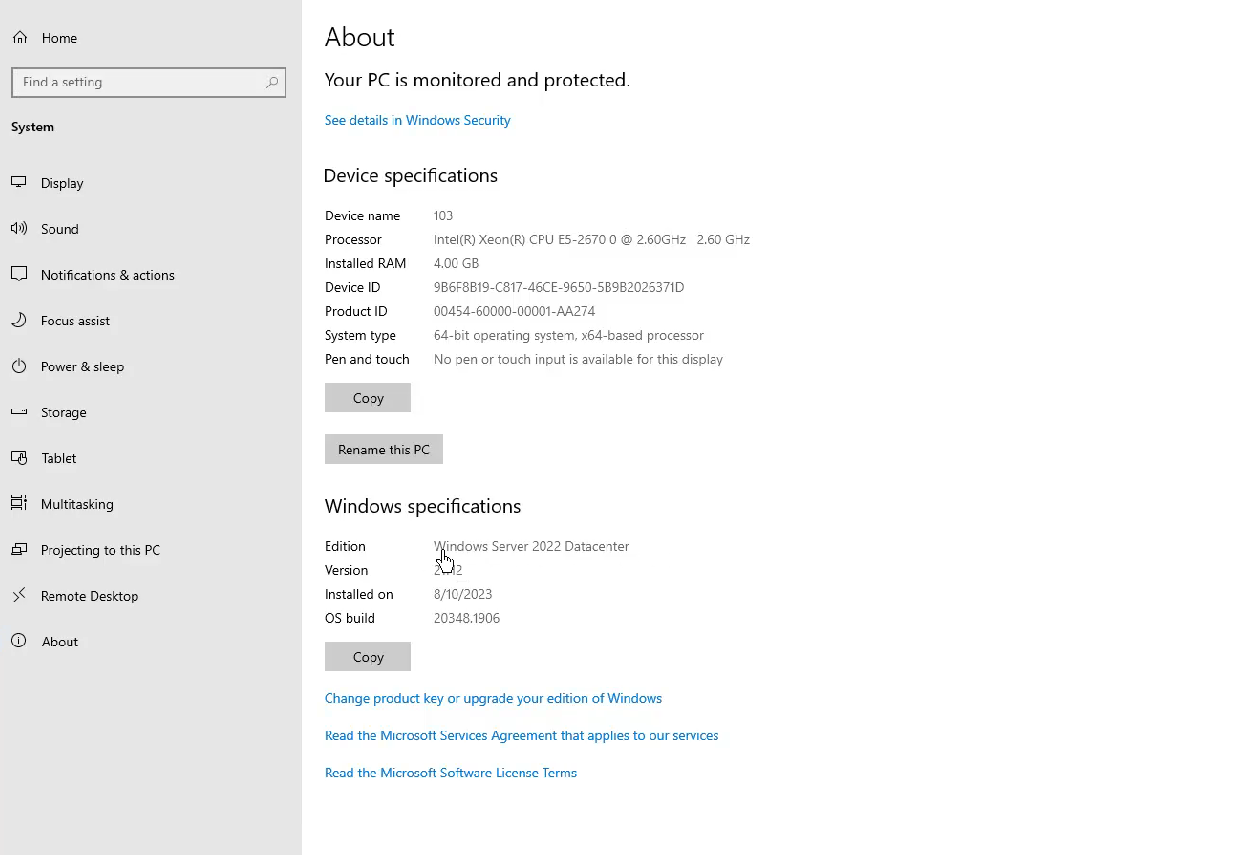
After the update is successful. Can you remote the desktop to VPS and check if the VPS has been upgraded successfully?
Best Way to Protect Your Windows Server Safely
In fact, for better data security, every time you make a major change to your hard drive or OS, you need to back up your Windows Server with professional backup software. If there is any problem with it, you can use this system backup to restore it, therefore you can use your Windows Server as normal as before and all your data will not be lost.
