How to install IIS in Windows Server 2019, 2022
IIS is a web server created by Microsoft. IIS is compatible with Windows Server – which means that you can simply add it as a feature, rather than downloading and installing packages. It also gives you the advantage that you can host .NET applications
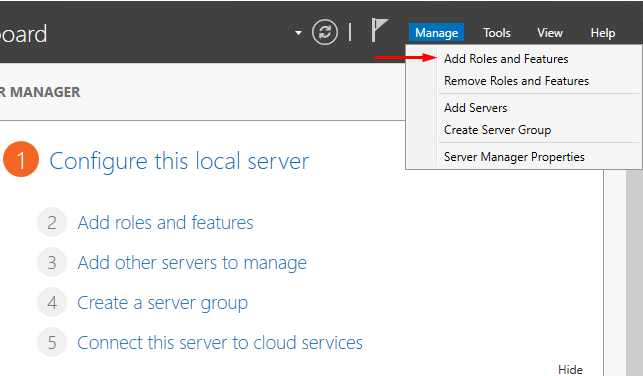
Step 1 – To install IIS, go to “Server Manager” choose to Manage then click to Add Roles and Features.
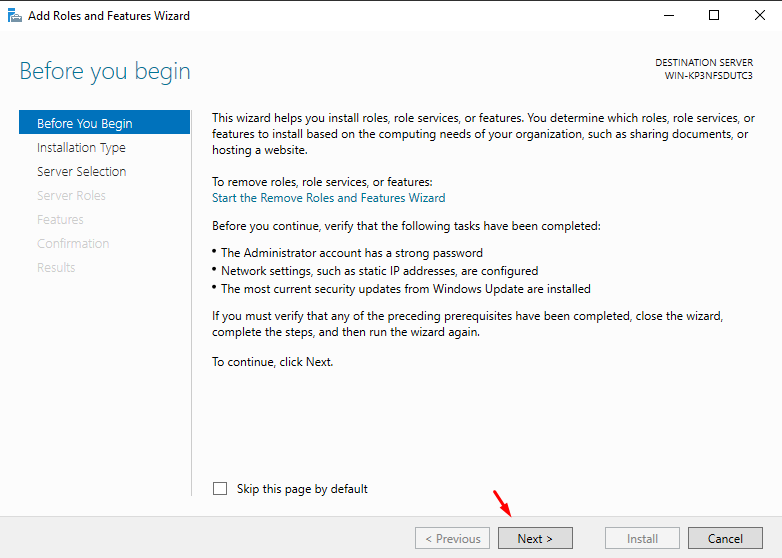
Step 2 – Click Next in the window as shown below.
Step 3 – Select the Role-based or feature-based installation option and then click Next.

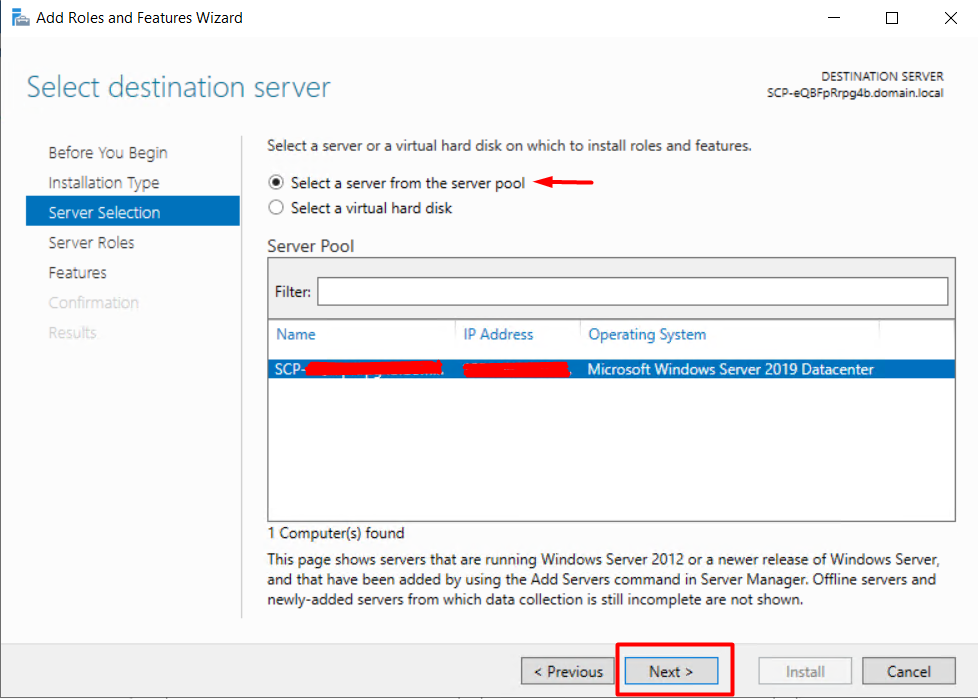
Step 4 – This example will install a Local IIS as it will select a server from the server pool. Then click on Next.
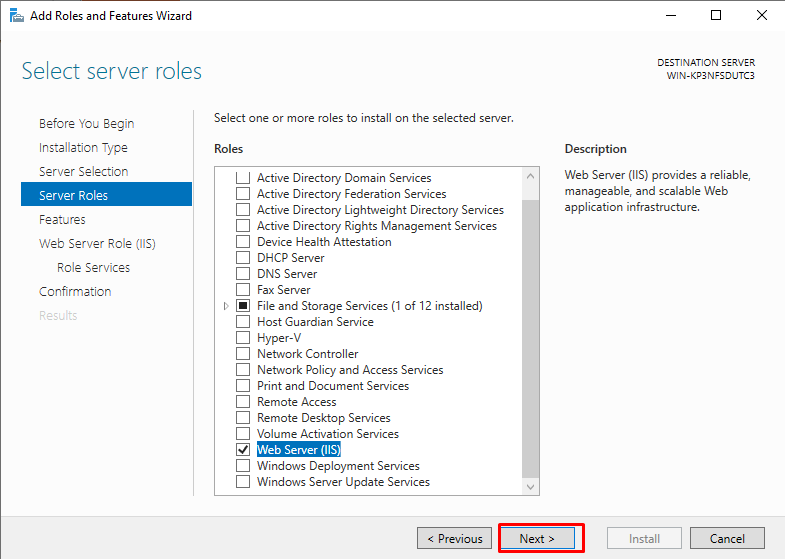
Step 5 – From the Roles list, choose “Web server” (IIS) Server role, and then click Next.
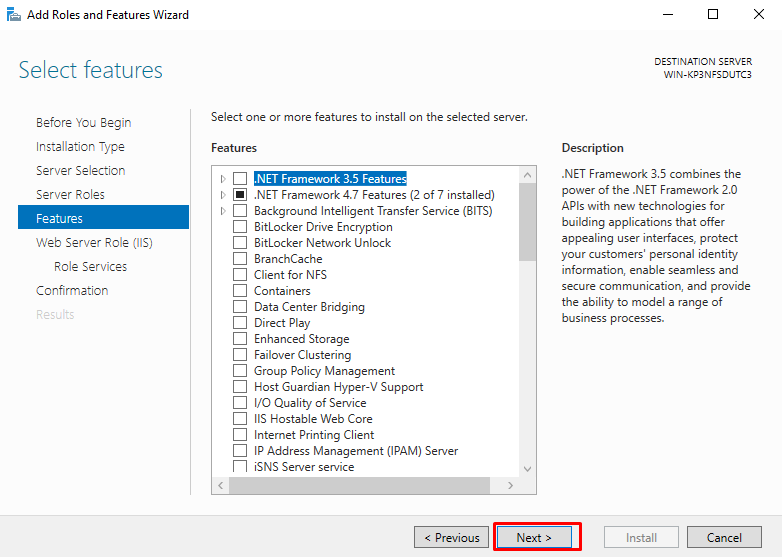
Step 6 – Click Next.
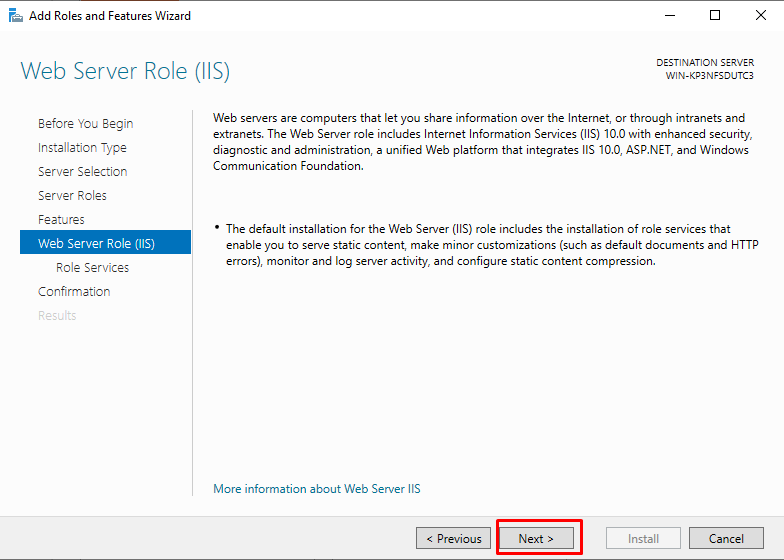
Step 7 – Continue to click Next.
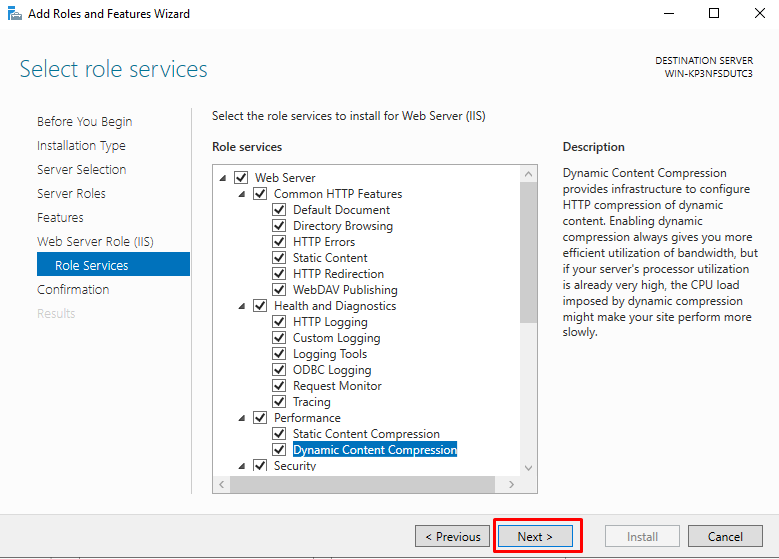
Step 8 – You can choose all of the default settings or customize them according to your needs.
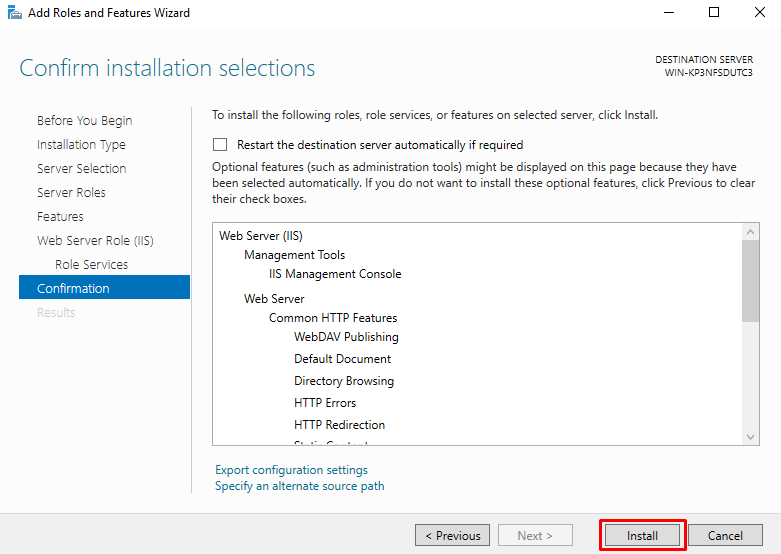
Step 9 – Click Install.
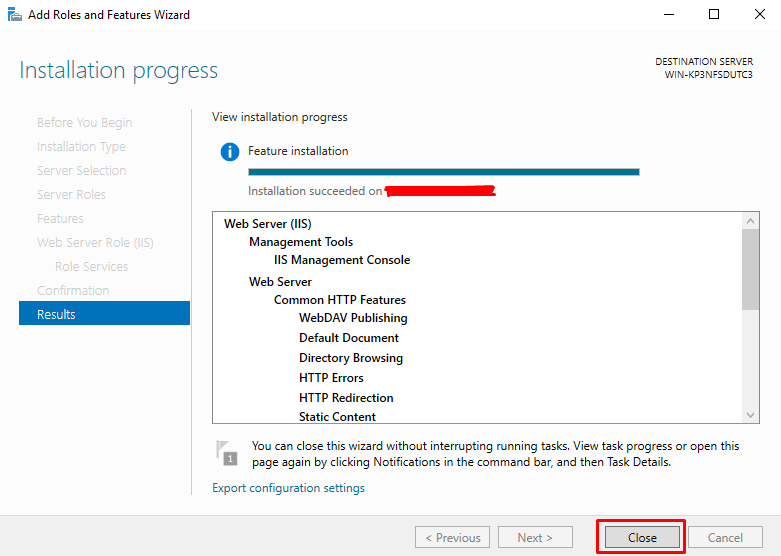
Step 10 – Wait until the Installation Wizard finishes. When it’s done, click Close.
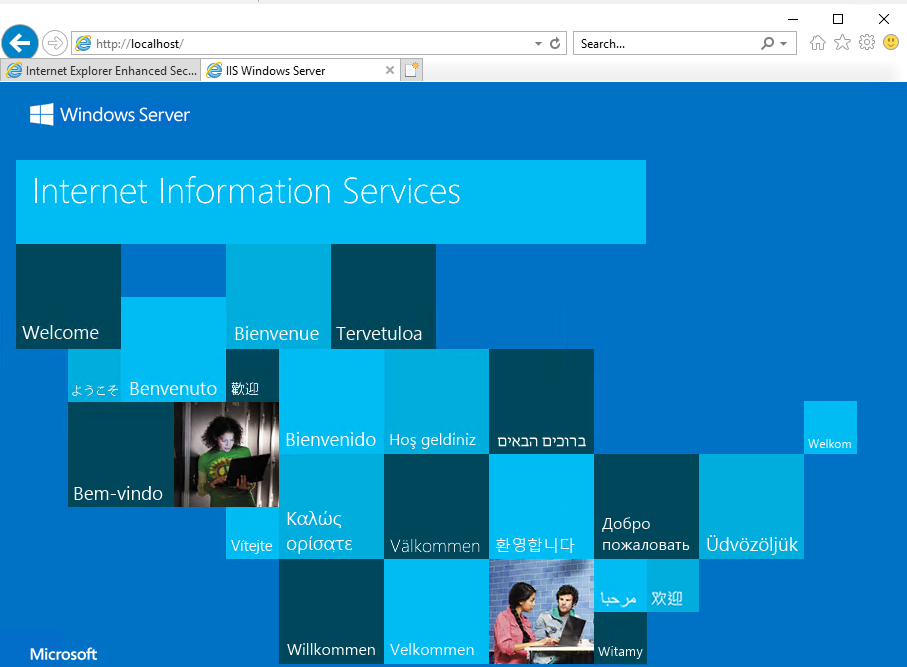
Step 11 – Check if your IIS is installed correctly. This can be done by opening your Internet browser and then typing http://localhost and should see the following screenshot shown: