How to Install and Configure Shadowsocks-libev on Ubuntu 24.04 VPS
Introduction
Shadowsocks is a lightweight, fast, and secure SOCKS5 proxy that helps protect your internet traffic. This guide will walk you through installing and configuring Shadowsocks-libev on Ubuntu 24.04 VPS, setting up firewall rules, and connecting from a Windows client.
Prerequisites
Before proceeding, ensure you have:
- A VPS running Ubuntu 24.04 (64-bit)
- Root or sudo privileges
- An open public port (e.g., 7777) for Shadowsocks traffic
- Basic knowledge of Linux command-line operations
- A Windows machine for client connection (if needed)
Note: This guide is intended for personal, legal use only. Follow your local laws.
Step 1: Install Shadowsocks-libev on Ubuntu 24.04
First, SSH into your VPS:
ssh root@your_server_ip
Then update your package list and install Shadowsocks-libev:
sudo apt update
sudo apt install -y shadowsocks-libev
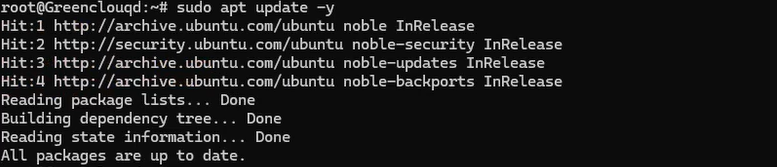
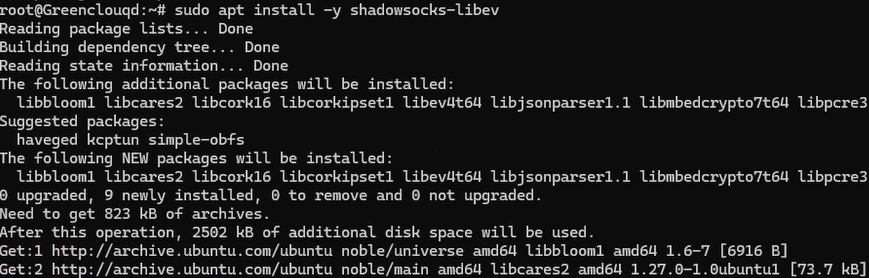
Explanation:
sudo apt update: Updates the list of available packages.sudo apt install -y shadowsocks-libev: Installs Shadowsocks-libev without prompting for confirmation (-yflag).
Step 2: Configure Shadowsocks-libev
Edit the configuration file using Nano:
sudo nano /etc/shadowsocks-libev/config.json
Modify the contents:
{
    "server":["::1", "0.0.0.0"],
    "mode":"tcp_and_udp",
    "server_port": $yourport,
    "local_port":1080,
    "password":"ReplaceWithSecurePassword!",
    "timeout":86400,
    "method":"chacha20-ietf-poly1305"
}
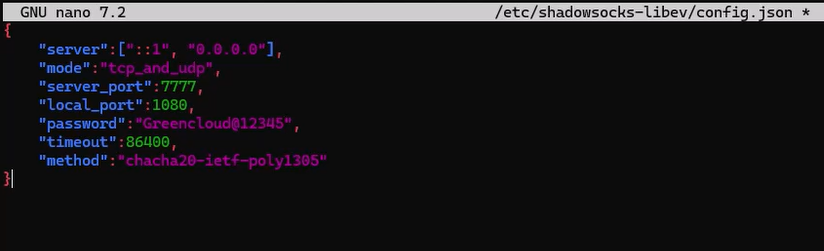
Configuration Explanation:
server:0.0.0.0allows public access;127.0.0.1restricts to localhost.server_port: Use a custom port like 7777 to avoid conflicts.password: Choose a strong, unique password.method: Encryption method;chacha20-ietf-poly1305is secure.
Save and exit (Ctrl+O, Enter, Ctrl+X in Nano).
Step 3: Start and Enable Shadowsocks Service
Restart the Shadowsocks service:
sudo systemctl restart shadowsocks-libev.service
Enable it to start at boot:
sudo systemctl enable shadowsocks-libev.service
Verify the service status:
sudo systemctl status shadowsocks-libev.service
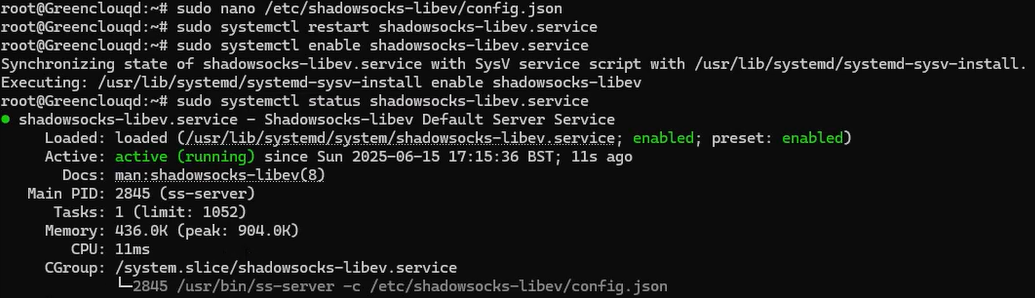
Explanation:
systemctl restart: Applies new configurations.systemctl enable: Ensures Shadowsocks starts automatically on boot.systemctl status: Confirms if the service is running.
Common Issue: Low Entropy
If you see the error:
This system doesn't provide enough entropy...
Fix it by installing rng-tools:
sudo apt-get install rng-tools
sudo rngd -r /dev/urandom
Then restart Shadowsocks.
Step 4: Configure Firewall
If you use iptables:
sudo iptables -I INPUT -p tcp --dport $yourport -j ACCEPT
sudo iptables -I INPUT -p udp --dport $yourport -j ACCEPT
If using UFW:
sudo ufw allow $yourport
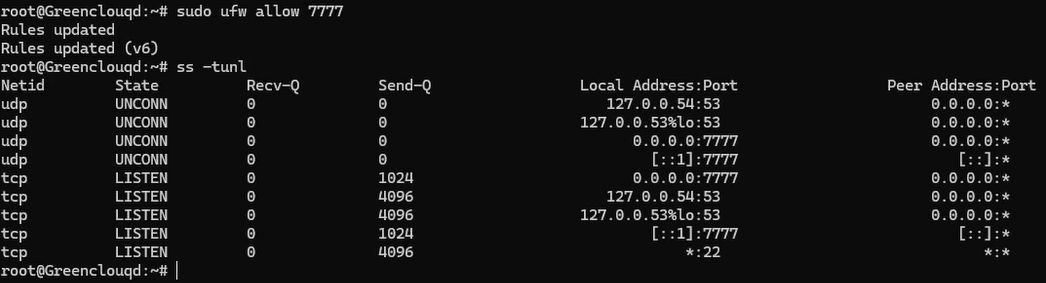
Explanation:
iptables -I INPUT: Adds rules to allow TCP/UDP traffic on port7777.ufw allow 7777: Allows Shadowsocks traffic through the firewall.
Step 5: Set Up Shadowsocks Client on Windows
- Download the official Windows client from Shadowsocks GitHub Releases.
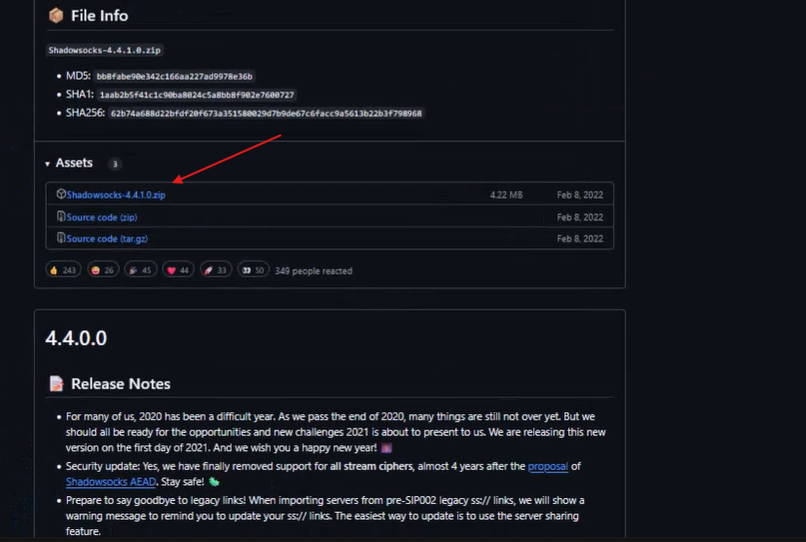
2. Extract the ZIP file and run Shadowsocks.exe.
3. If Windows Defender blocks the app, click More info > Run anyway.
Add a new server:
-
- Server IP: VPS public IP
- Server Port: 7777
- Password: Same as in your
config.json - Encryption:
chacha20-ietf-poly1305 - Timeout: Optional (
10–20 seconds)
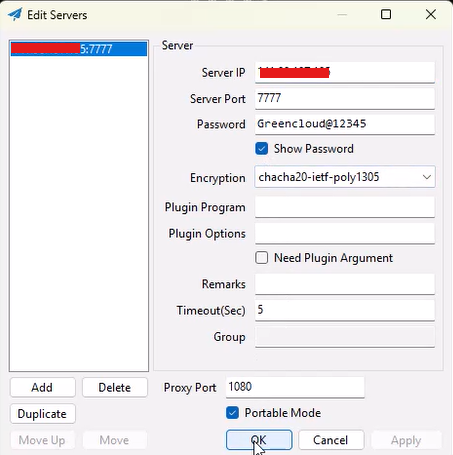
5. Click Apply to save the configuration.
6. Enable proxy by right-clicking the Shadowsocks icon in the system tray and selecting Enable System Proxy.
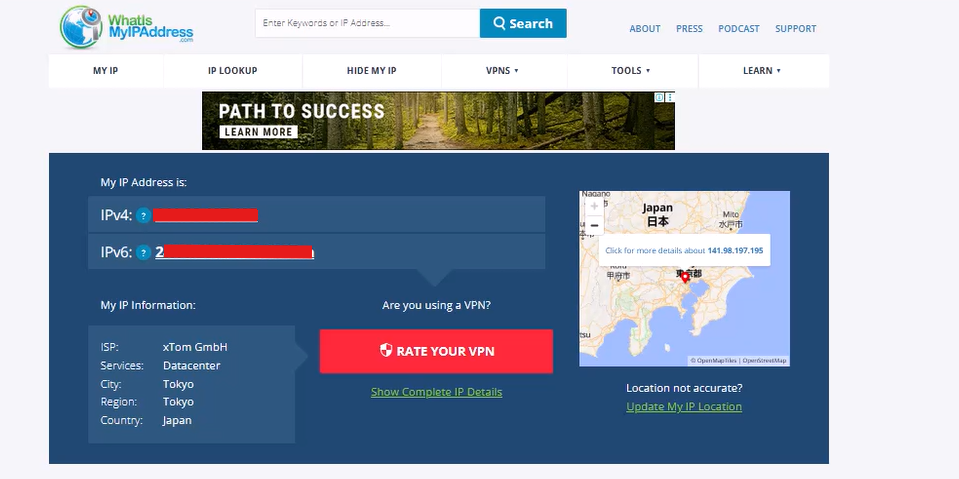
Conclusion
You’ve successfully set up Shadowsocks-libev on Ubuntu 24.04 and connected via Windows! This setup allows you to: ✔ Bypass censorship ✔ Encrypt traffic ✔ Enhance online privac
