How to Install Zabbix Monitoring Solution on Debian 12
Introduction
Zabbix is a free and open-source monitoring tool that allows you to track network devices, servers, virtual machines, and cloud services. In this guide, you’ll install Zabbix on Debian 12, using PostgreSQL as the database, Nginx as the web server, and PHP-FPM for processing web requests.
1. Prerequisites
Before proceeding, make sure you have:
- A Debian 12 server
- A non-root user with administrative privileges
2. Installing PostgreSQL
Zabbix supports MySQL and PostgreSQL as its database backend. Here, we’ll use PostgreSQL.
Update the system packages
To ensure you install the latest versions, update your package list first:
sudo apt update

Install PostgreSQL
Now, install the PostgreSQL database server:
sudo apt install postgresql postgresql-contrib
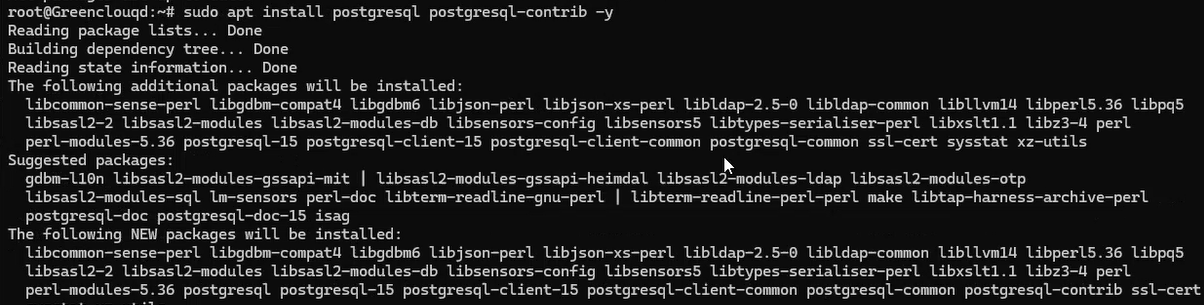
Type Y when prompted to confirm the installation.
Check PostgreSQL service status
Verify that PostgreSQL is installed and running:
sudo systemctl is-enabled postgresql
sudo systemctl status postgresql
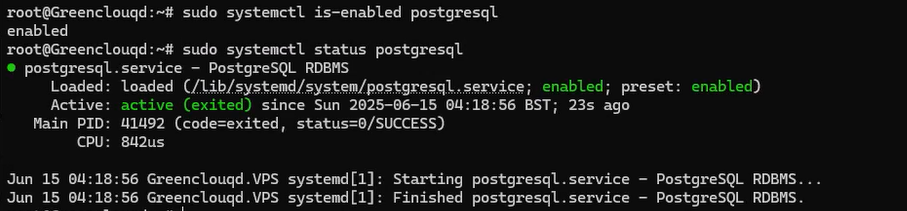
If everything is correct, PostgreSQL should be in a running state.
3. Creating a PostgreSQL Database and User
After installing PostgreSQL, you need to create a user and database for Zabbix.
Create a PostgreSQL user for Zabbix
Run the following command to create a user named zabbix:
sudo -u postgres createuser --pwprompt zabbix

You will be asked to enter and confirm a password for this user.
Create a database for Zabbix
Now, create a database named zabbix with the user zabbix as the owner:
sudo -u postgres createdb -O zabbix zabbix

4. Installing Zabbix
To install Zabbix, you first need to add the official Zabbix repository to your system.
Download the Zabbix repository package
wget https://repo.zabbix.com/zabbix/7.2/release/debian/pool/main/z/zabbix-release/zabbix-release_latest_7.2+debian12_all.deb

This command fetches the latest Zabbix 7.2 repository package.
Add Zabbix repository
sudo dpkg -i zabbix-release_latest_7.2+debian12_all.deb

This installs the repository onto your system.
Refresh the package list and install Zabbix
Now, update the repository and install Zabbix along with required dependencies:
sudo apt update
sudo apt install zabbix-server-pgsql zabbix-frontend-php php8.2-pgsql zabbix-nginx-conf zabbix-sql-scripts zabbix-agent
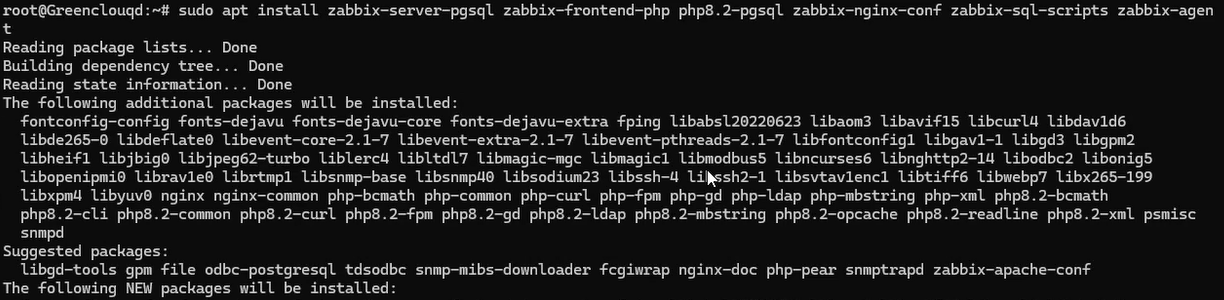
Type Y to confirm the installation when prompted.
5. Configuring Zabbix with PostgreSQL
After installing Zabbix, you must import the database schema and configure connection settings.
Import Zabbix database schema
zcat /usr/share/zabbix/sql-scripts/postgresql/server.sql.gz | sudo -u zabbix psql zabbix
This command extracts and imports the necessary SQL schema into the Zabbix database.
Configure Zabbix database connection
Edit the Zabbix configuration file:
sudo nano /etc/zabbix/zabbix_server.conf
Update the following values with your PostgreSQL credentials:
DBHost=localhost
DBName=zabbix
DBUser=zabbix
DBPassword=your_password
Save and close the file.
6. Setting Up Nginx for Zabbix
Zabbix uses Nginx as its web server. You need to adjust its configuration.
Edit the Nginx configuration file
sudo nano /etc/zabbix/nginx.conf
Modify the following lines:
listen 8080;
server_name zabbix.yourdomain.local;
Save and close the file.
Verify the Nginx configuration
sudo nginx -t
If the syntax is correct, you’ll see “syntax is ok – test is successful”.
7. Restarting Zabbix Services
After completing the setup, restart all necessary services to apply the changes.
Enable Zabbix, Nginx, and PHP-FPM services
sudo systemctl enable zabbix-server zabbix-agent nginx php8.2-fpm
Restart the services
sudo systemctl restart zabbix-server zabbix-agent nginx php8.2-fpm
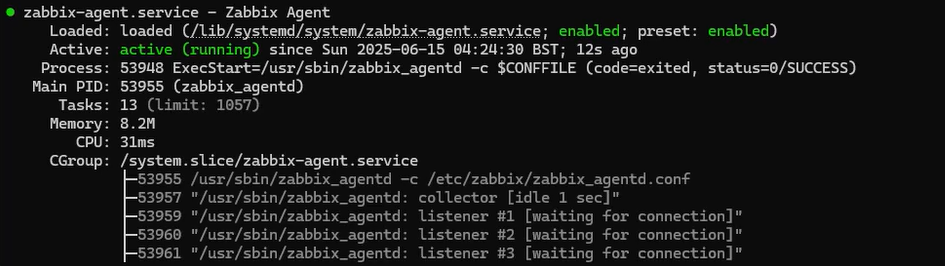
Check if all services are running
sudo systemctl status zabbix-server zabbix-agent nginx php8.2-fpm
Each service should be running without errors.

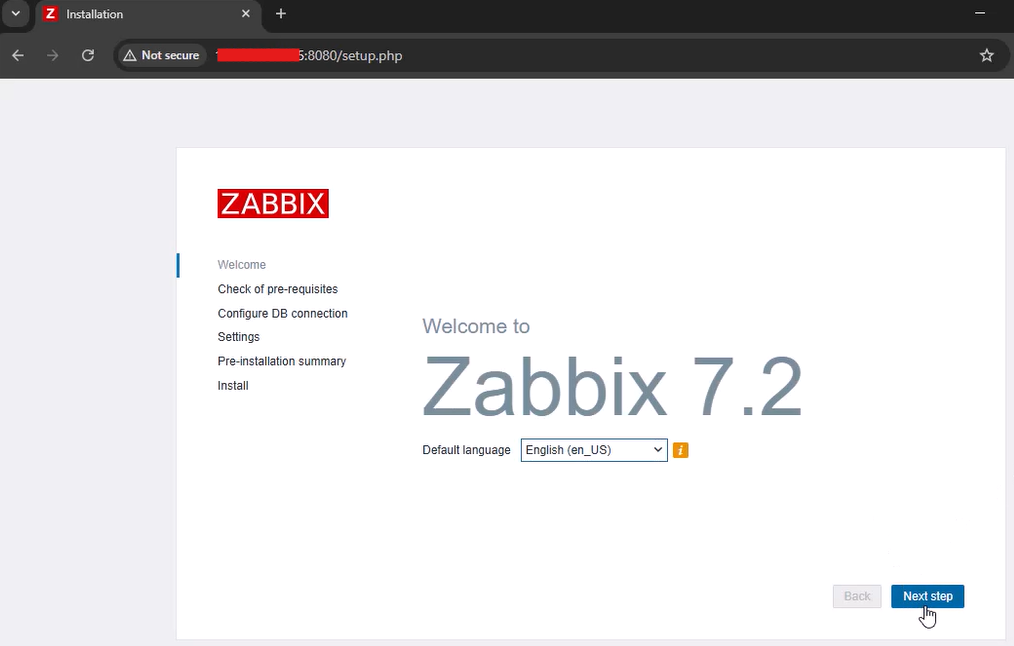
8. Completing the Zabbix Installation via Web Interface
- Access Zabbix in your browser:
http://zabbix.yourdomain.local:8080
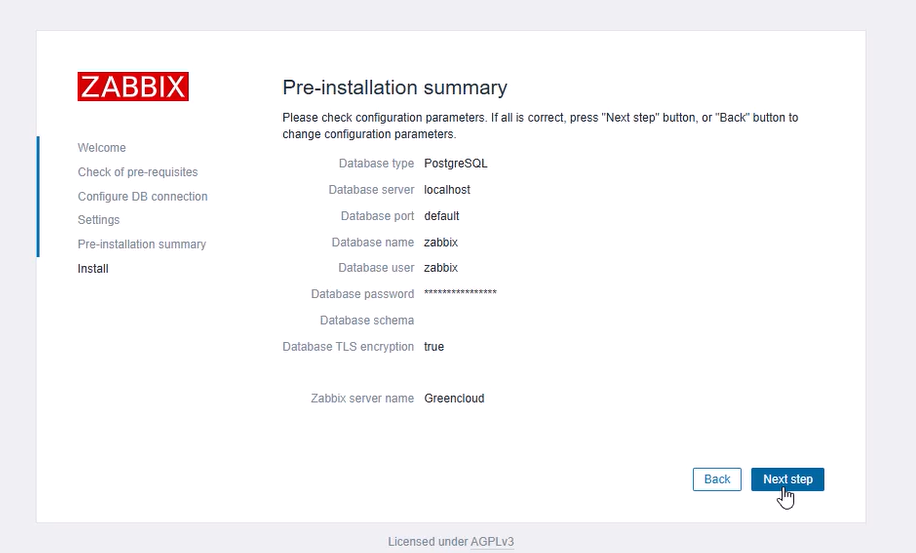
- Follow the installation wizard:
- Select PostgreSQL as the database
- Enter your database credentials
- Configure time zone and server name
- Login using:
Username: Admin
Password: zabbix

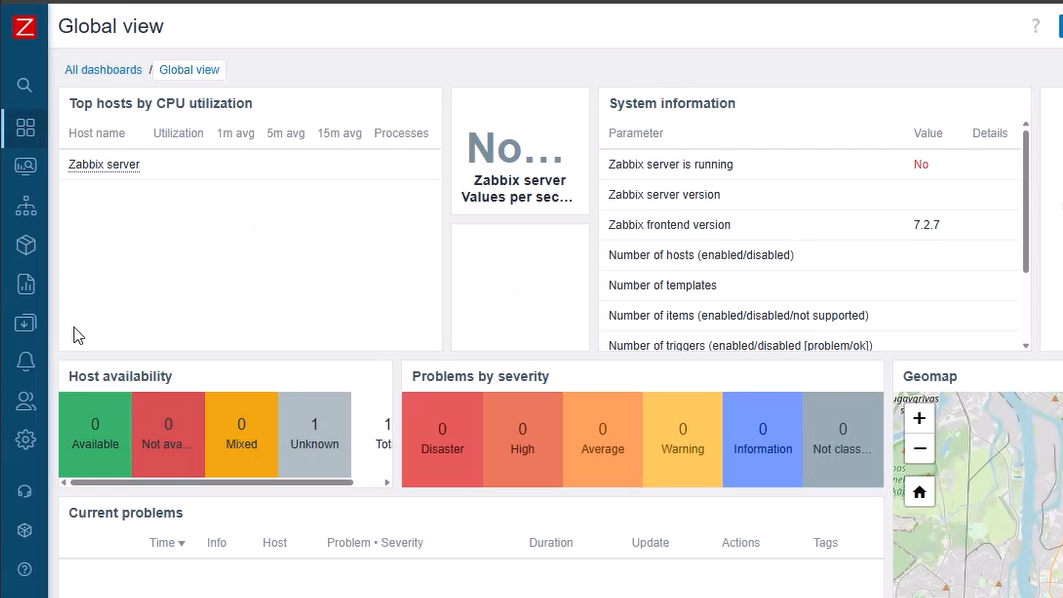
Conclusion
You have successfully installed Zabbix on Debian 12 using PostgreSQL, Nginx, and PHP-FPM. Now, you can add monitoring agents, configure alerts, and optimize your IT infrastructure.
