How to change the display language on Windows Server 2012/2019
Introduction
Windows Server 2019 offers us more than 40 languages to use in its interface and this is ideal since it is a global operating system it must be available in the language of each user, or many times it can happen that we travel to somewhere with a different language and there it will be necessary to edit the way to display the language of Windows Server 2019.
Language is important to be able to understand each other well through the system interface with all the settings it includes. If we only understand our native language and have one system in another, it will be difficult to efficiently accomplish the tasks we are looking for. Typically, we can have our default language installed, but we may have to change the Windows Server 2019 language because it has been installed in another language such as English.
In this article, we will show you how to change the display language on a Windows Server 2019 VPS
Prerequisites
- an active Windows VPS
- Administrator user
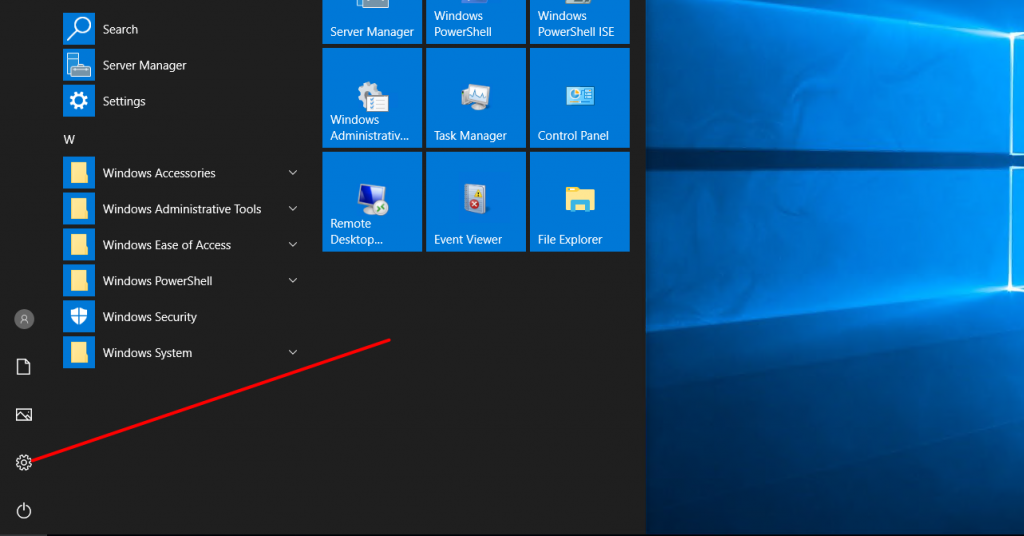
1. Open the Start menu and click Settings.
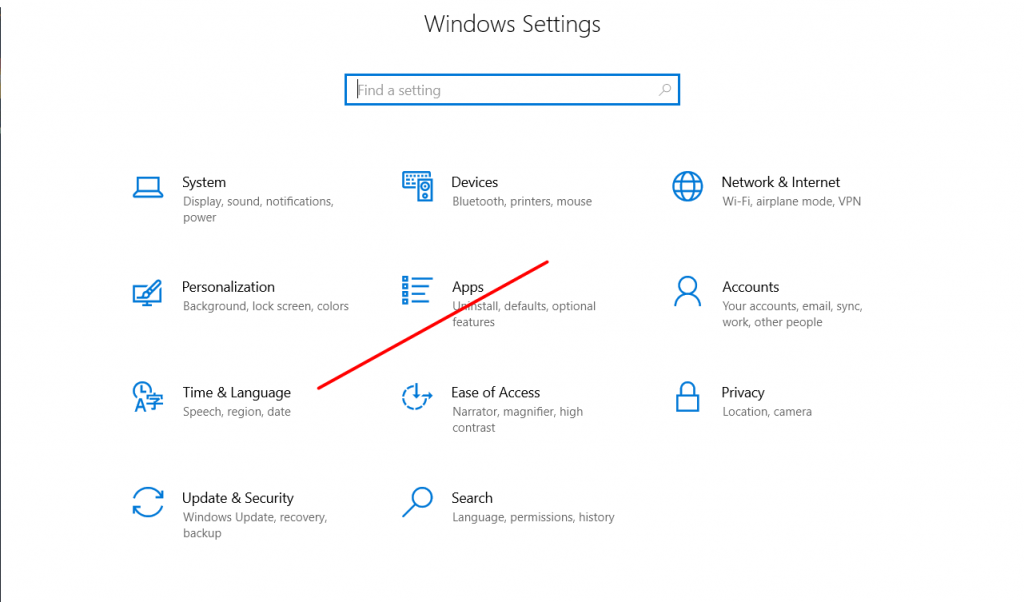
2. Click Time & Language
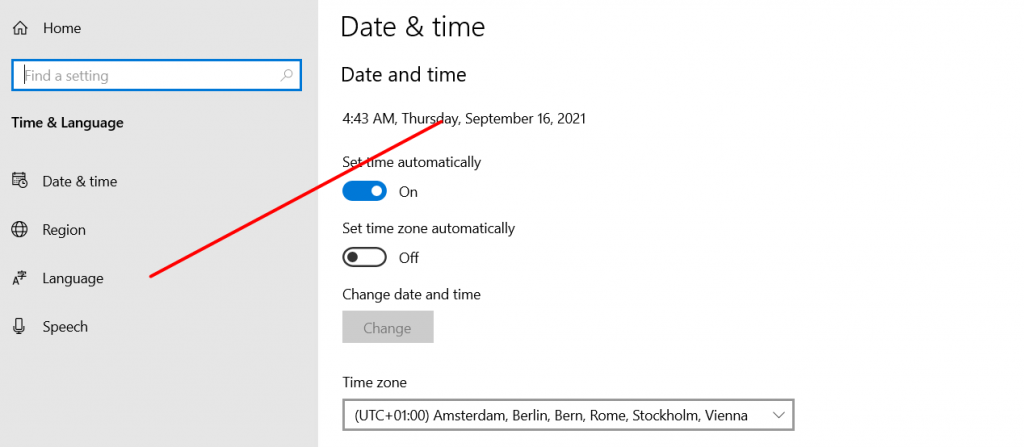
3. Click Language in the left pane.
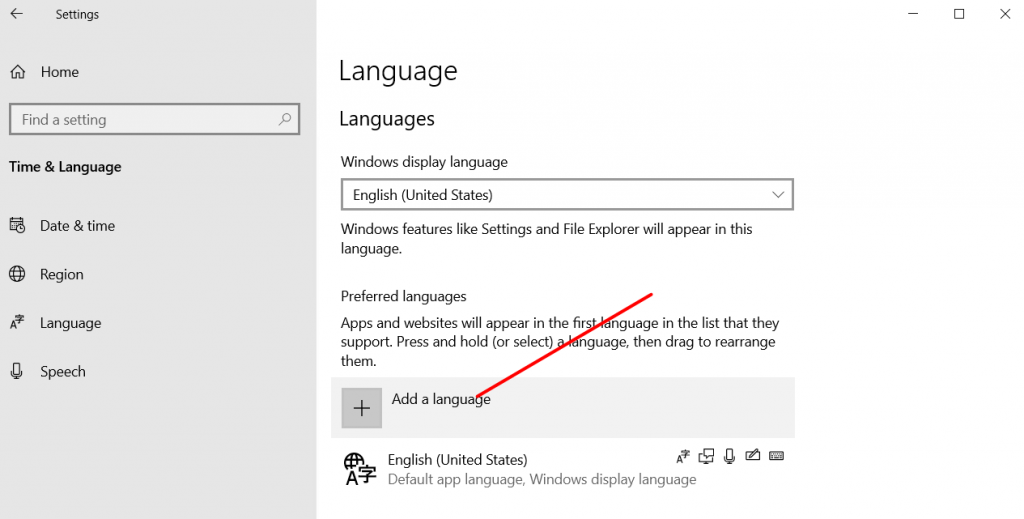
4. On the Language screen on the right, click Add a language.
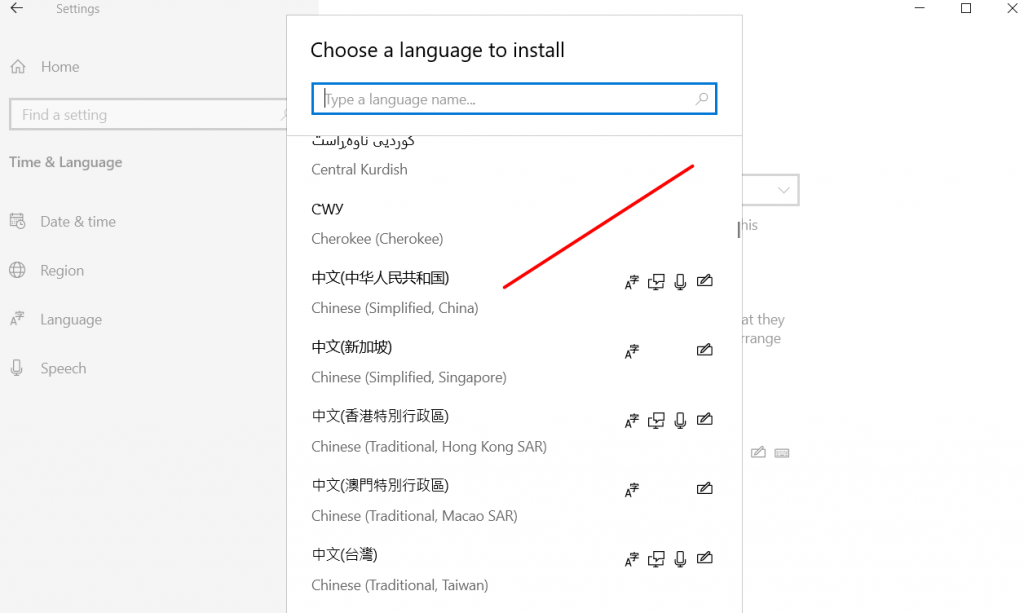
5. On the Choose a language to install screen, select your language from the list and click Next. In this step, the Chinese is selected as an example.
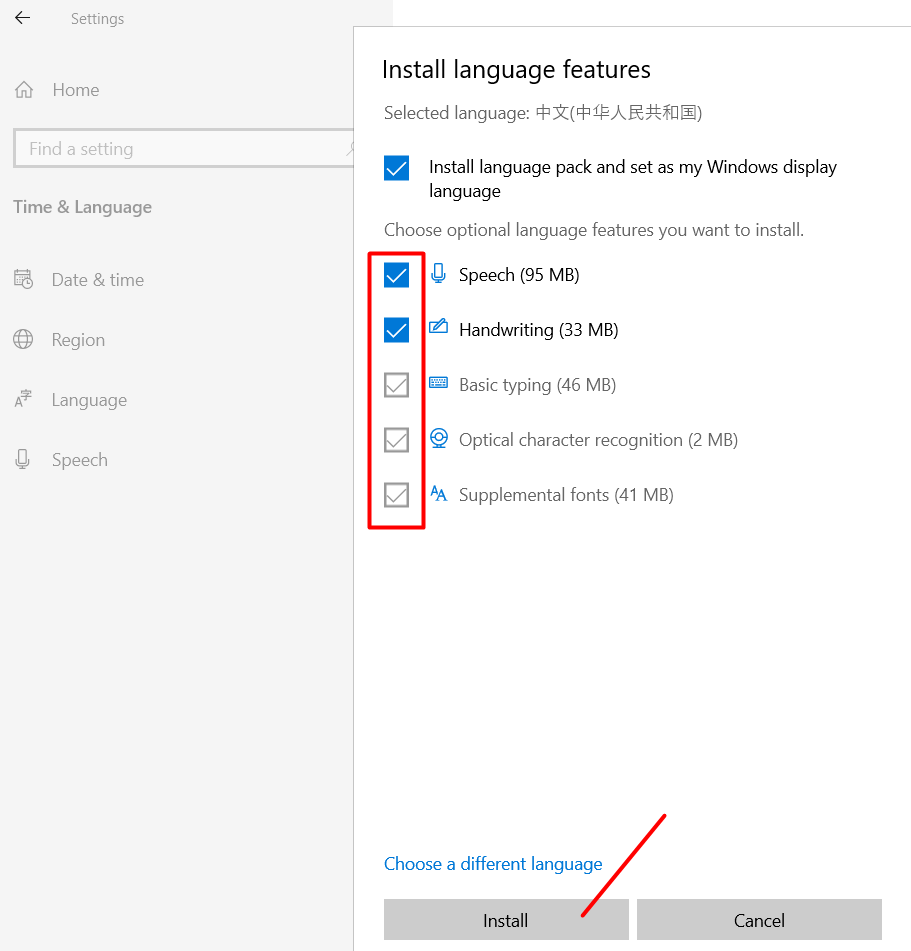
6. On the Install language features screen, check if all items are selected and click Install.
7. Downloading and installation of a language pack start.
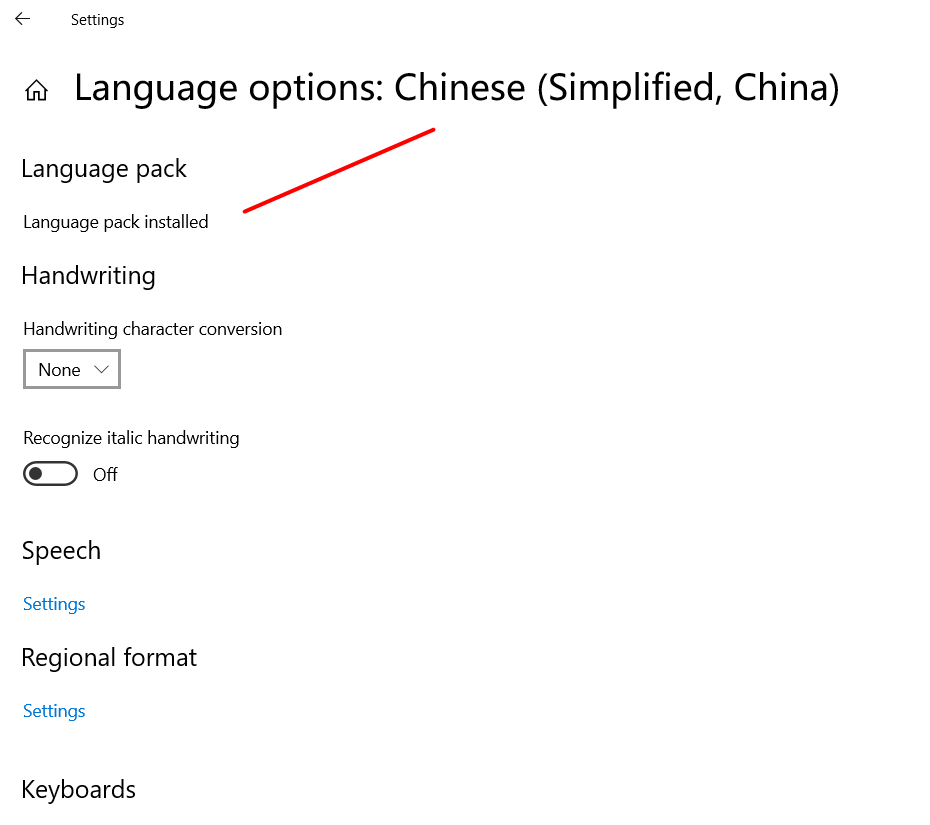
8. Click Options of the added language.

9. On the Language options: screen, check if “Language pack installed” is displayed in the “Language Pack” section and click left arrow icon at the top left corner.
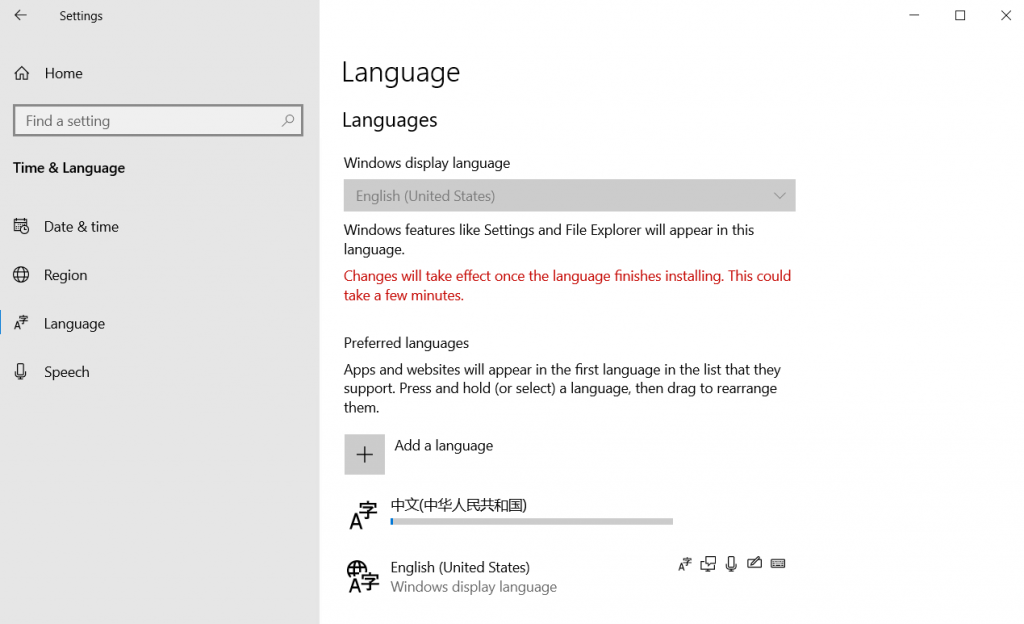
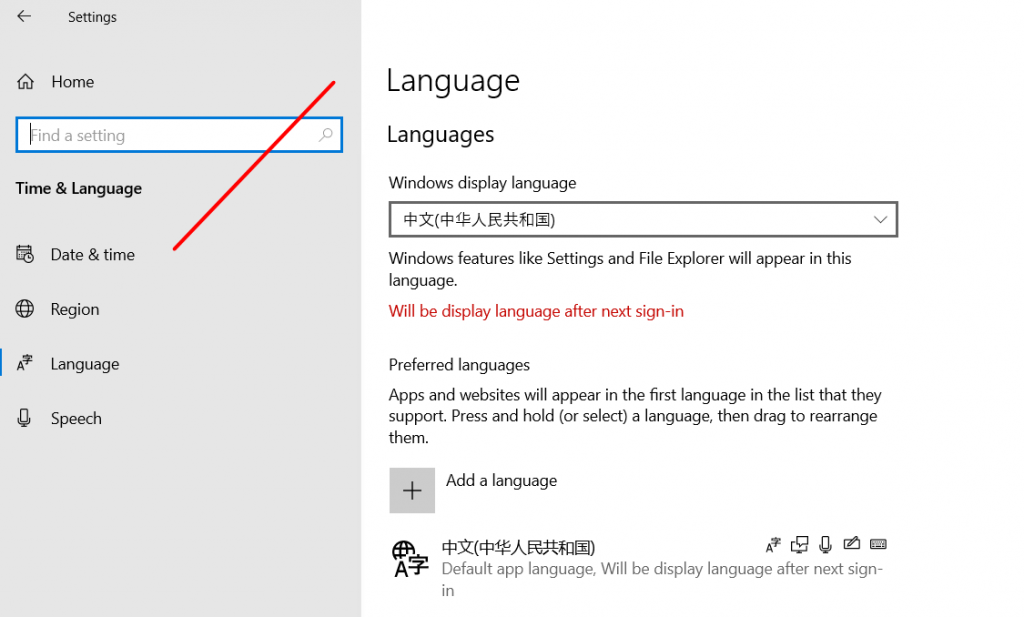
10. On the Language screen, select your language from the Windows display language pull-down menu and click Date & time from the left pane.
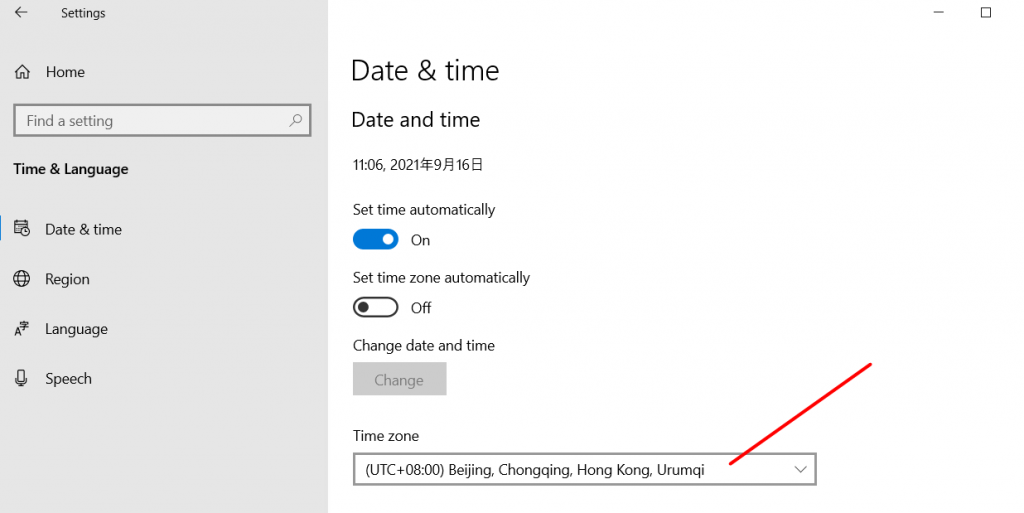
11. On the Date & time screen, select your time zone from the Time zone pull-down menu.
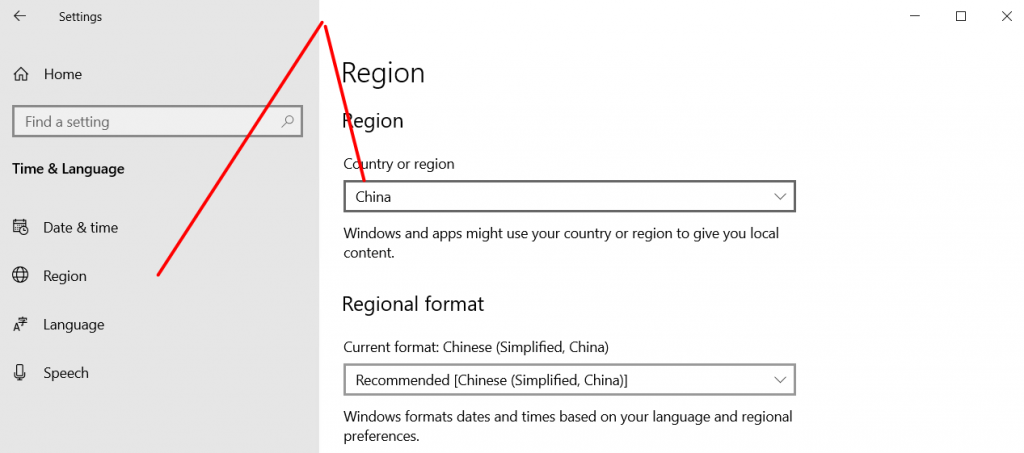
12. Select Region from the left pane and select your region from the Country or region pull-down menu.
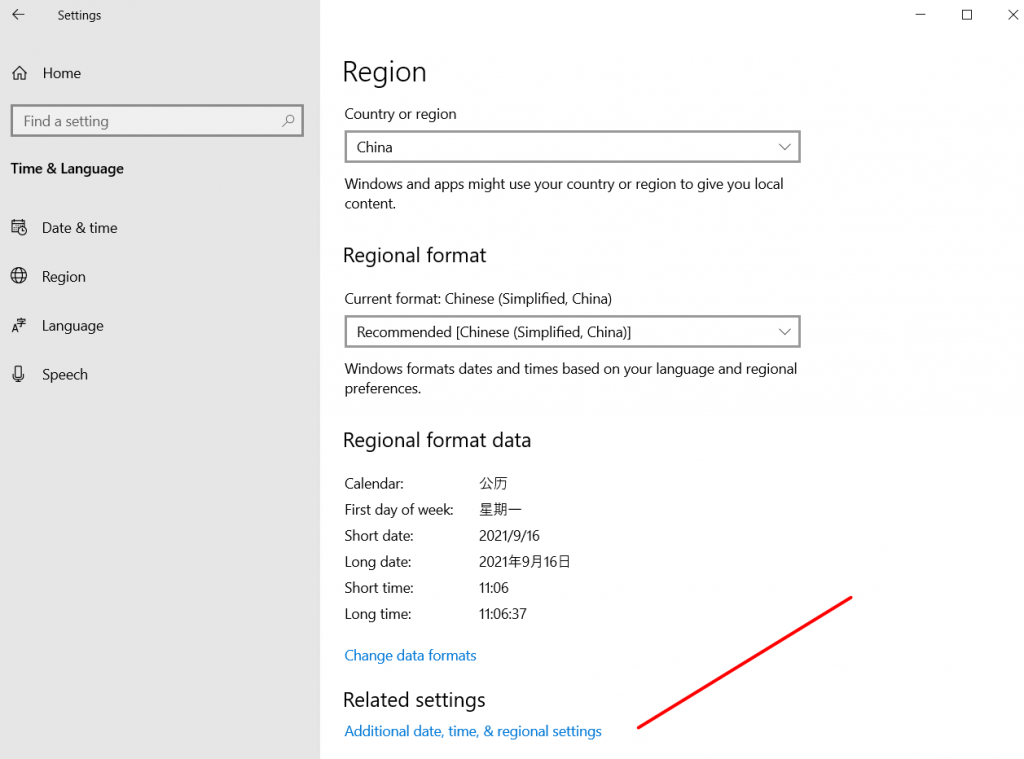
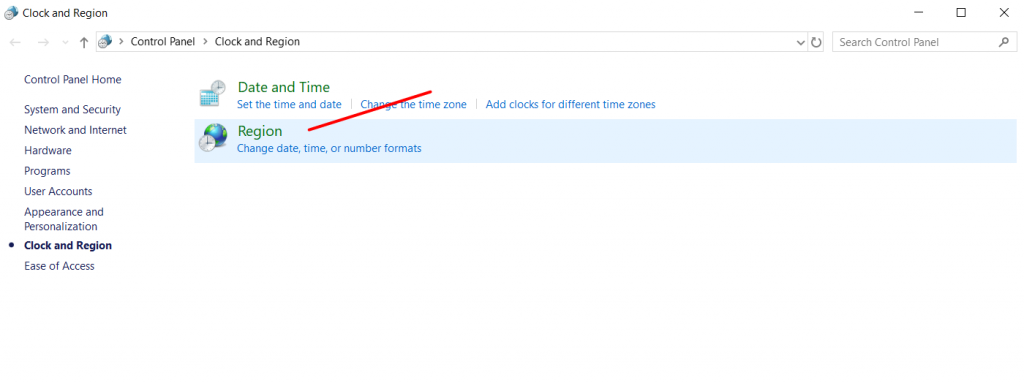
13. Scroll down on the Region screen and click Additional date, time, & regional settings under “Related settings”.
14. On the Clock and Region window, click Region.
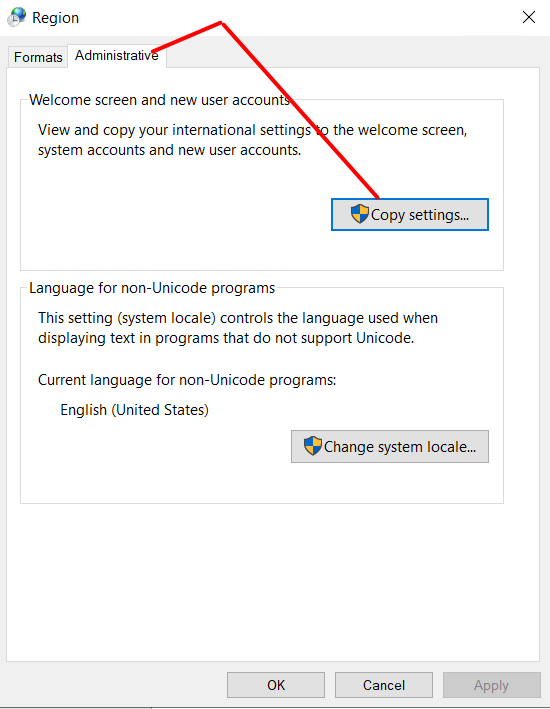
15. On the Region window, open the Administrative tab and click Copy Settings in the “Welcome screen and new user accounts” section.
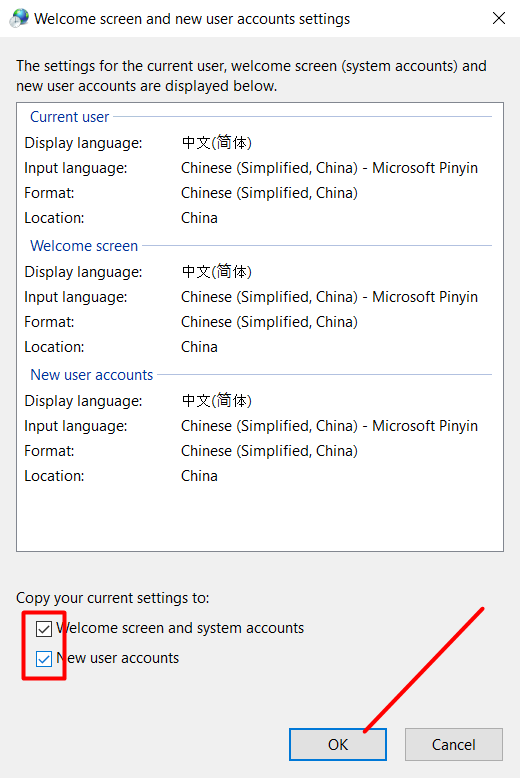
16. On the Welcome screen and new user accounts settings screen, select all items under the “Copy your current setting to” section and click OK.
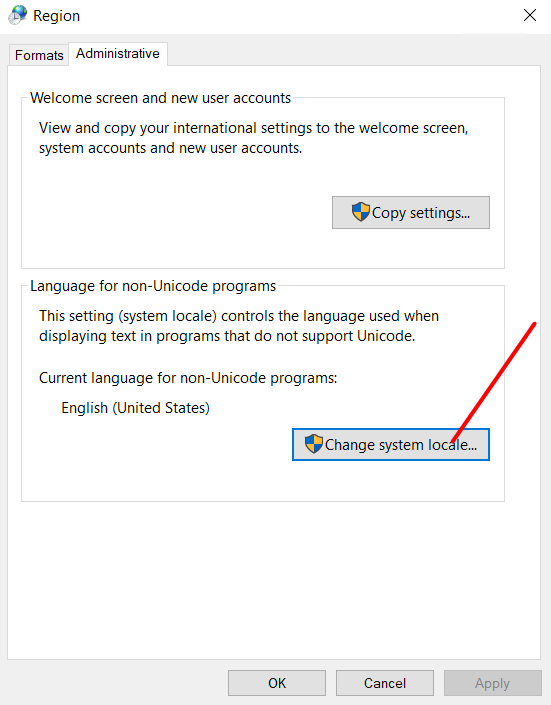
17. On the Administrative tab screen, click Change system locale in the “Language for non-Unicode programs” section.
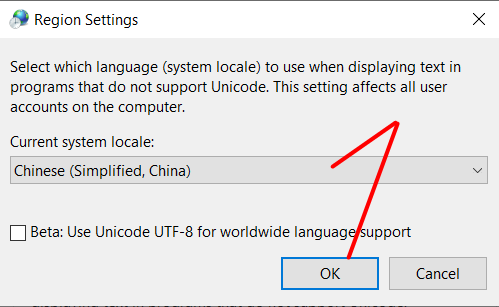
18. On the Region Settings screen, select your region from the Current system locale pull-down menu and click OK.
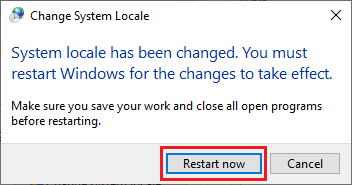
19. On the dialog box requests restart, click Restart Now to restart the system.
20. After the restart is completed, check if the language of interfaces such as the logon screen is changed to the selected language.
That’s all! Enjoy GreenCloudVPS services!

