How to Run Docker on Windows Server 2019/2022
In this tutorial, we will look at how to configure your Windows server to run Docker containers. Docker has been a game-changer in application containerization and the design and deployment patterns of all microservices. Docker makes it easy to build, ship, and run images containing applications with their dependencies and avoid crazy dependency issues common with the use of Virtual Machines.
Docker Engine is what powers Docker containers. It was originally written for Linux, but a lot of work has been done to enable Windows and macOS users to run Docker containers.
One prerequisite is the installation of a Windows server. This can be on a Virtual Machine running on-premise, a Physical server deployment, or a Cloud instance running in Greencloud.
Before you can use Windows Containers to run multiple isolated applications on your system, you’ll need to enable the containers feature and install Docker on Windows Server.
Step 1: Enable the containers feature
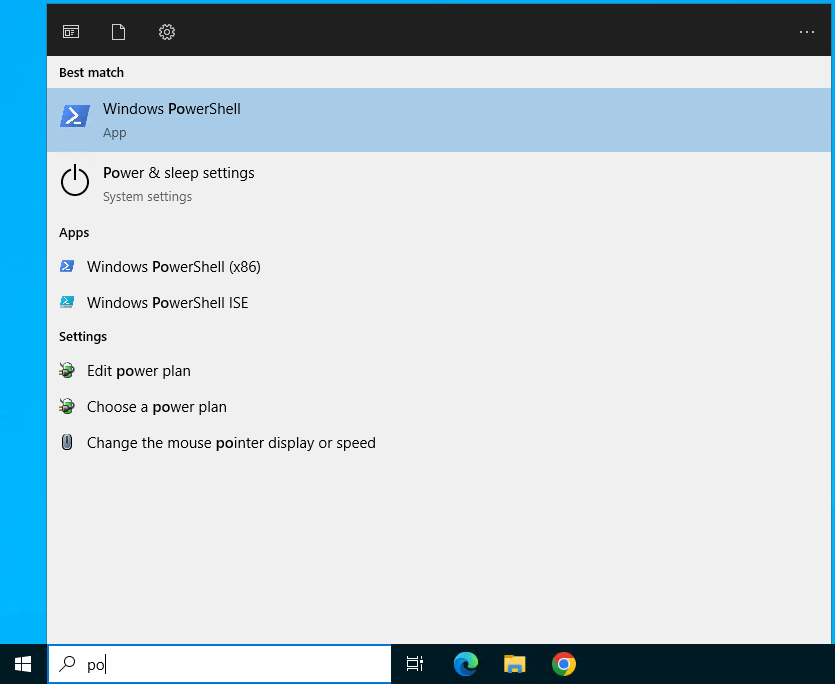
The first step is to enable the Windows Server containers feature. Open “Windows PowerShell” –> “Run as Administrator“
Run the following commands to install DockerMsftProvider:
Enable-WindowsOptionalFeature -Online -FeatureName ContainersAccept by pressing the y key on your keyboard. You must restart the computer, or do it manually:
Restart-Computer -ForceAfter the system has rebooted, run PowerShell as an administrator.
Run the below command:
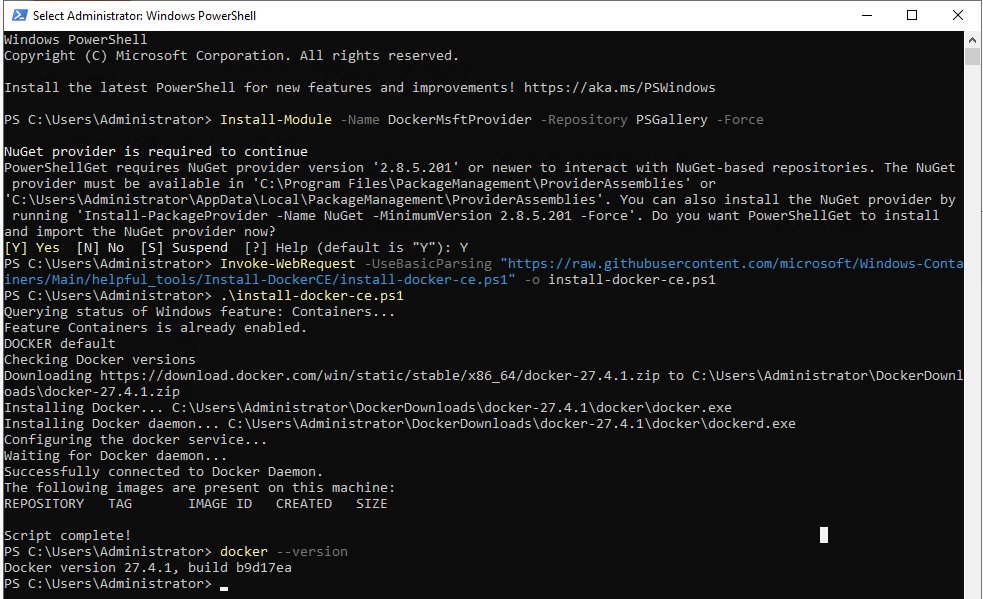
Install-Module -Name DockerMsftProvider -Repository PSGallery –Force
When prompted for the NuGet installation, type Y and hit Enter.

Next, run the command below to install the latest Docker version:
Invoke-WebRequest -UseBasicParsing "https://raw.githubusercontent.com/microsoft/Windows-Containers/Main/helpful_tools/Install-DockerCE/install-docker-ce.ps1" -o install-docker-ce.ps1
.\install-docker-ce.ps1
Another way to check the Docker build is to run the following PowerShell command:
To manually start the service run:
Start-Service DockerTo stop Docker service execution.
Stop-Service DockerStep 2: RUNNING YOUR FIRST DOCKER CONTAINER ON SERVER 2019/2022:
Start the Docker Daemon before you start running and managing Docker Containers.
Start-Service DockerCheck the Docker service status.
PS C:\Windows\system32> Get-Service docker

Status   Name               DisplayName
------   ----               -----------
Running  docker             Docker Engine
Microsoft repository contains several base images; see Container base images for more details. Let’s see how you can download and install the base image:
Let’s download the Windows Server Core image:
# 2022
docker pull mcr.microsoft.com/windows/servercore:ltsc2022

# 2019
docker pull mcr.microsoft.com/windows/servercore:ltsc2019
We can create a new container from the pulled image:
docker run -it mcr.microsoft.com/windows/servercore:ltsc2019Step 3: Create a Docker file and download a container image
On an elevated PowerShell session, switch to the root directory and create a new folder by entering:
cd \
mkdir Containers
cd Containers
In the same PowerShell session, create the Docker file and edit it by entering:
New-Item dockerfile
(Notice there is no file extension)
notepad dockerfile
In the notepad text editor, enter the following 3 lines and then save and close the Dockerfile:
FROM mcr.microsoft.com/windows/servercore/iis
RUN powershell
COPY index.html C:/inetpub/wwwroot

Return to PowerShell, still in the C:\Containers context, create an HTML file, and edit it by entering the following:
New-Item index.html

notepad index.html
In the notepad text editor, enter the following three lines and then save and close the index.html file:
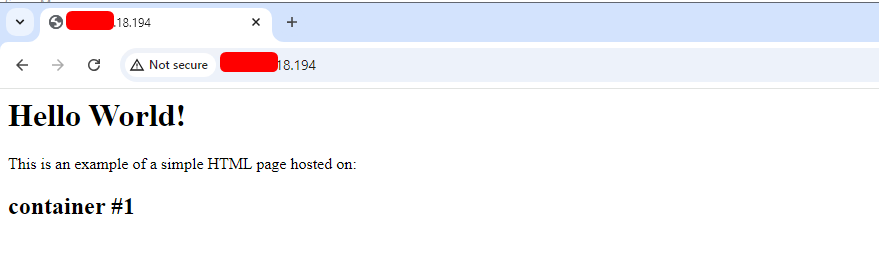
<h1>Hello World!</h1>
<p>This is an example of a simple HTML page hosted on:</p>
<h2>container #1</h2>

Build and run the container.
Back in PowerShell, still in the C:\Containers, type:
docker build -t webserver .
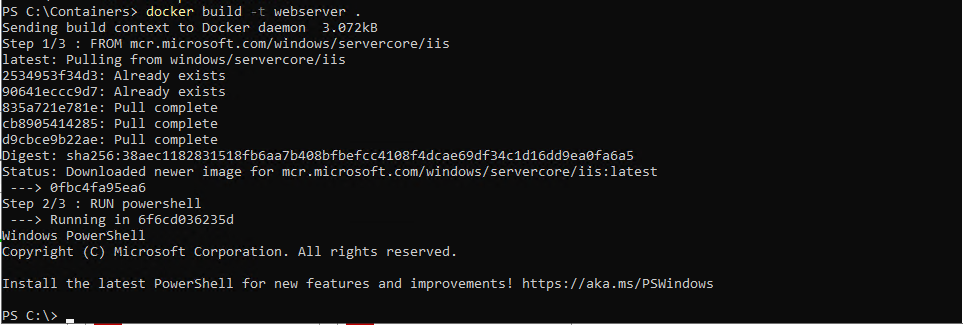
Wait for the image to download from the Microsoft Container Registry, then type:
docker images
You should now see the downloaded image.
To finally run a container using the downloaded image template, back in PowerShell type:
docker run --name container1 -d -p 80:80 webserver
This last line creates and runs a container named container1 based on the webserver image that had been prepared. The -d switch instructs Windows to run the container in the background, and -p tells Windows to forward port 80 (HTTP) on the host to port 80 on the container.
To test the container:
Open a web browser on the host and browse to localhost (you can also use a different computer on the same network segment and browse to the container’s host IP address or computer name).
You should press the sample HTML web page created earlier:
Conclusion: Welcome to the World of Containers!
This concludes the tutorial on running Docker containers on Windows Server 2019/2022.
