How to install ONLYOFFICE DocSpace on Ubuntu
ONLYOFFICE DocSpace is an open-source room-based platform for document collaboration, distributed under AGPL v3.0.
The service allows working with text docs, sheets, slides, PFDs, e-books. Storing and playing multimedia files is also available. All operations with documents are performed inside rooms with the pre-set access level: Collaboration rooms for real-time co-authoring and Custom rooms for reviewing, filling forms, commenting, sharing, etc.
Available user roles allow securing the whole space and separate rooms: owner, DocSpace/room admin, power user, user, editor, viewer, reviewer, commenter, and form filler.
Prerequisites
Before you try to install ONLYOFFICEA DocSpace, take a look at the list of minimum requirements (of course, the more, the better):
- 4-core CPU
- 8 GB of RAM
- 40 GB of HDD
- 6 GB of swap space
- Modern AMD64 Linux distro (kernel v3.10+)
Download ONLYOFFICE DocSpace Installer
ONLYOFFICE DocSpace can be installed in two ways. However, the first step is common for both installation methods. You need to get the official installation script file first.
To do so, open the terminal and run the following wget command.
$ wget http://download.onlyoffice.com/docspace/docspace-install.sh
Install ONLYOFFICE DocSpace on Linux
This method is simple and probably less time-consuming, you just need to enter and run the following command in the terminal (a root user account is required).
Installing ONLYOFFICE DocSpace from DEB/RPM Packages
To install ONLYOFFICE DocSpace Community using DEB/RPM packages, run the following command:
# bash docspace-install.sh package
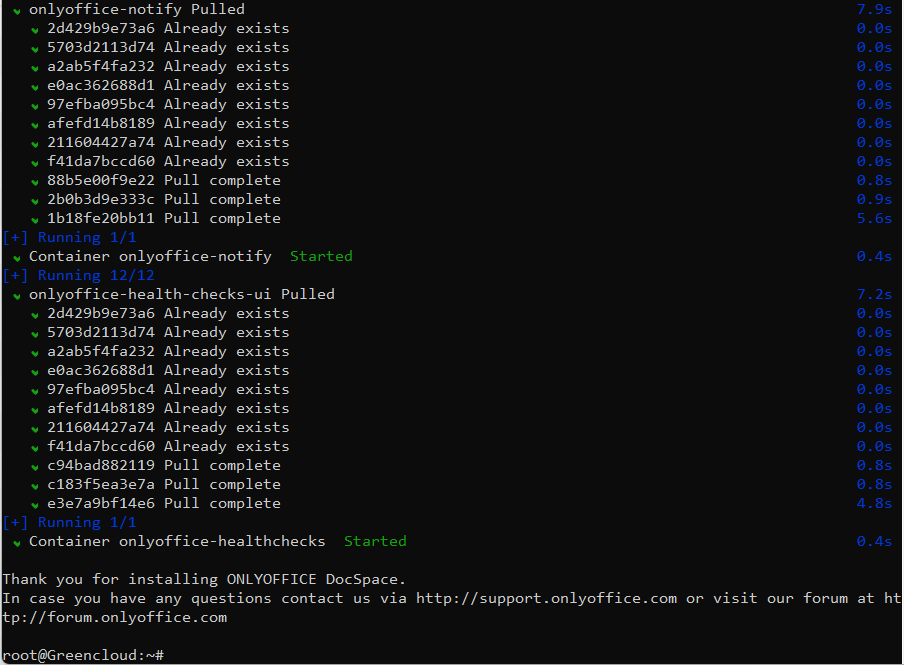
This command will install the DocSpace platform and all the required components within a few minutes.
Installing ONLYOFFICE DocSpace Using Docker
The second installation method is safer because it allows you to run ONLYOFFICE DocSpace as a Docker container. At the same time, it might take longer and requires you to have a running Docker instance.
If you prefer this installation method but don’t have Docker installed, please read this Docker installation guide.
# bash docspace-install.sh docker
This command will install and run ONLYOFFICE DocSpace in a Docker container. Take your time, as the process is not quick.
Access ONLYOFFICE DocSpace from Browser
No matter the installation way, you must open your web browser when the installation process is complete. In the address bar, enter the IP address that your computer has in your local network.
You can find your IP address (IPv4 address) in the network settings of your OS. Alternatively, you can run the ip command in the terminal:
# ip a
What you will see between “inet” and “scope global dynamic noprefixroute …” is the necessary IP address. Enter it in the address bar, and you will be redirected to the DocSpace registration page.
When you access the DocSpace registration page, you will need to fill in some fields to register yourself as the owner of your DocSpace platform.
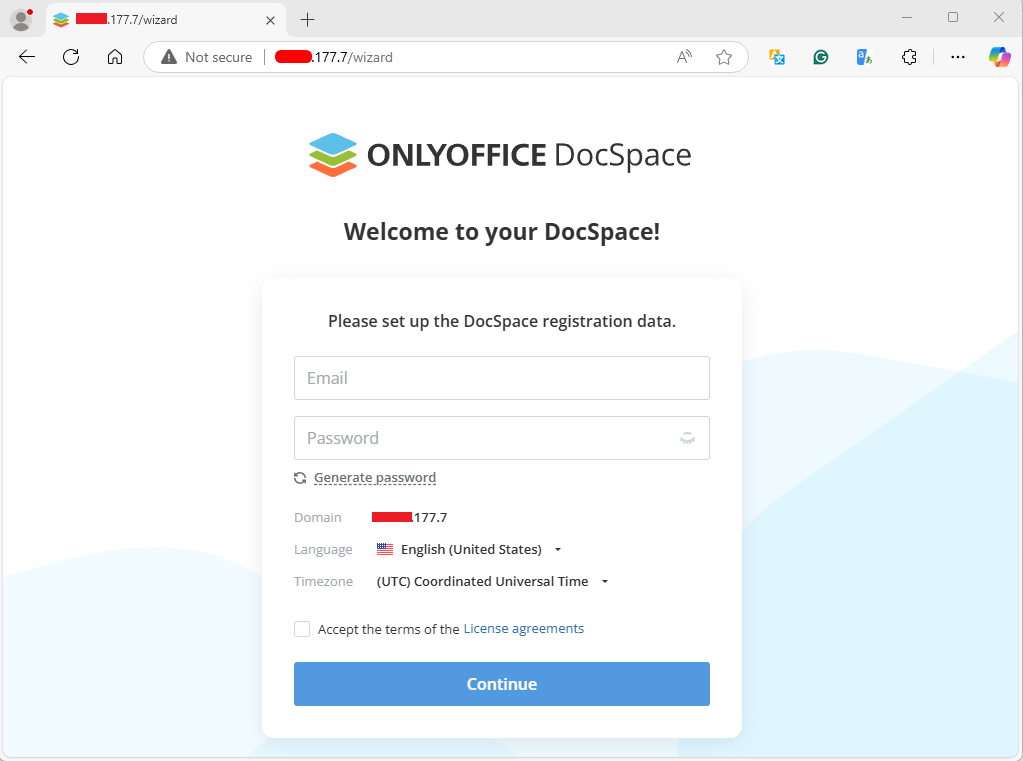
Make sure you agree with the terms of the ONLYOFFICE license agreement and click the Continue button to proceed with the next step. Don’t forget to check your email inbox and click on the activation link.
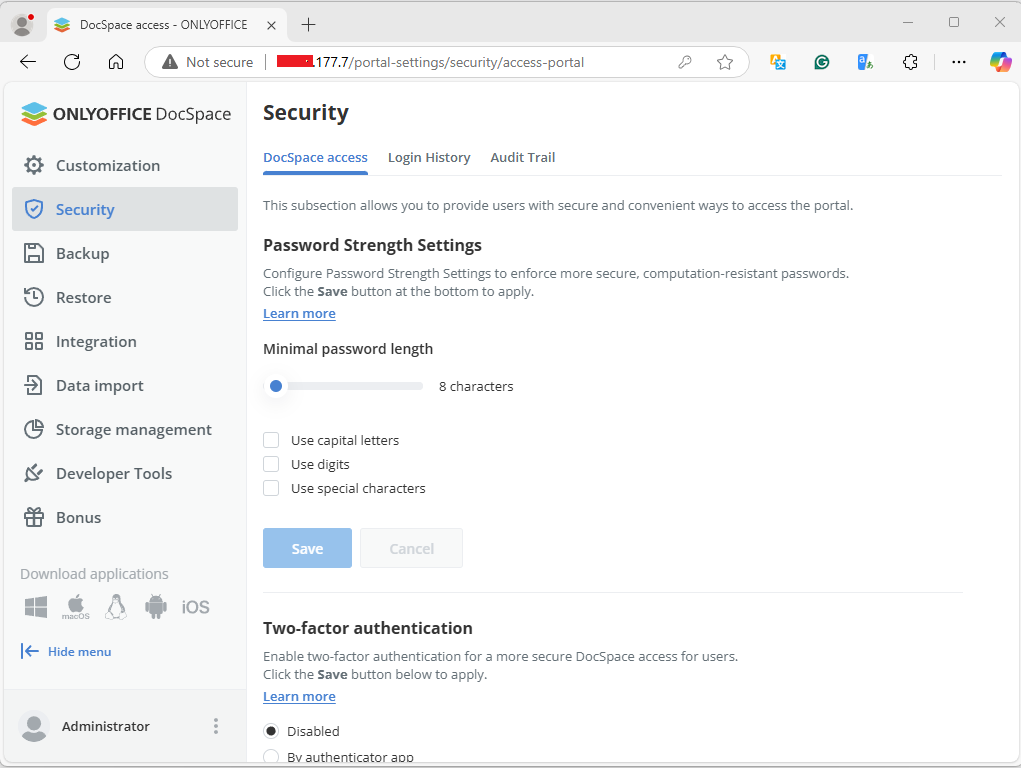
Now it’s time to configure your DocSpace. In the lower-left corner of the page, click the menu next to your account and choose DocSpace settings.

You will see all available sections. It’s recommended to start with the Security section to make your DocSpace as safe as possible. Check and configure each option depending on your preferences.
If you change anything, click Save. After that, you can customize the interface of the platform and enable data backup.
When you are done with the settings, you can start working with your DocSpace instance:
- Create and manage rooms.
- Invite other users for collaboration.
- Upload content in your rooms.
- Create and manage new office files.
- Create new accounts with different access permissions.
- Share documents and collaborate on them in real time.
- Integrate third-party service and more.
