How to Install Mattermost on Debian 12
Mattermost is an open-source alternative to Slack and Microsoft Teams. It allows you to self-host an online chat and offers numerous features, including file sharing, search, automation, and various third-party integrations.
Mattermost is a collaboration platform designed as an internal chat for organizations and companies. It combines messaging systems, automation, integrations, and security for critical workflows.
This guide will show you how to install Mattermost on a Debian 12 server. You’ll install Mattermost with PostgreSQL and Nginx, and you’ll also secure Mattermost with SSL certificates.
Prerequisites
To start with this guide, make sure you have the following:
- A Debian 12 server
- User with sudo privileges.
- Database server: PostgreSQL v11+
- User with sudo privileges.
- A Fully Qualified Domain Name(Optional for SSL certs)
Follow the steps below to deploy the Mattermost Server on Debian 12
1) Install PostgreSQL Database Server
The first thing we need to do is to ensure that a database server is set up for Mattermost. The recommended database server for Mattermost is PostgreSQL v11 and above.
To install it, use the commands:
sudo apt update
sudo apt install postgresql postgresql-contrib -y
Verify if the service is running:
$ systemctl status postgresql
Ensure the service is enabled to run on system boot
sudo systemctl enable postgresqlAccess the shell with the command:
sudo -u postgres psqlCreate a database and a user for Mattermost:
CREATE USER green WITH PASSWORD 'Green@1234';
CREATE DATABASE mattermost OWNER green;
\q
2) Install Mattermost Server
Once the database server has been installed and configured, we need to download the Mattermost Server. Get the latest available version from the official Mattermost downloads page.
Download the latest available Tarball. This can be done by exporting the required version:
VER=9.4.1Pull the archive using:
wget https://releases.mattermost.com/9.4.1/mattermost-9.4.1-linux-amd64.tar.gzOnce downloaded, extract the archive:
tar -xvzf mattermost-9.4.1-linux-amd64.tar.gzMove the file to the /opt directory:
sudo mv mattermost /optThe next thing is to create a storage directory to persist the data.
sudo mkdir /opt/mattermost/dataCreate a dedicated user and group for Mattermost:
sudo useradd --system --user-group mattermostSet the required permissions for the directory:
sudo chown -R mattermost:mattermost /opt/mattermost
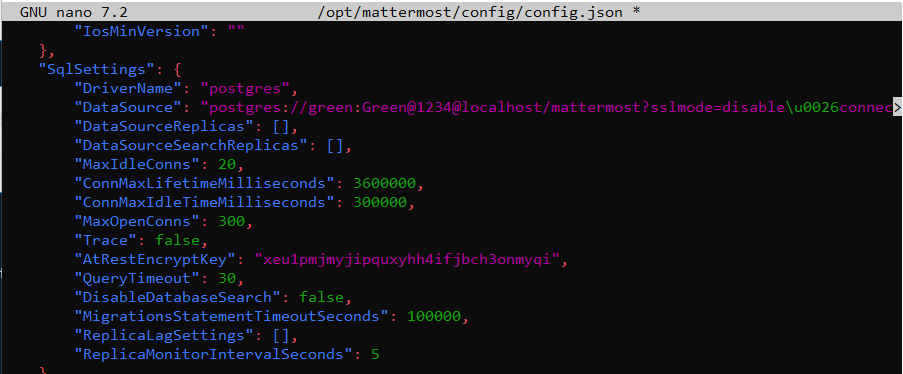
sudo chmod -R g+w /opt/mattermostNow we will make configurations for Mattermost:
sudo nano /opt/mattermost/config/config.json In the file, add your database credentials as shown under the Sqlsettings section. Remember to provide the created user, password, and database name.
Save the made changes and test if all is okay:
cd /opt/mattermost
sudo -u mattermost bin/mattermost
Sample Output:
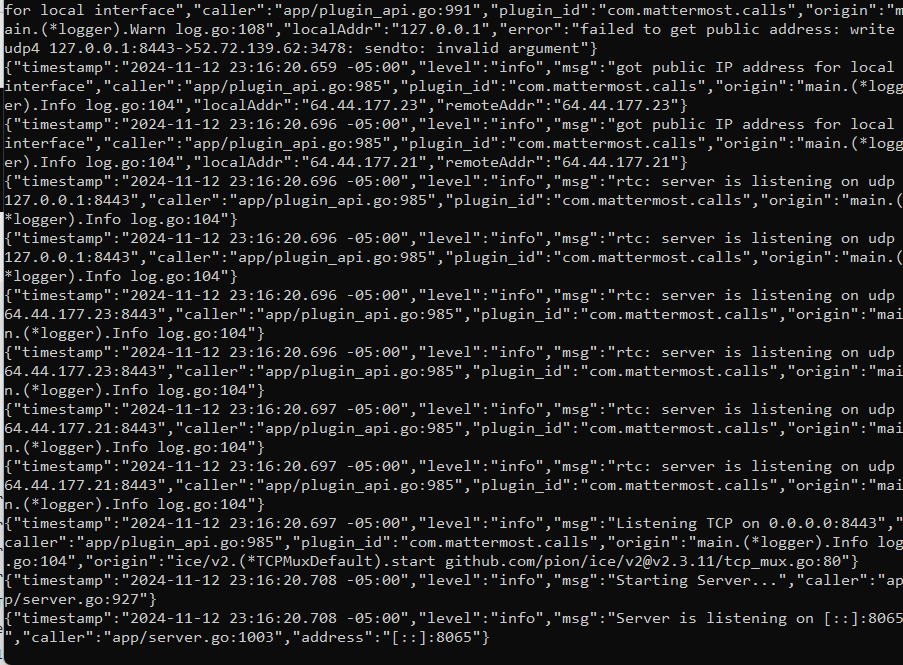
This shows that Mattermost is working and listening to connections on port 8065(the default port). To stop the service, issue Ctrl+C, then run the command:
sudo killall -9 mattermost3) Create Mattermost Systemd unit
To manage the Mattermost service using systemd, we need to create a service file.
cat <<EOF | sudo tee /lib/systemd/system/mattermost.service
[Unit]
Description=Mattermost
After=network.target

[Service]
Type=notify
ExecStart=/opt/mattermost/bin/mattermost
TimeoutStartSec=3600
KillMode=mixed
Restart=always
RestartSec=10
WorkingDirectory=/opt/mattermost
User=mattermost
Group=mattermost
LimitNOFILE=49152

[Install]
WantedBy=multi-user.target
EOF
Reload the systemd using the command:
sudo systemctl daemon-reloadStart and enable the service:
sudo systemctl start mattermost.service
sudo systemctl enable mattermost.service
Check the status of the service:
$ systemctl status mattermost.service 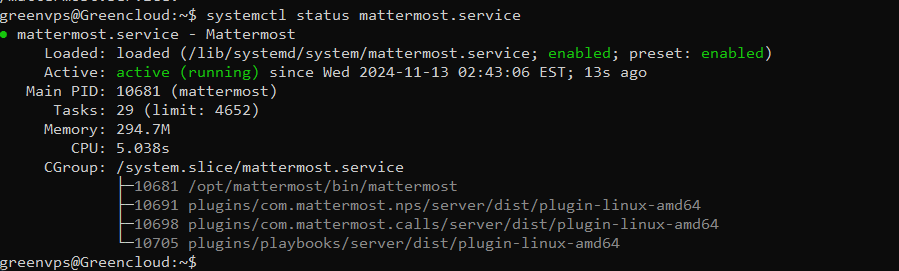
If you have a firewall enabled, allow the port through it:
sudo ufw allow 80654) Access the Mattermost Web Interface
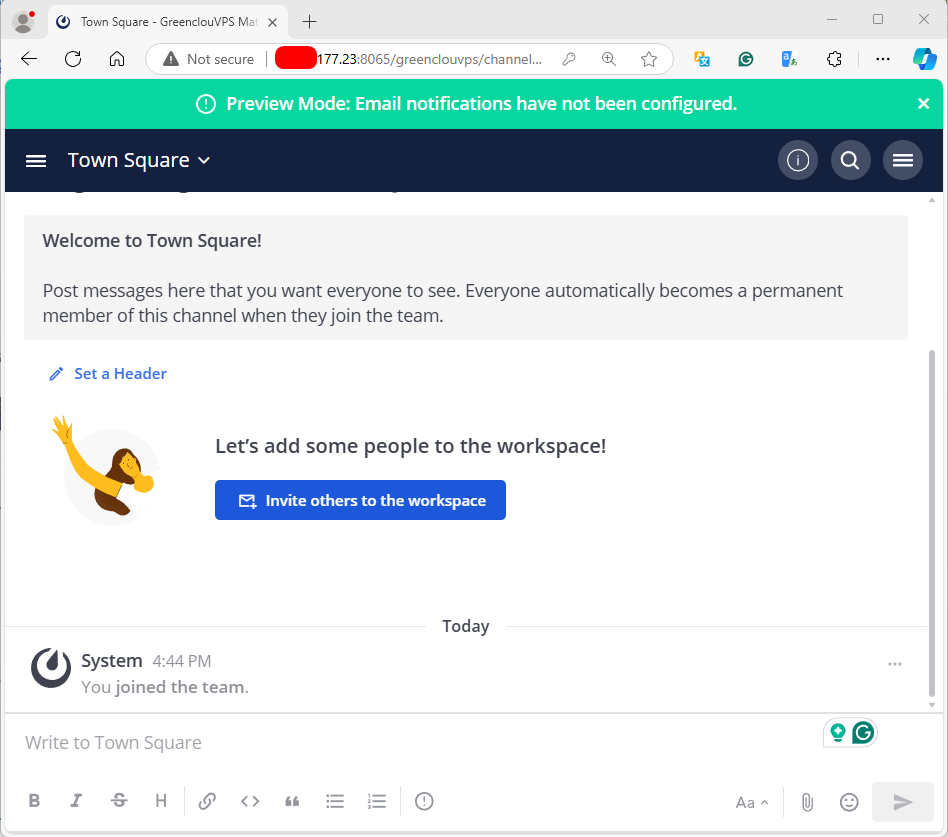
Now that Mattermost has been installed and started, you can access its web interface using the URL http://IP_Address:8065 or http://domain_name:8065
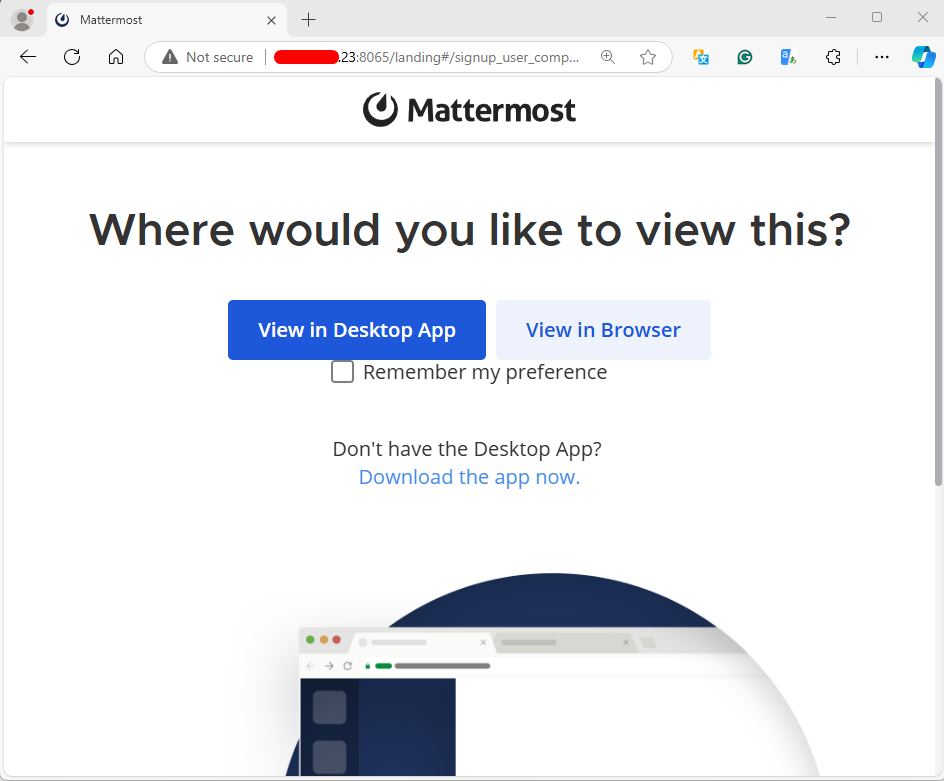
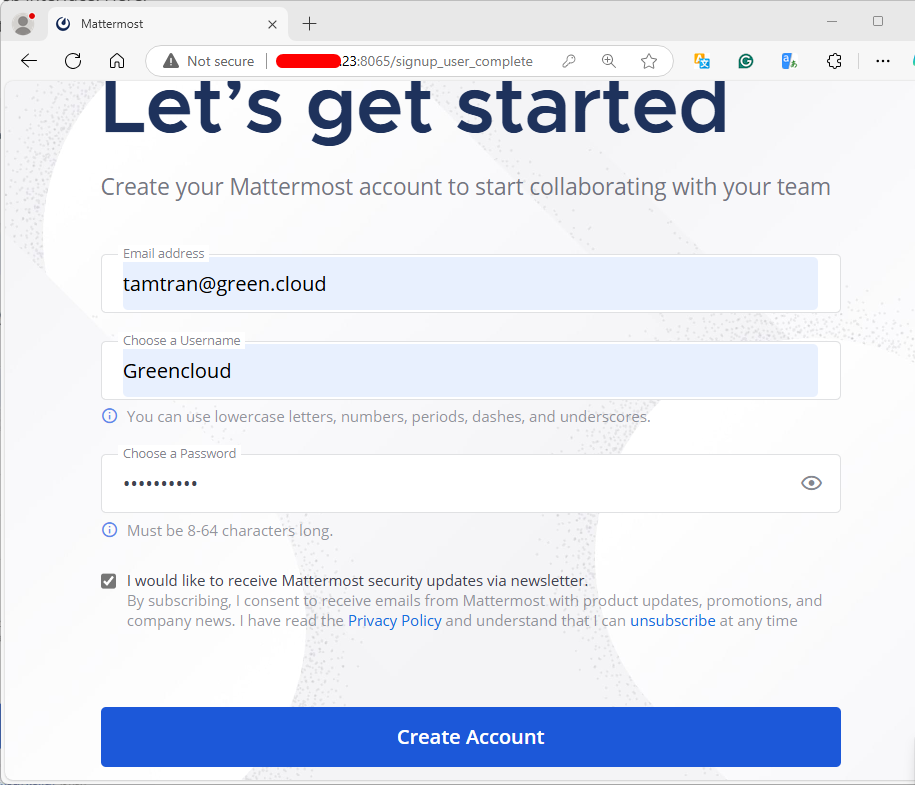
You have the option of using a Desktop App or continuing with the web interface. Here, we will proceed with the web UI. Create a user account by providing the required details.
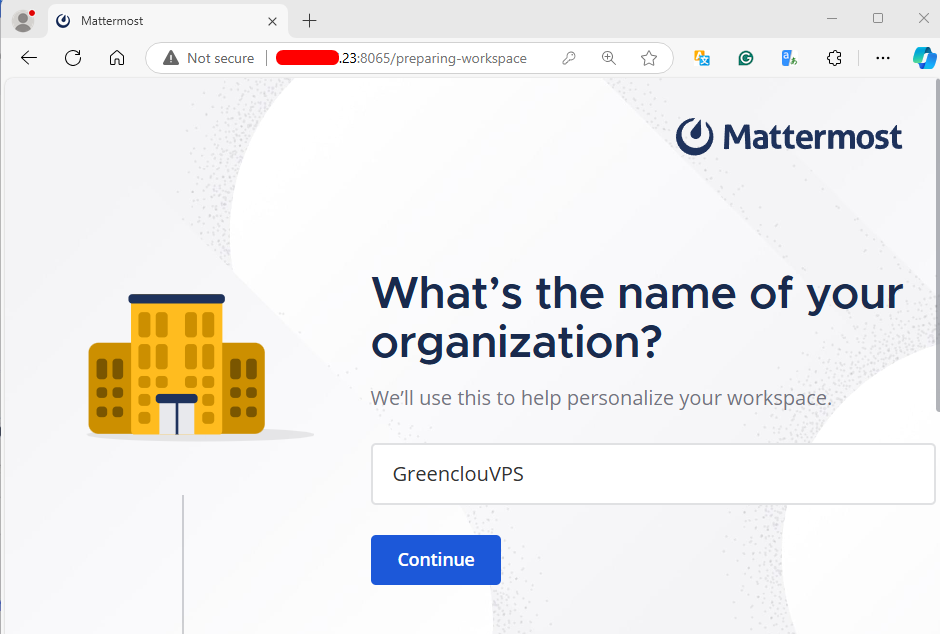
Set your organization name
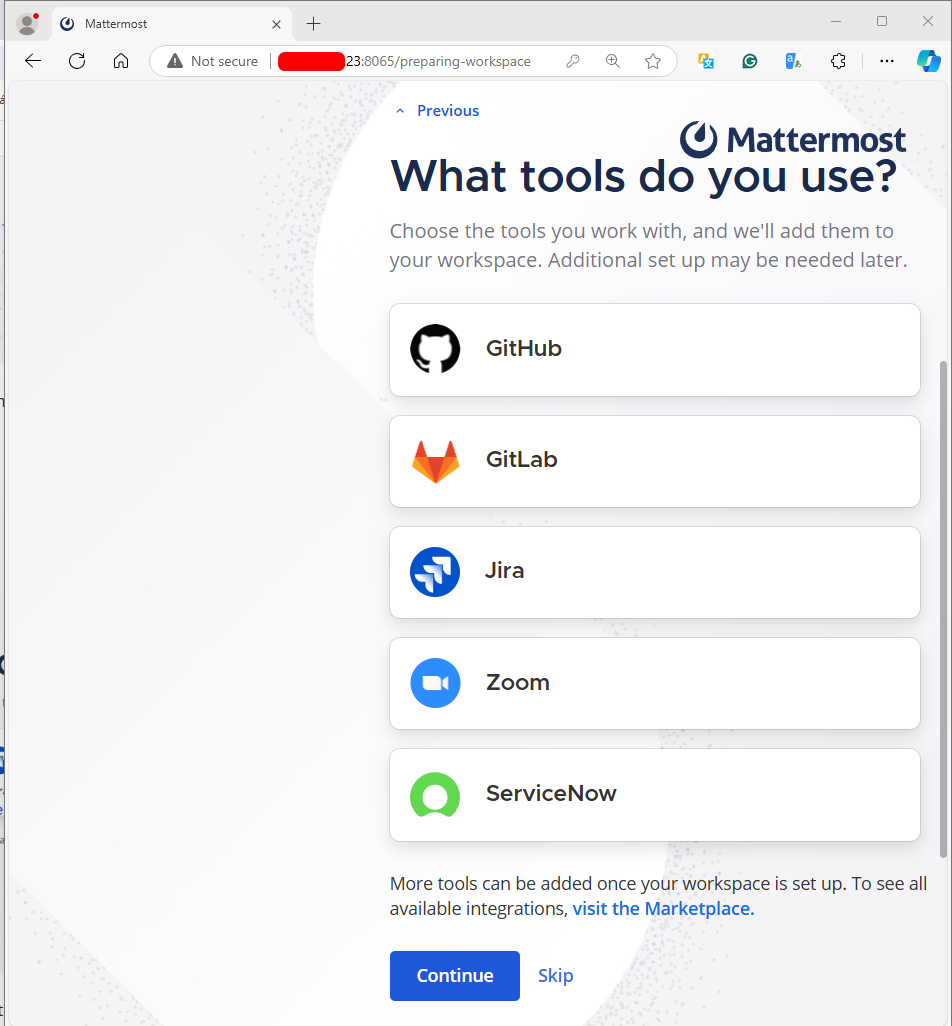
Choose the tools you use in your environment.
You will be given a link to invite members to the team.
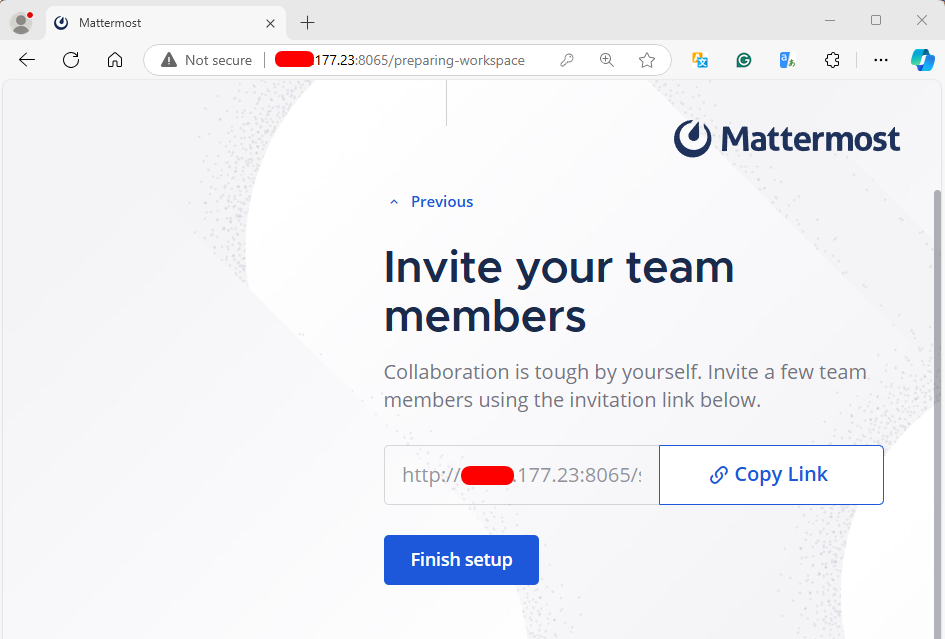
That is it! You will now have Mattermost ready for use.
5) Secure Mattermost with Let’s Encrypt
There are two ways of securing Mattermost with SSL certs. These are:
- Setting up TLS on the Mattermost server.
- Use a proxy such as NGINX and set up TLS on the proxy.
For this guide, we will use a proxy, which is recommended if you have more than 200 users for better performance. This method also provides standard HTTP request logs.
Install the Nginx proxy on Debian 12 using the command:
sudo apt install nginx -yOnce installed, configure a virtual hosts file:
sudo nano /etc/nginx/conf.d/mattermost.confIn the file, add the following lines:
    server {
        listen       80 default_server;
        listen       [::]:80 default_server;
        server_name  your_domain;

        location / {
	proxy_pass http://localhost:8065/;
            index  index.html index.htm;
        }

        error_page 404 /404.html;
            location = /40x.html {
        }

        error_page 500 502 503 504 /50x.html;
            location = /50x.html {
        }
    }
Disable the default nginx site.
sudo rm -rf /etc/nginx/sites-enabled/defaultSave the file and restart nginx:
sudo systemctl restart nginxOnce a virtual host has been created, install the required tools to generate certs with Let’s Encrypt.
sudo apt install certbot python3-certbot-nginxIssue the trusted SSL certs for the domain name captured in your virtual host file:
sudo certbot --nginxProceed as shown:
Saving debug log to /var/log/letsencrypt/letsencrypt.log
Enter email address (used for urgent renewal and security notices)
 (Enter 'c' to cancel): Enter a valid Email address here

- - - - - - - - - - - - - - - - - - - - - - - - - - - - - - - - - - - - - - - -
Please read the Terms of Service at
https://letsencrypt.org/documents/LE-SA-v1.2-November-15-2017.pdf. You must
agree in order to register with the ACME server. Do you agree?
- - - - - - - - - - - - - - - - - - - - - - - - - - - - - - - - - - - - - - - -
(Y)es/(N)o: y

- - - - - - - - - - - - - - - - - - - - - - - - - - - - - - - - - - - - - - - -
Would you be willing, once your first certificate is successfully issued, to
share your email address with the Electronic Frontier Foundation, a founding
partner of the Let's Encrypt project and the non-profit organization that
develops Certbot? We'd like to send you email about our work encrypting the web,
EFF news, campaigns, and ways to support digital freedom.
- - - - - - - - - - - - - - - - - - - - - - - - - - - - - - - - - - - - - - - -
(Y)es/(N)o: y
Account registered.

Which names would you like to activate HTTPS for?
- - - - - - - - - - - - - - - - - - - - - - - - - - - - - - - - - - - - - - - -
1: your_domain
- - - - - - - - - - - - - - - - - - - - - - - - - - - - - - - - - - - - - - - -
Select the appropriate numbers separated by commas and/or spaces, or leave input
blank to select all options shown (Enter 'c' to cancel): 1

Requesting a certificate for your_domain
Performing the following challenges:
http-01 challenge for your_domain
Waiting for verification...
Cleaning up challenges
Deploying Certificate to VirtualHost /etc/nginx/conf.d/mattermost.conf
Redirecting all traffic on port 80 to ssl in /etc/nginx/conf.d/mattermost.conf

Successfully received certificate.
Certificate is saved at: a2enmod ssl
/etc/letsencrypt/live/your_domain/fullchain.pem
Key is saved at:         /etc/letsencrypt/live/your_domain/privkey.pem
This certificate expires on 2025-02-12.
These files will be updated when the certificate renews.
Certbot has set up a scheduled task to automatically renew this certificate in the background.

- - - - - - - - - - - - - - - - - - - - - - - - - - - - - - - - - - - - - - - -
If you like Certbot, please consider supporting our work by:
 * Donating to ISRG / Let's Encrypt:   https://letsencrypt.org/donate
 * Donating to EFF:                    https://eff.org/donate-le
- - - - - - - - - - - - - - - - - - - - - - - - - - - - - -
You will have the SSL certs automatically added to your conf file. Allow HTTPS through the firewall:
sudo ufw allow 443Restart the service:
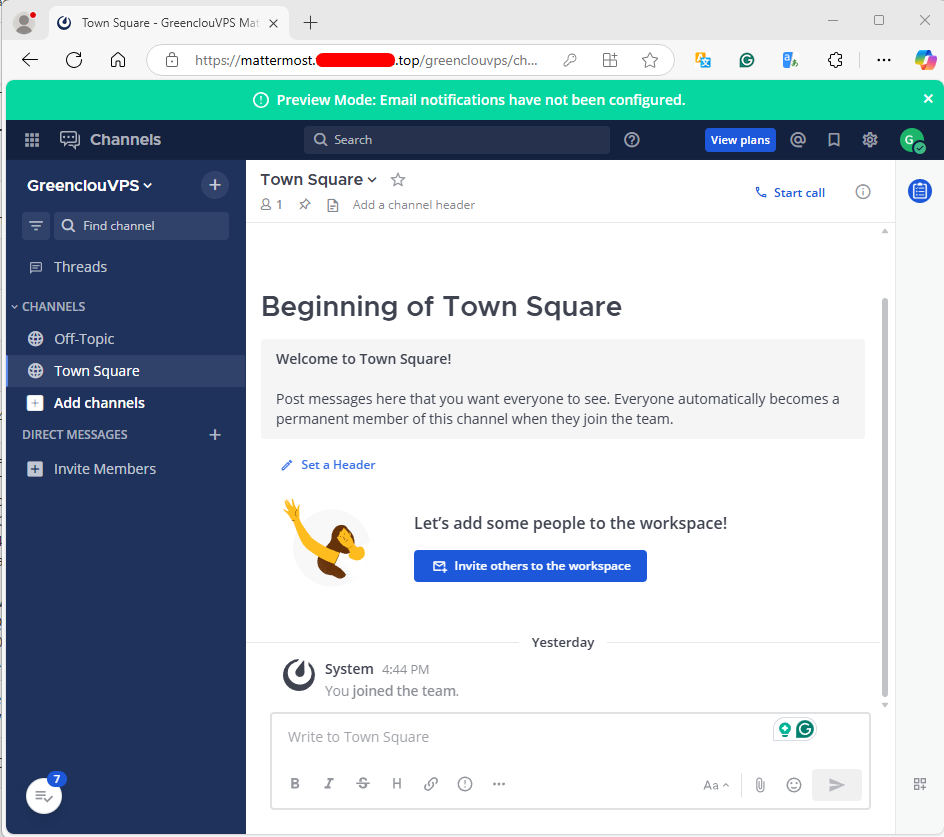
sudo systemctl restart nginxNow access the service via HTTPS using the URL https://domain_name
Conclusion
Congratulations! You’ve completed the installation of Mattermost on the Debian 12 server. You’ve Mattermost up and running with PostgreSQL as the database and Nginx as a reverse proxy. Lastly, you’ve also secured Mattermost with HTTPS through Certbot and Let’s Encrypt. For the next step, you may need to add an SMTP server to your Mattermost installation to allow email notifications. Additionally, you can also integrate Mattermost with third-party applications.
