How to Install Miniconda on Debian 12
Introduction
Miniconda is a minimal installer for the Anaconda distribution that includes only conda, Python, and a few essential packages. It’s lightweight, fast to install, and allows users to manage environments and packages without the bulk of Anaconda. In this guide, you’ll learn how to install Miniconda on Debian 12, create and manage environments, and set up a basic Flask application using Conda.
Prerequisites
Before proceeding, ensure you have:
-
A system running Debian 12
-
A non-root user with sudo privileges
-
Access to the terminal/SSH
Step 1: Download and Install Miniconda
First, download the latest Miniconda installer script:
Run the installer script:
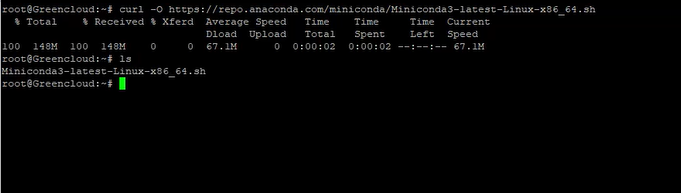
bash Miniconda3-latest-Linux-x86_64.sh
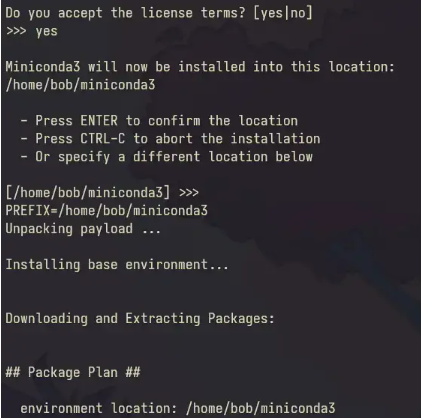
Follow the prompts:
-
Press
Enterto scroll through the license -
Type
yesto accept -
Press
Enterto confirm the default install location -
Type
yesto initialize Miniconda
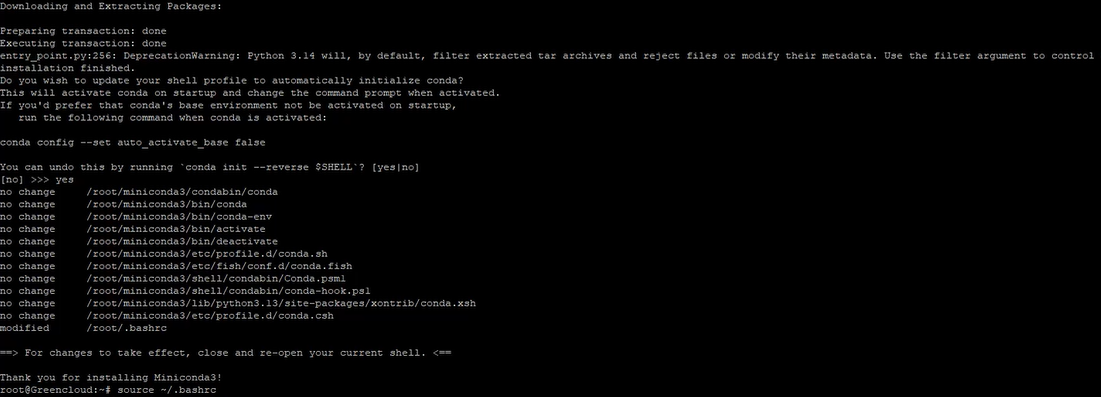
Reload your shell to activate the installation:
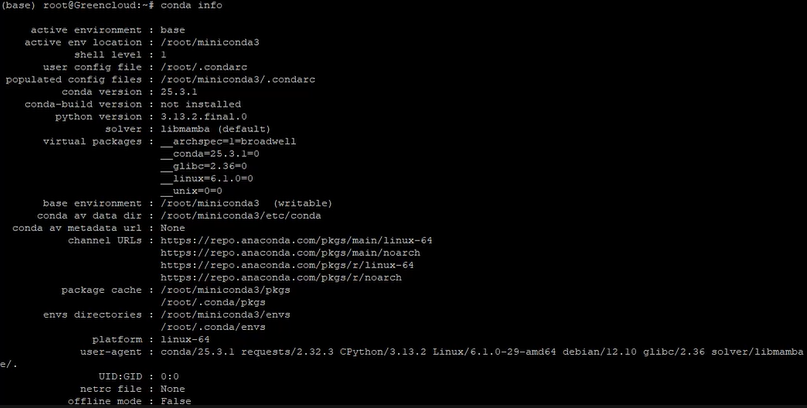
Check that Conda is working:
conda --version![]()
conda info
Step 2: Create a New Conda Environment
To create a new environment named cenv, use:
conda create -n cenv
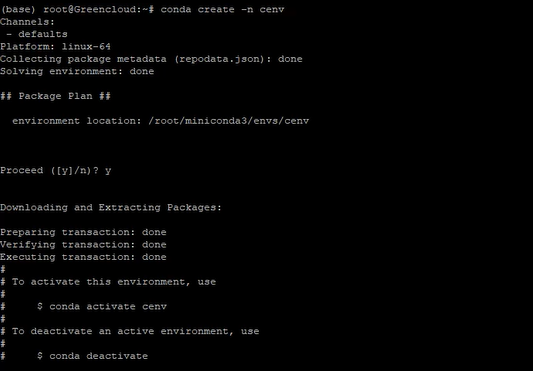
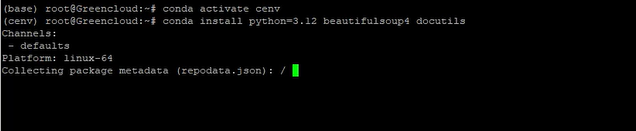
Activate the environment:
Install necessary packages (e.g., Python 3.12, BeautifulSoup4, docutils):
conda install python=3.12 beautifulsoup4 docutils
To deactivate the environment:
You can also create an environment and install packages in one line:
Step 3: Create Environment Using a YAML File
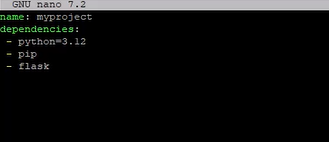
Create a file named environment.yml:
Add the following content:
name: myproject

dependencies:

- python=3.12

- pip

- flask
Create the environment:
conda env create -f environment.yml
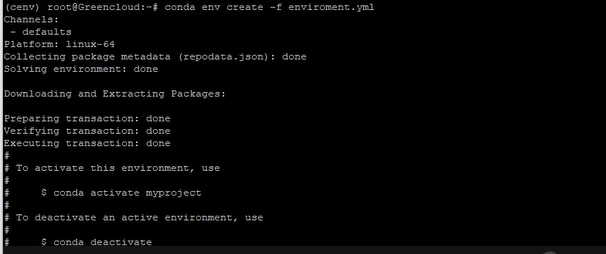
Activate it:
Step 4: List Environments and Packages
To list all environments:
conda env list

To list installed packages in a specific environment:
Step 5: Remove Packages and Environments
To remove a specific package:
To remove an entire environment:
Confirm the environment is removed:
Step 6: Set Up Flask Application Using Conda
Activate your environment:
Install Flask and pip:
conda install python=3.12 pip flask
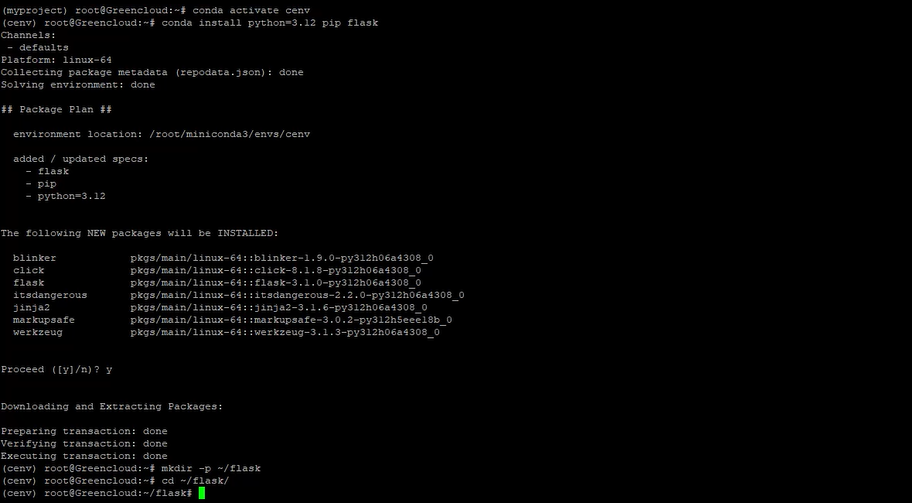
Create your project directory and enter it:
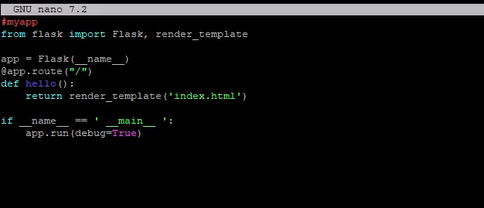
Create the Flask app:
Paste the following code:
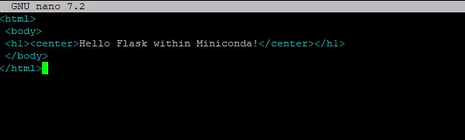
Create the HTML template:
Add this HTML:
<html>

<body>

<h1><center>Hello Flask within Miniconda!</center></h1>

</body>

</html>
Run the Flask app:
flask --app myapp run

In another terminal, test the app:
curl http://localhost:5000/

Conclusion
You have successfully installed Miniconda on Debian 12 and learned how to:
-
Create and manage environments with Conda
-
Install packages
-
Create environments from YAML files
-
Remove environments and packages
-
Set up a basic Flask web app
Miniconda makes Python project management efficient and consistent across teams. For production or collaborative development, using YAML files ensures reproducibility and ease of deployment.
